2009 Jetta SportWagen TDI Sunroof
We purchased our car new in mid 2009, and it has the panoramic sunroof.
After some rain we discovered some water in the driver's footwell carpet and a LOT of water filling up the spare tire well in the back. It was into the dealership at least twice for this problem, under warranty.
After that we didn't find much standing water anywhere. Over time when it rained, though, the car would have a musty smell and sometimes moisture on the inside of the windows.
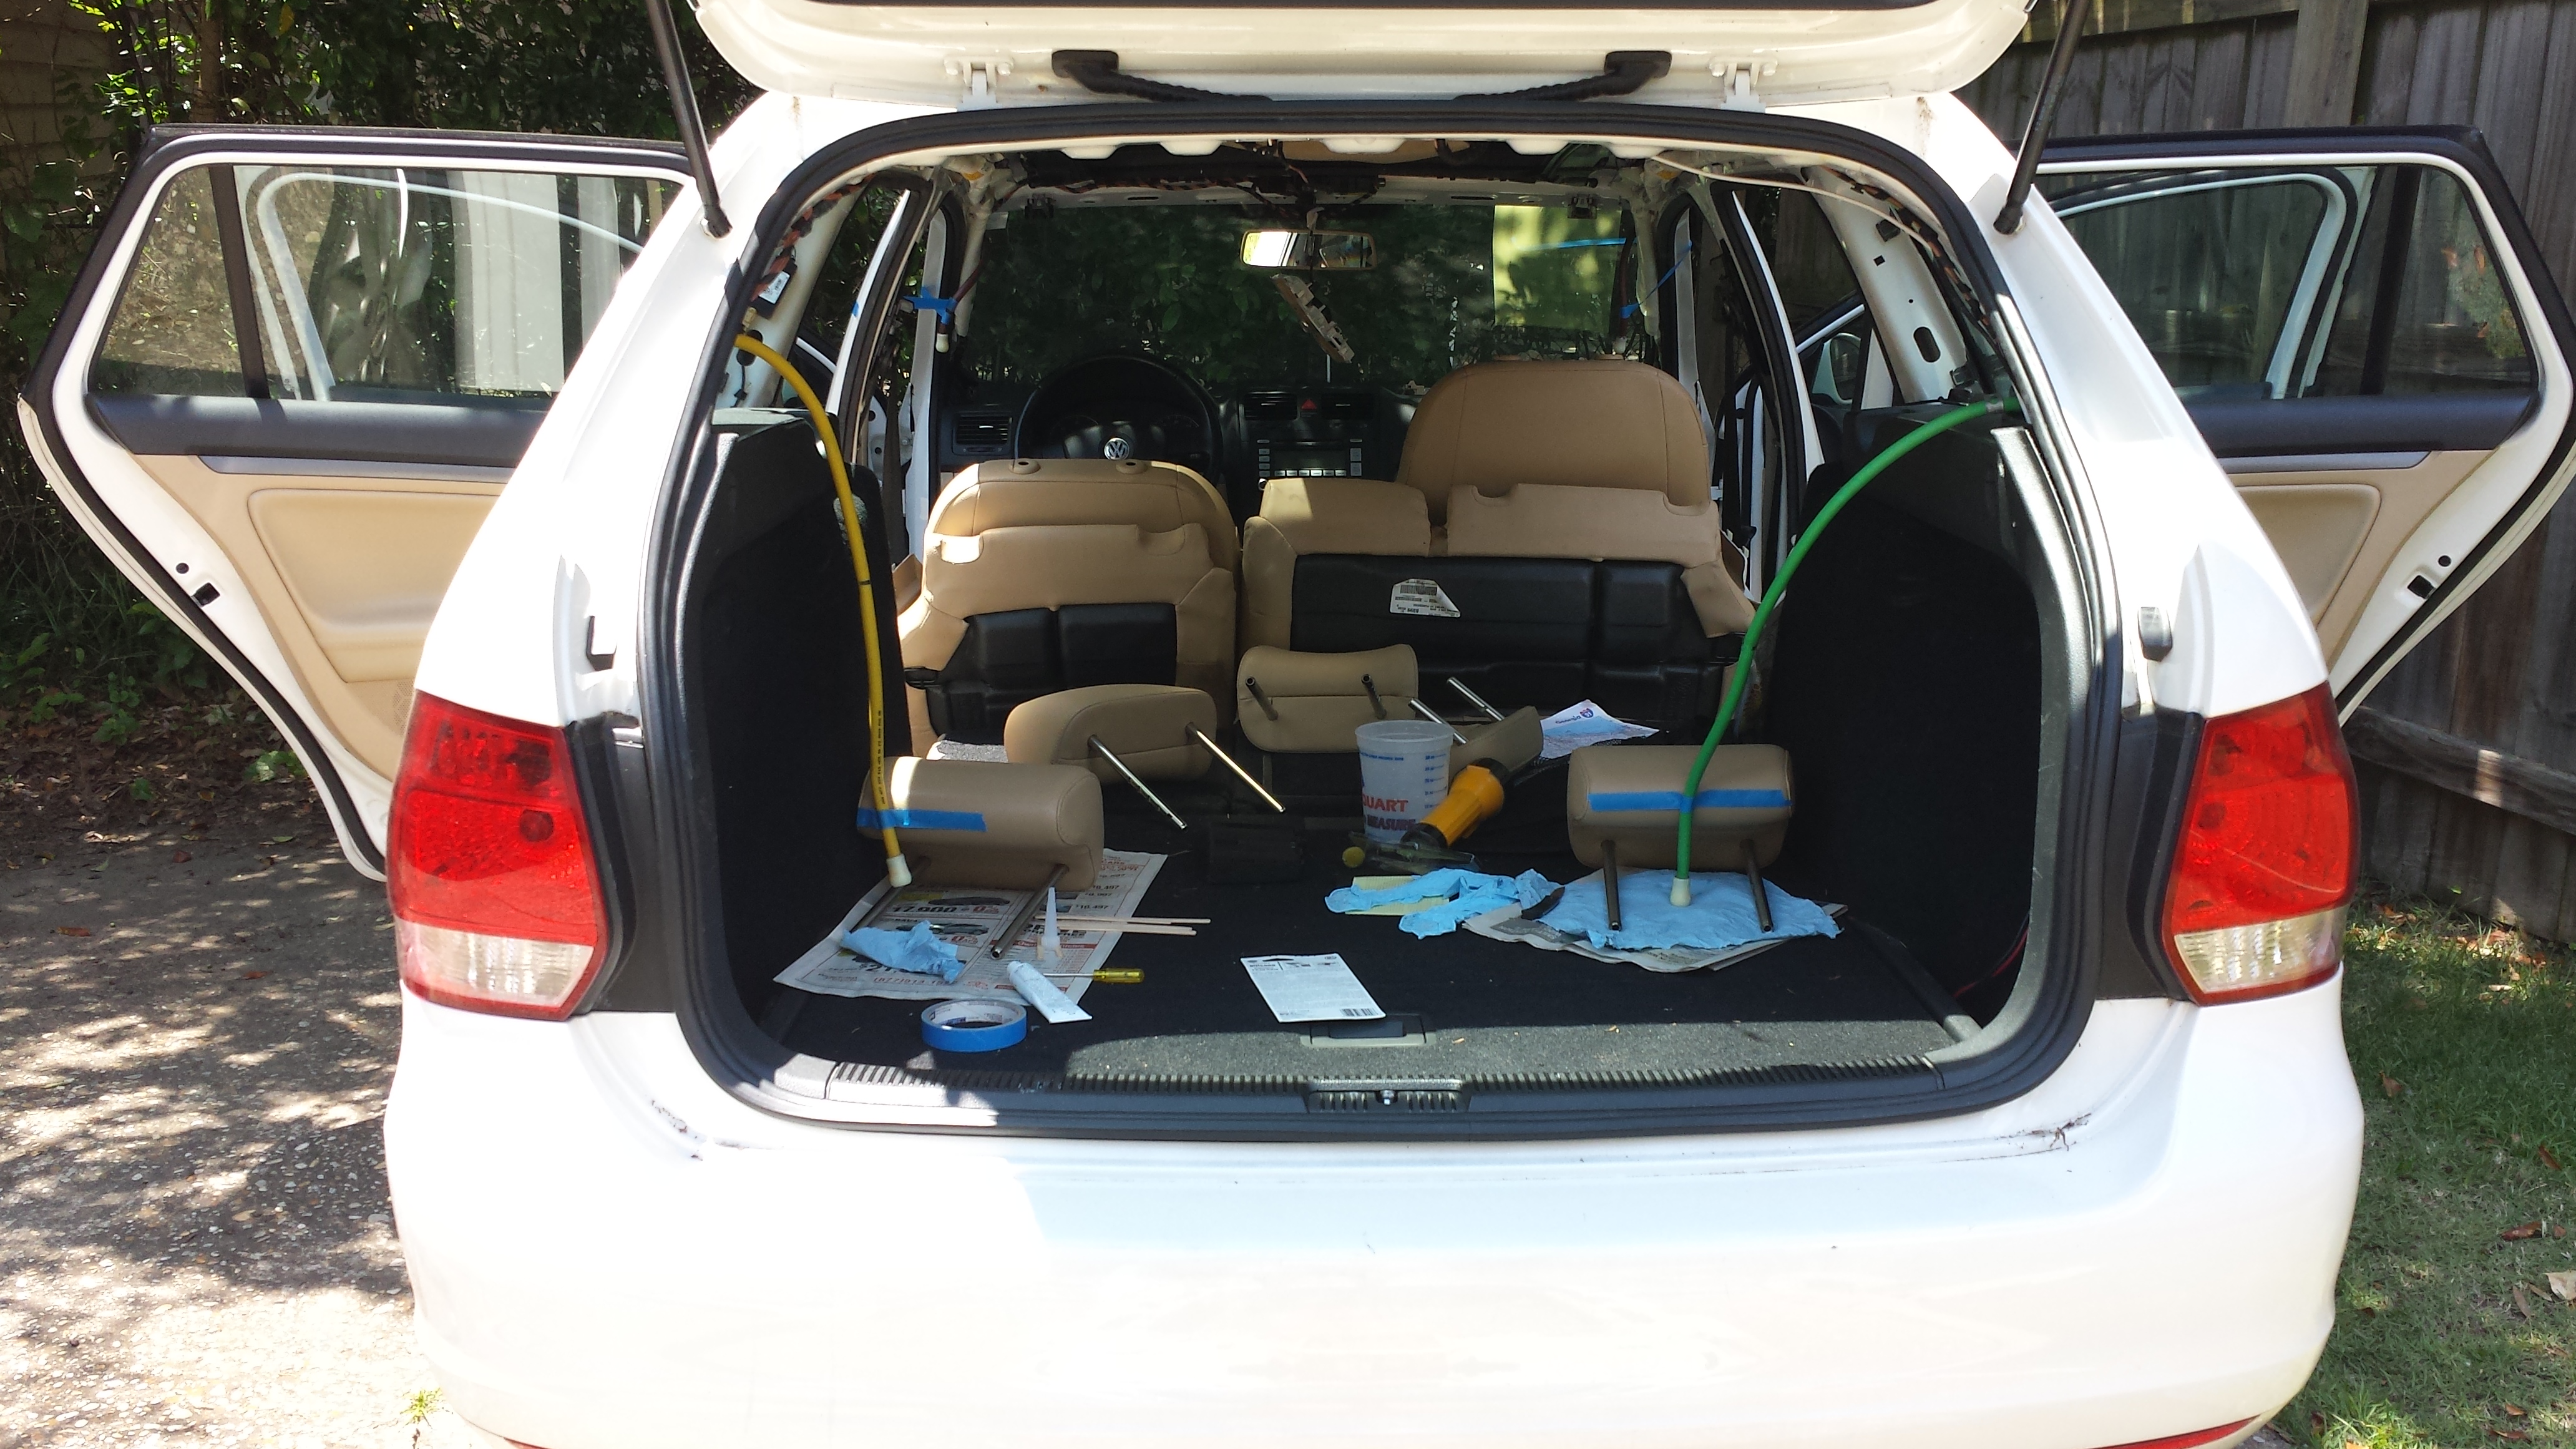
Fast forward to 2015, the sunroof sunshade got itself all mangled up, and I found water standing in the spare tire well again after some prolonged, heavy rain. So while my wife was out of town for an extended period (it's her daily driver) I decided to rip the car open, find, and hopefully fix the water intrusion and sunshade problems.
Between the two, I decided to pull the headerliner out so I'd have free access to everything to diagnose the problems and fix 'em. Removing the headliner was a PITA. This is about my journey.
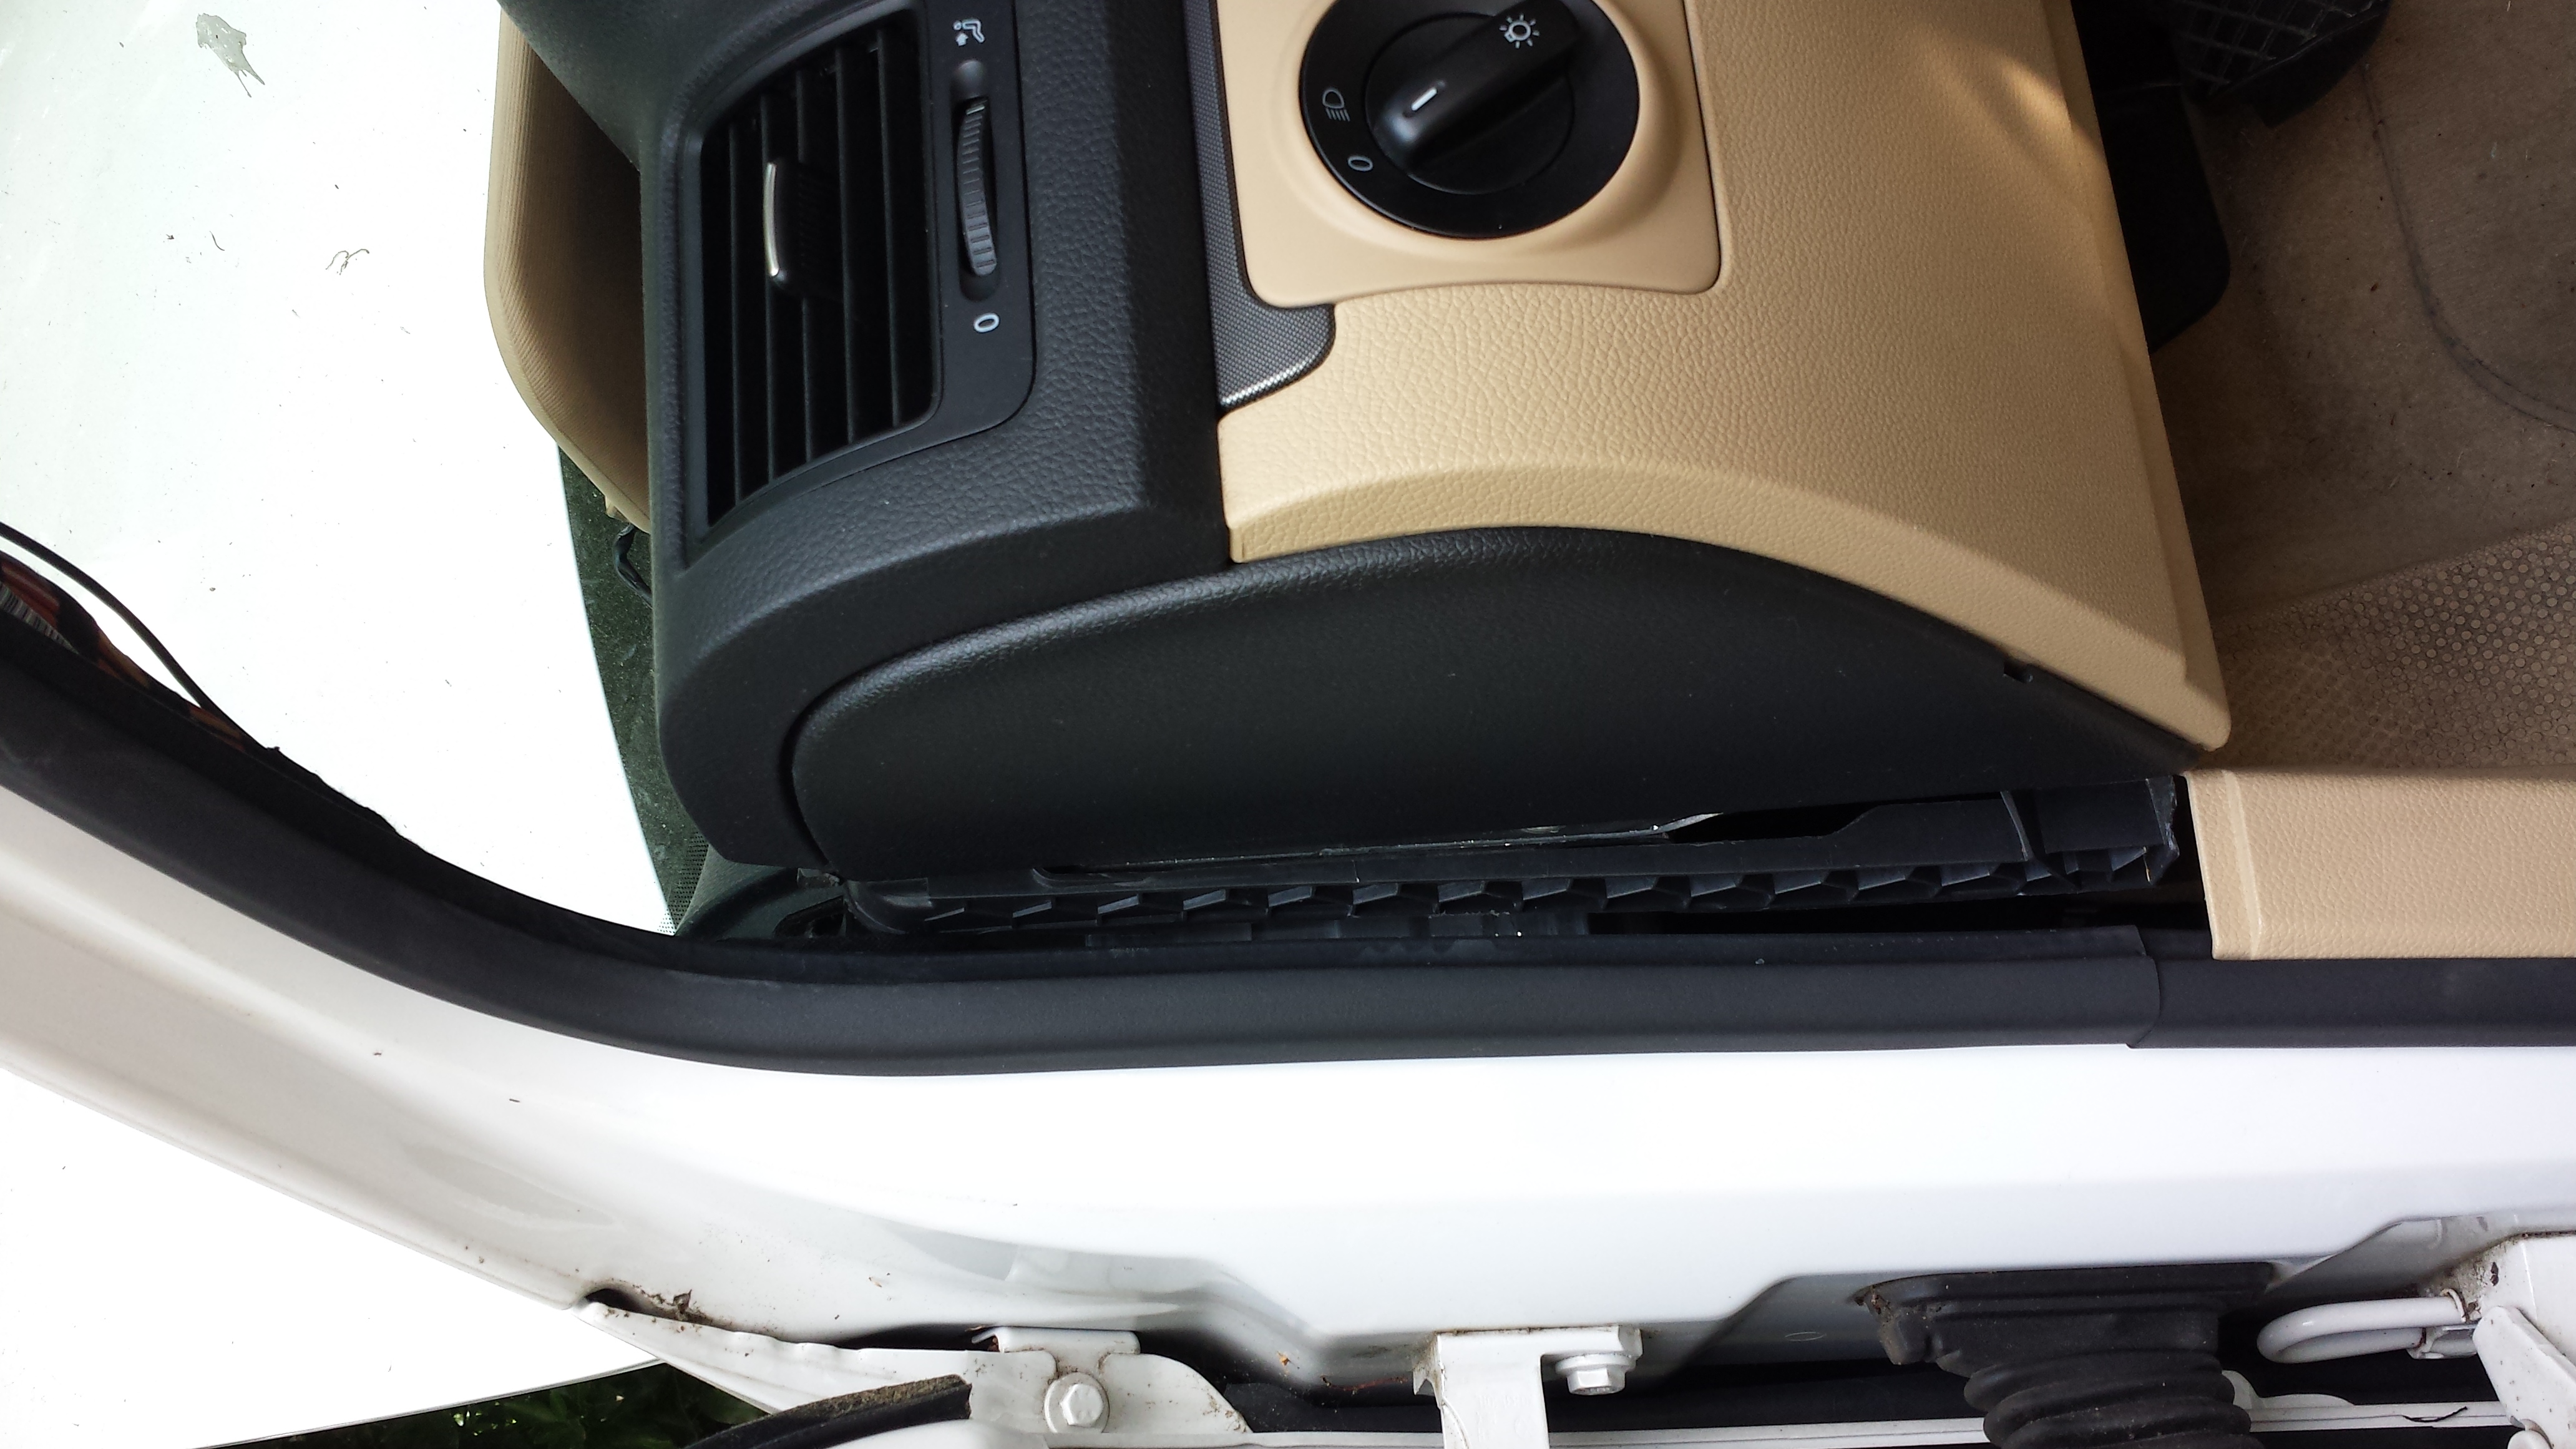
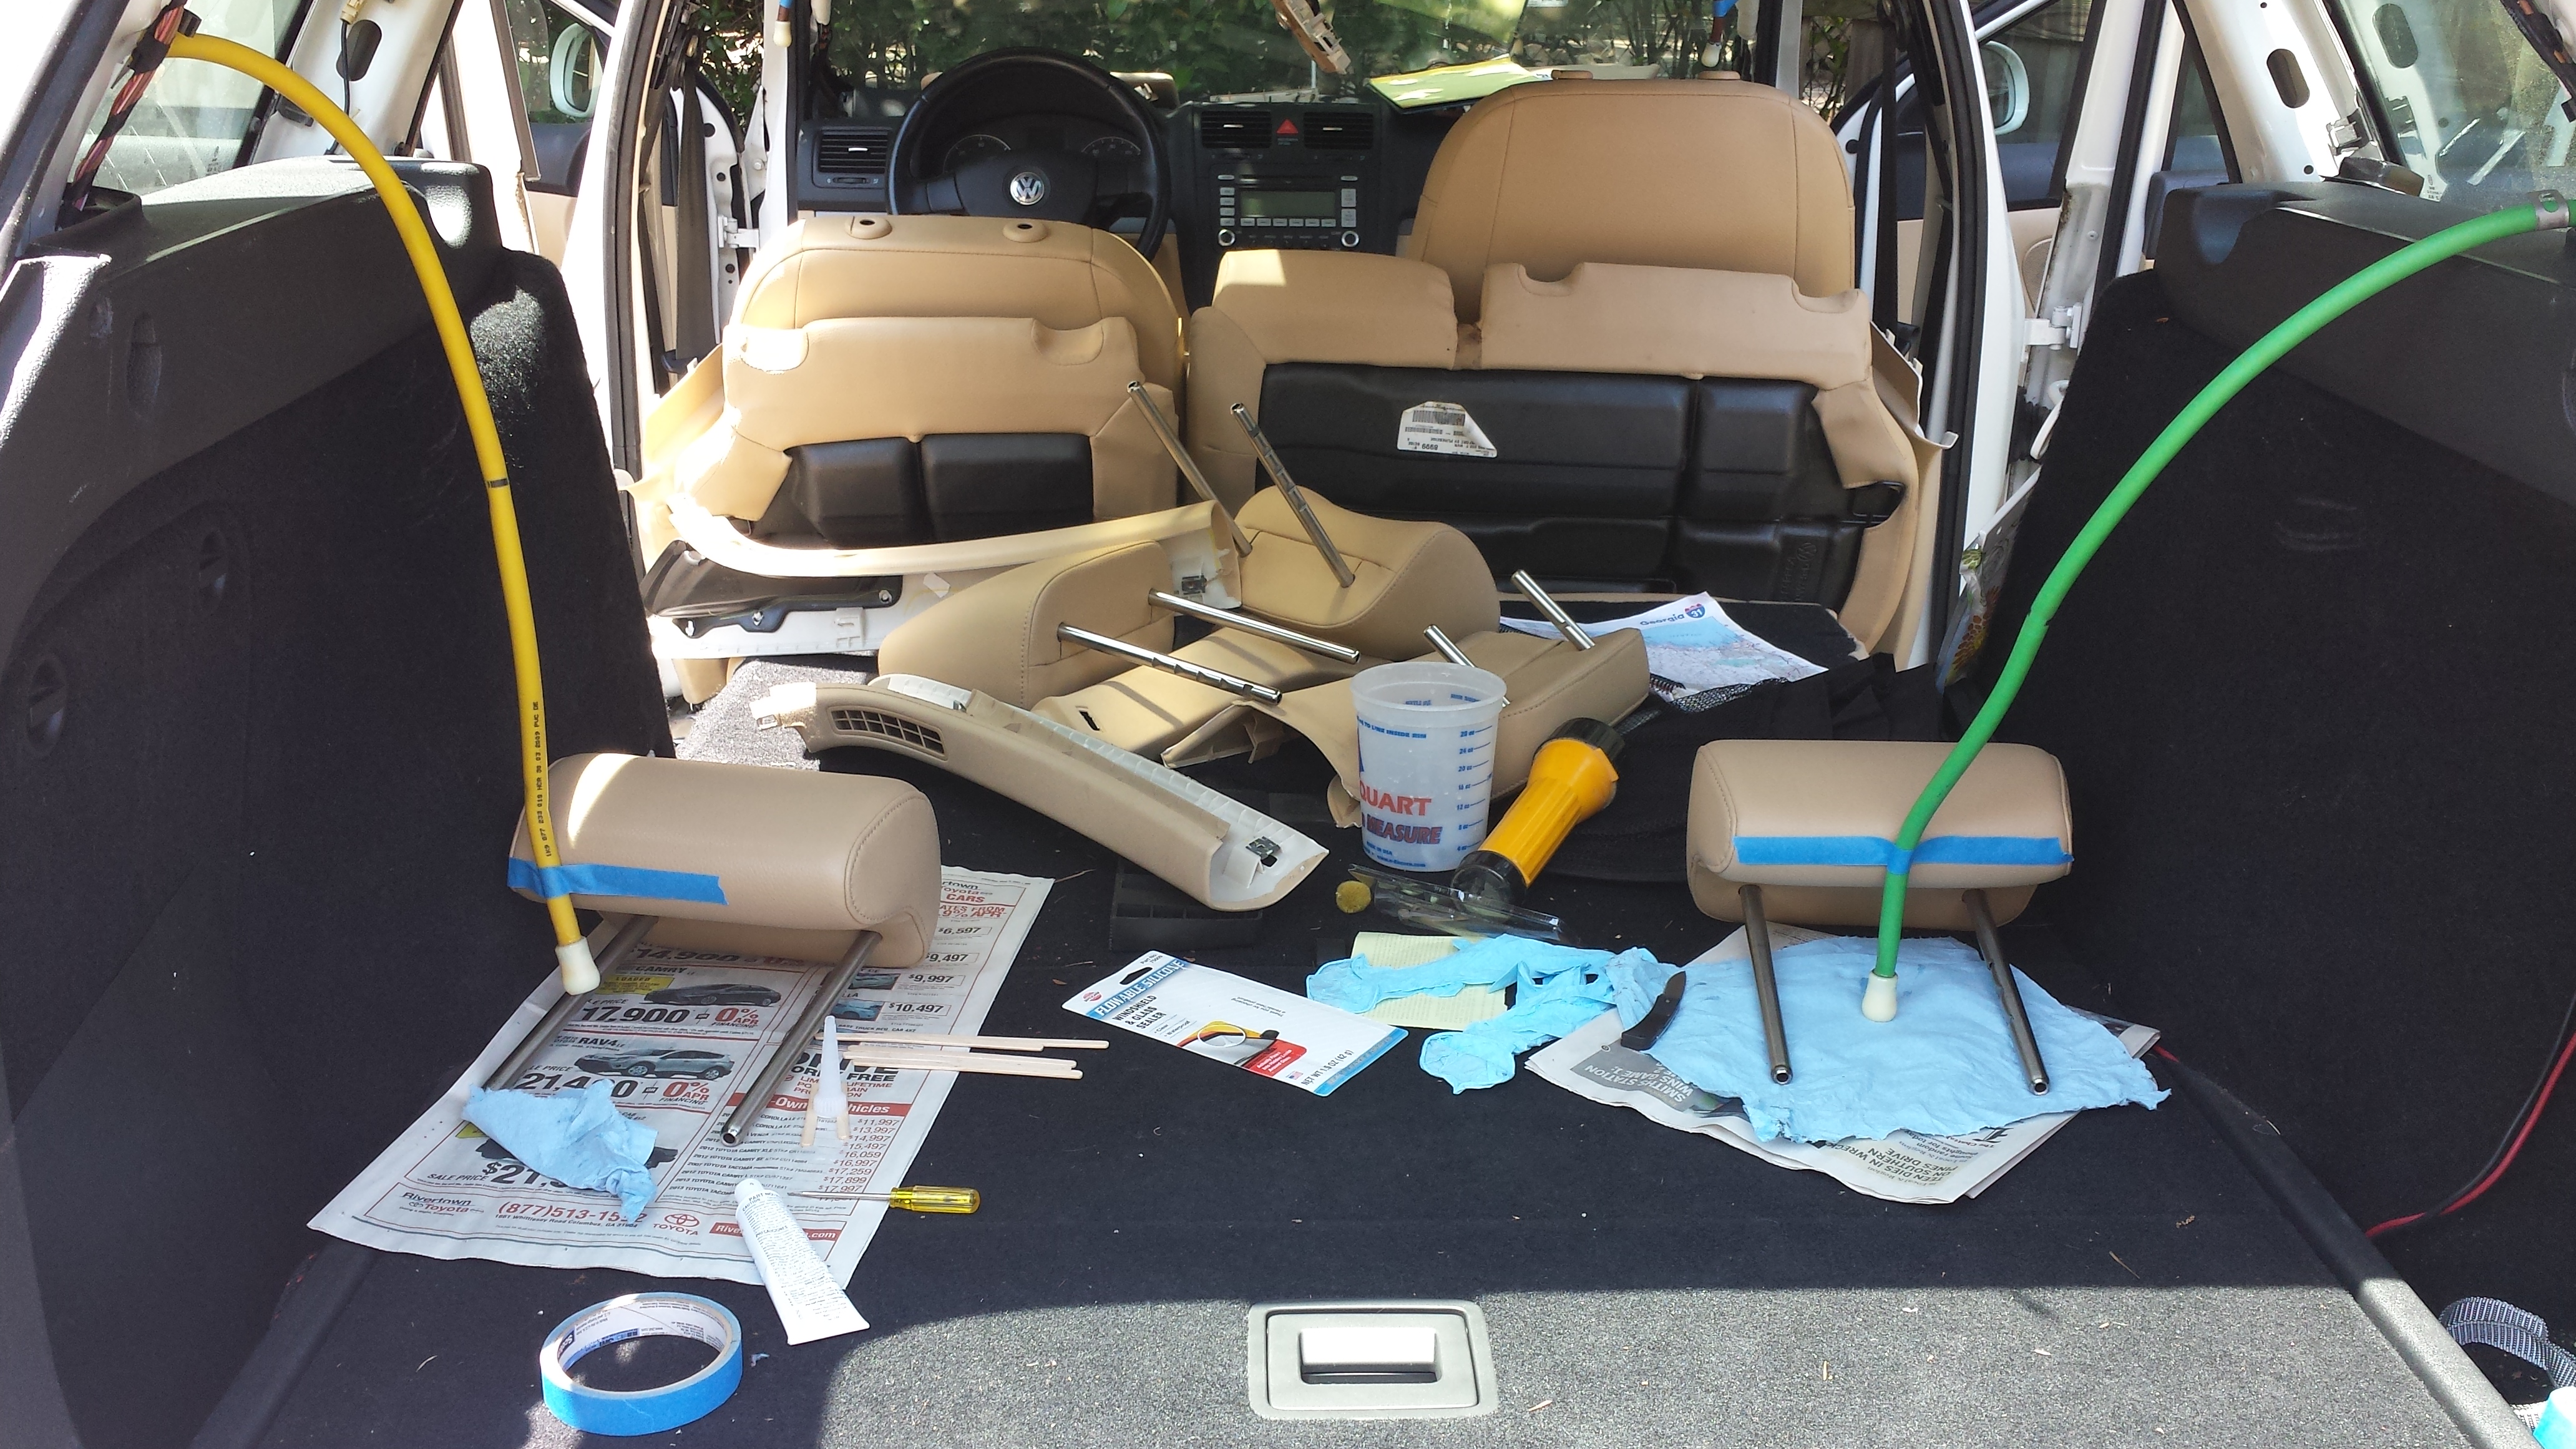
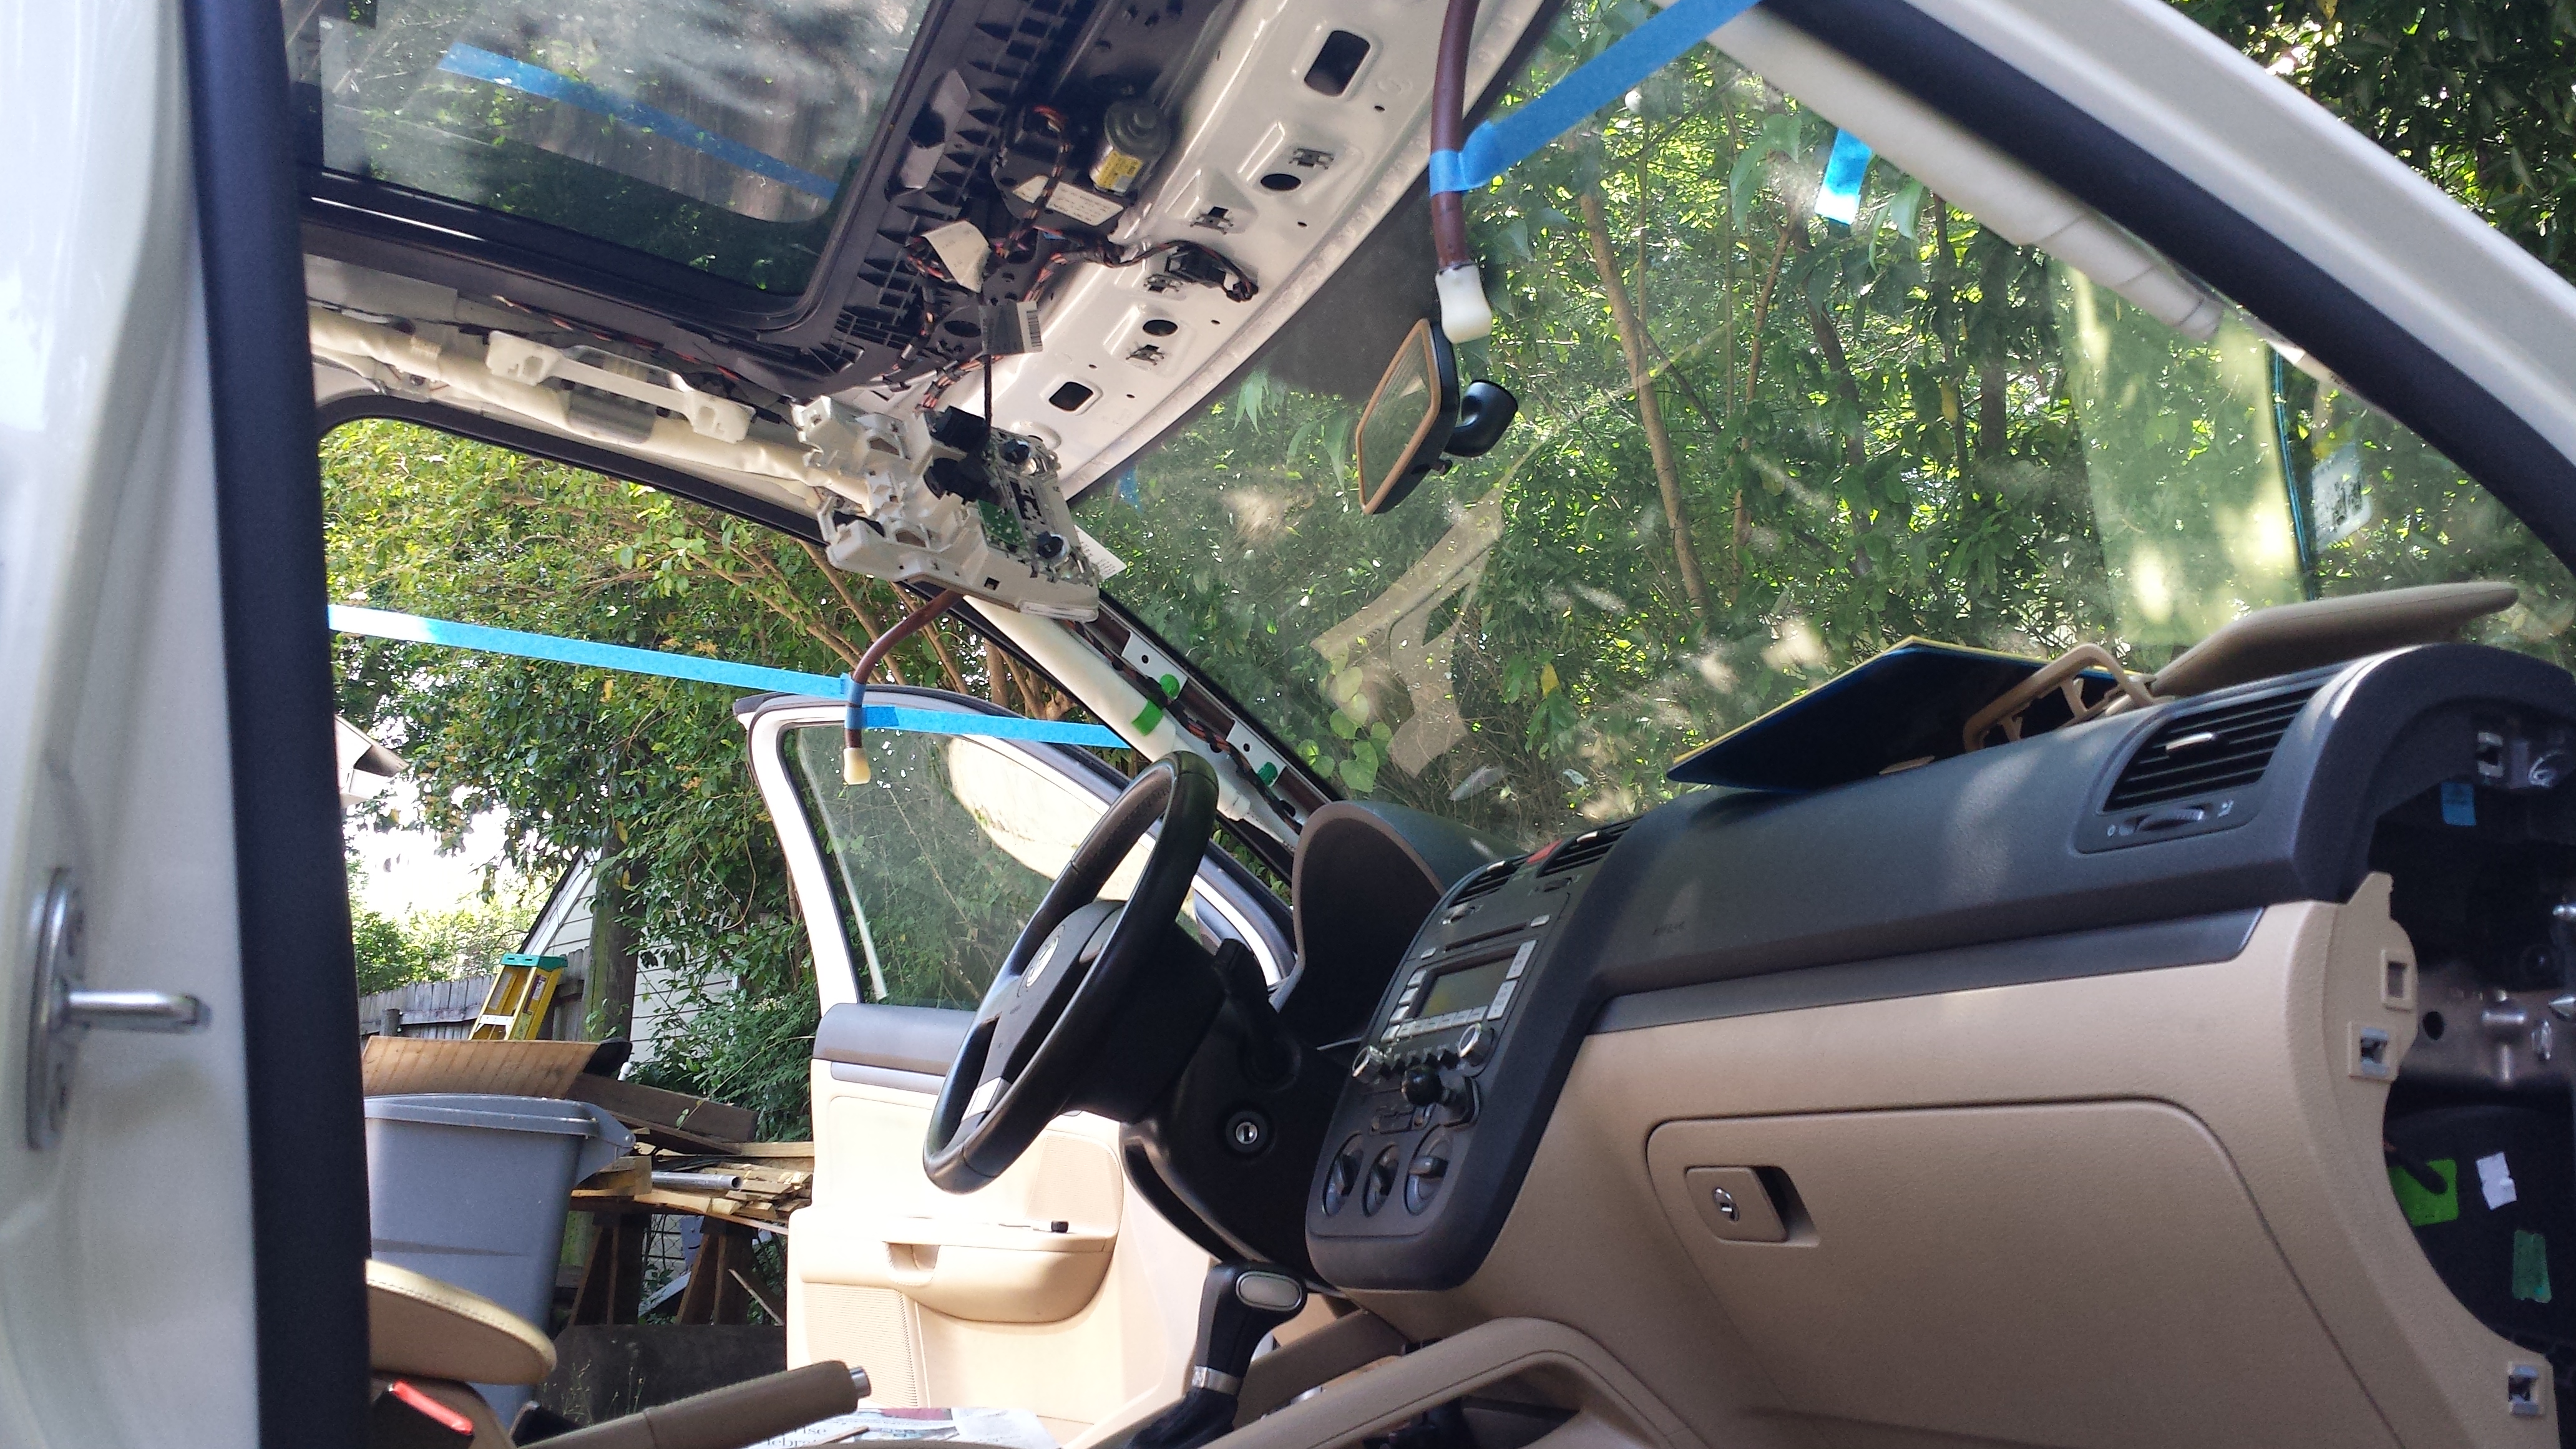
Before I started taking pictures I had removed the A, B, C, and D pillars, all four grab handles, both sunvisors, and the overhead control panel for the sunroof (and some other trim parts necessary to remove those). I was stumped for quite some time after removing the two forward screws that hold the headliner and overhead control panel shell to the body of the car. Even though the screws were out, there were still some metal clips firmly anchoring the headliner to the body. Even with the Bentley manual AND some downloaded docs from erWin.vw.com, I was unable to figure out how these were supposed to come out. With enough wiggling and prying I eventually got 'em out.
Here are some pictures of the process.
My apologies for the large (slow to download) pics, out-of-focus ones, and sideways/upside down ones. Too busy with the car right now to straighten all of that out.
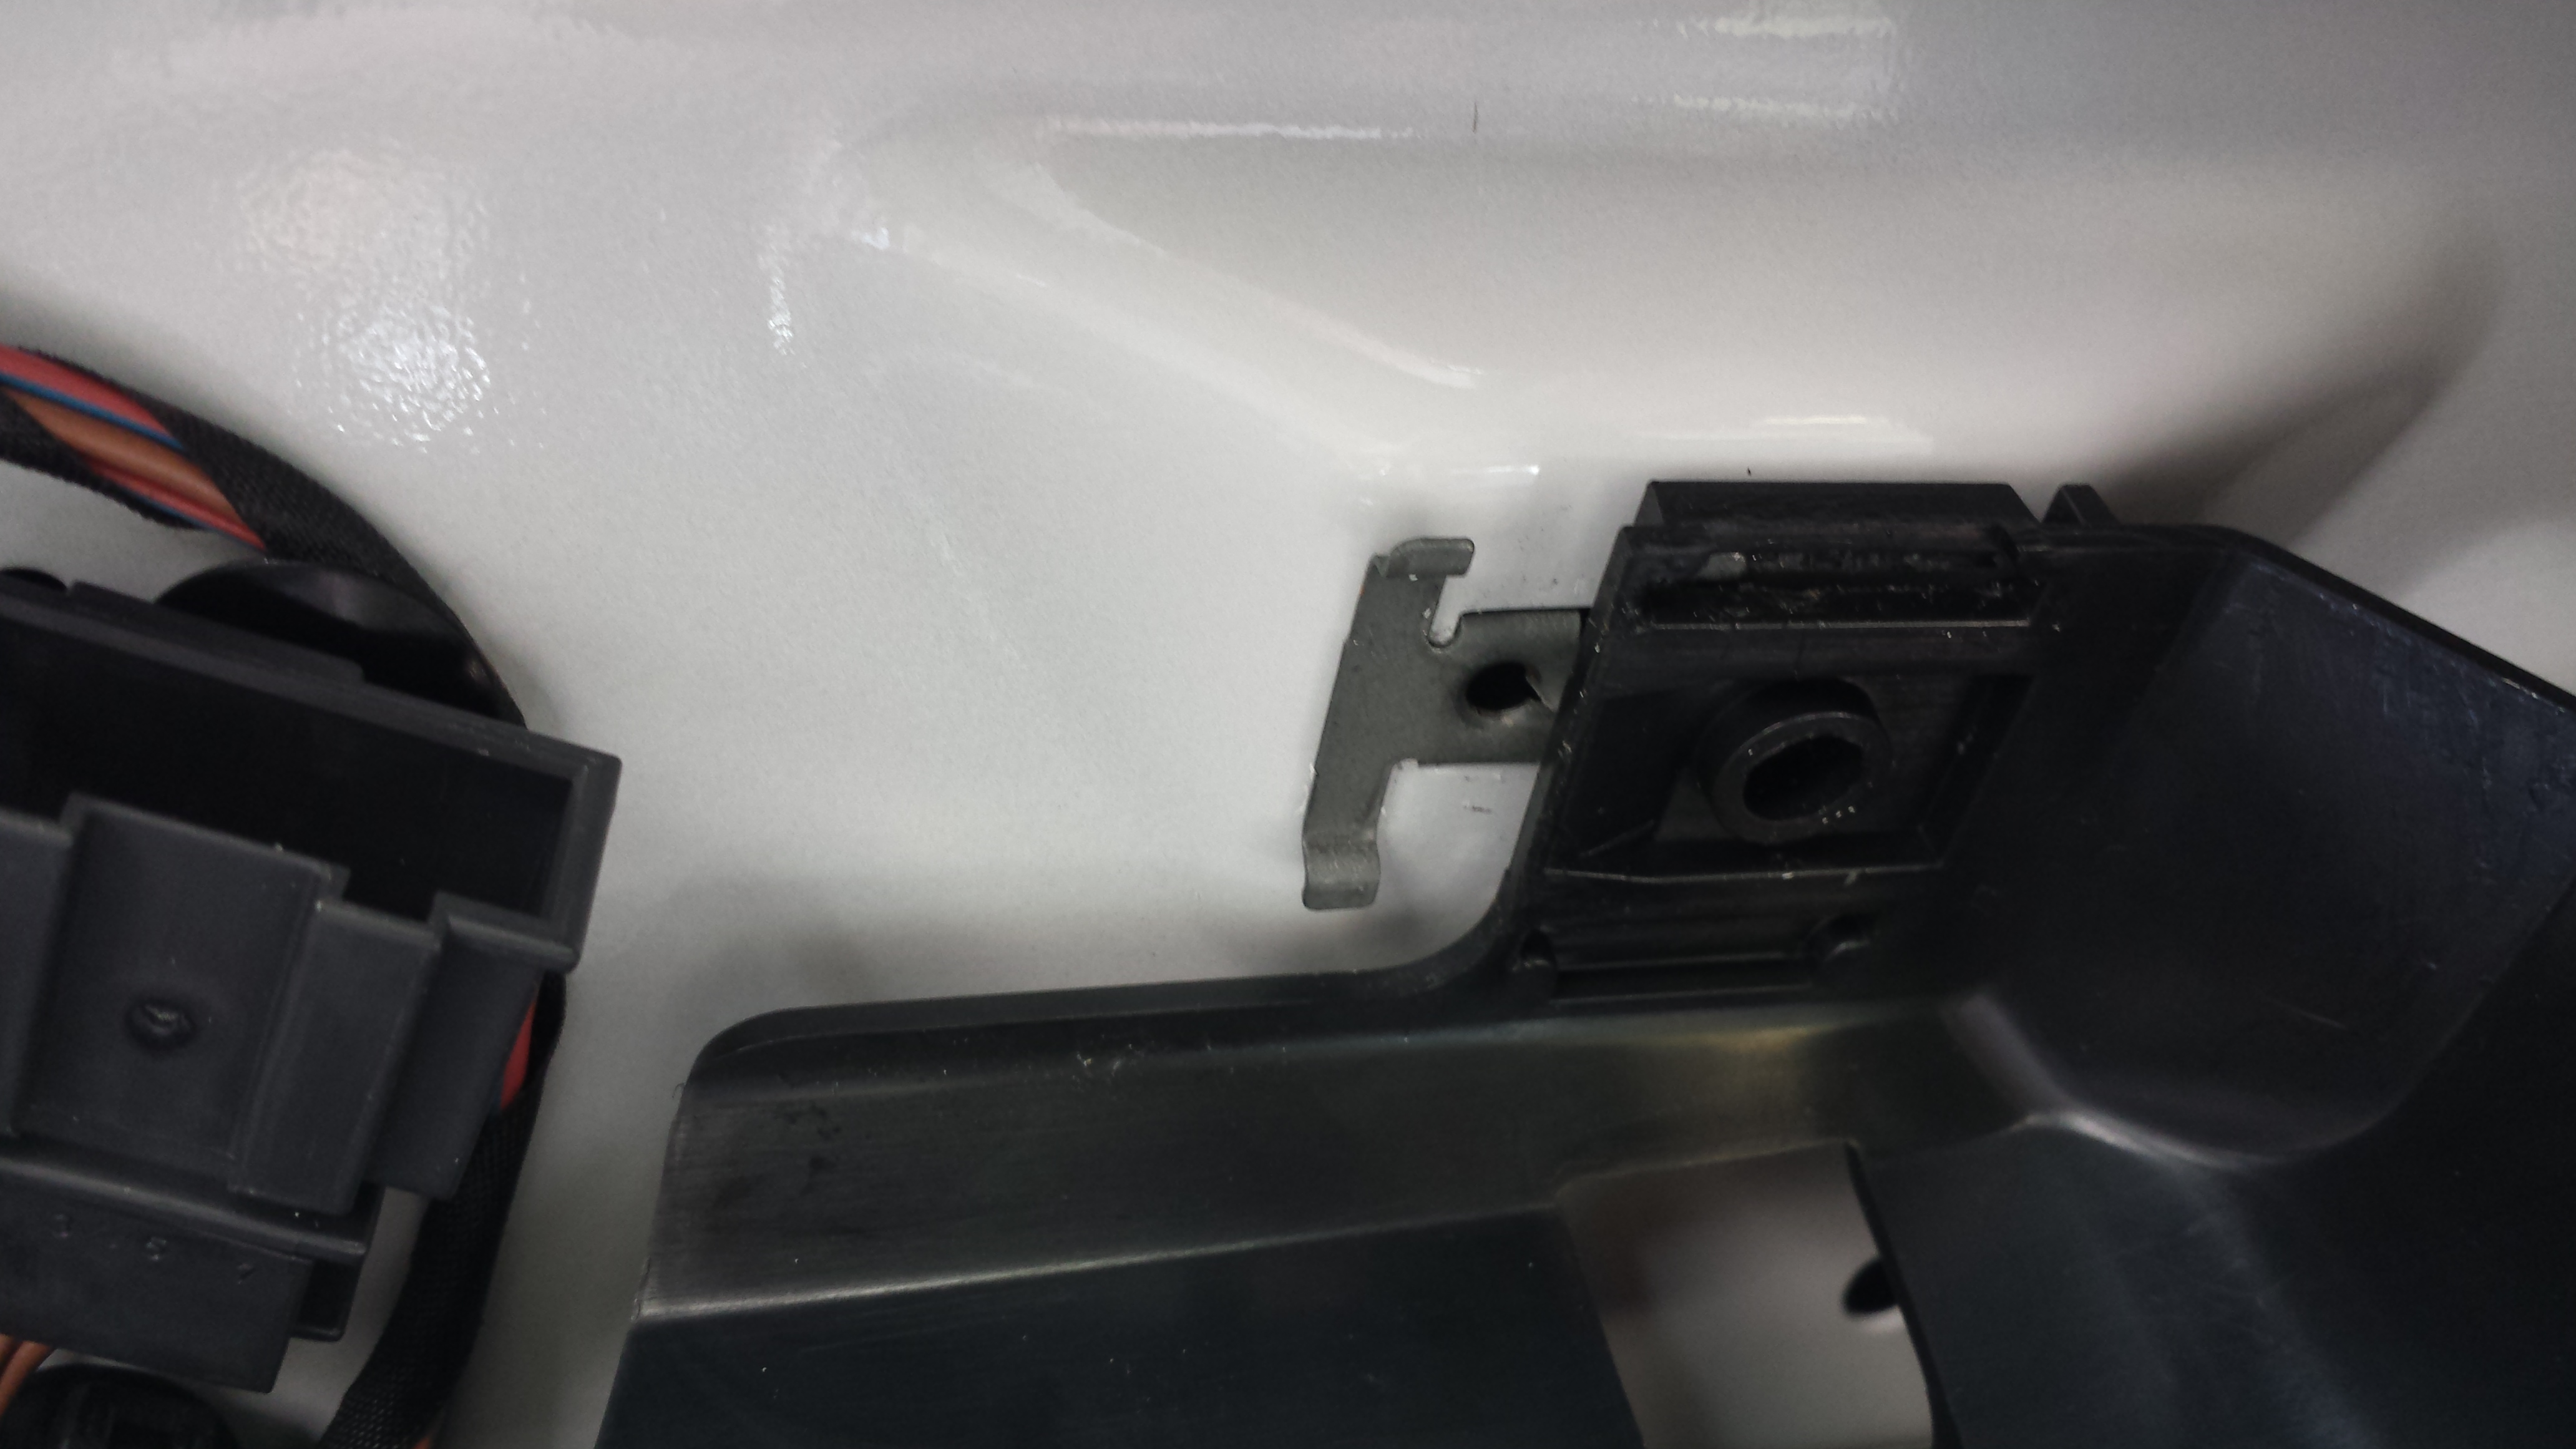
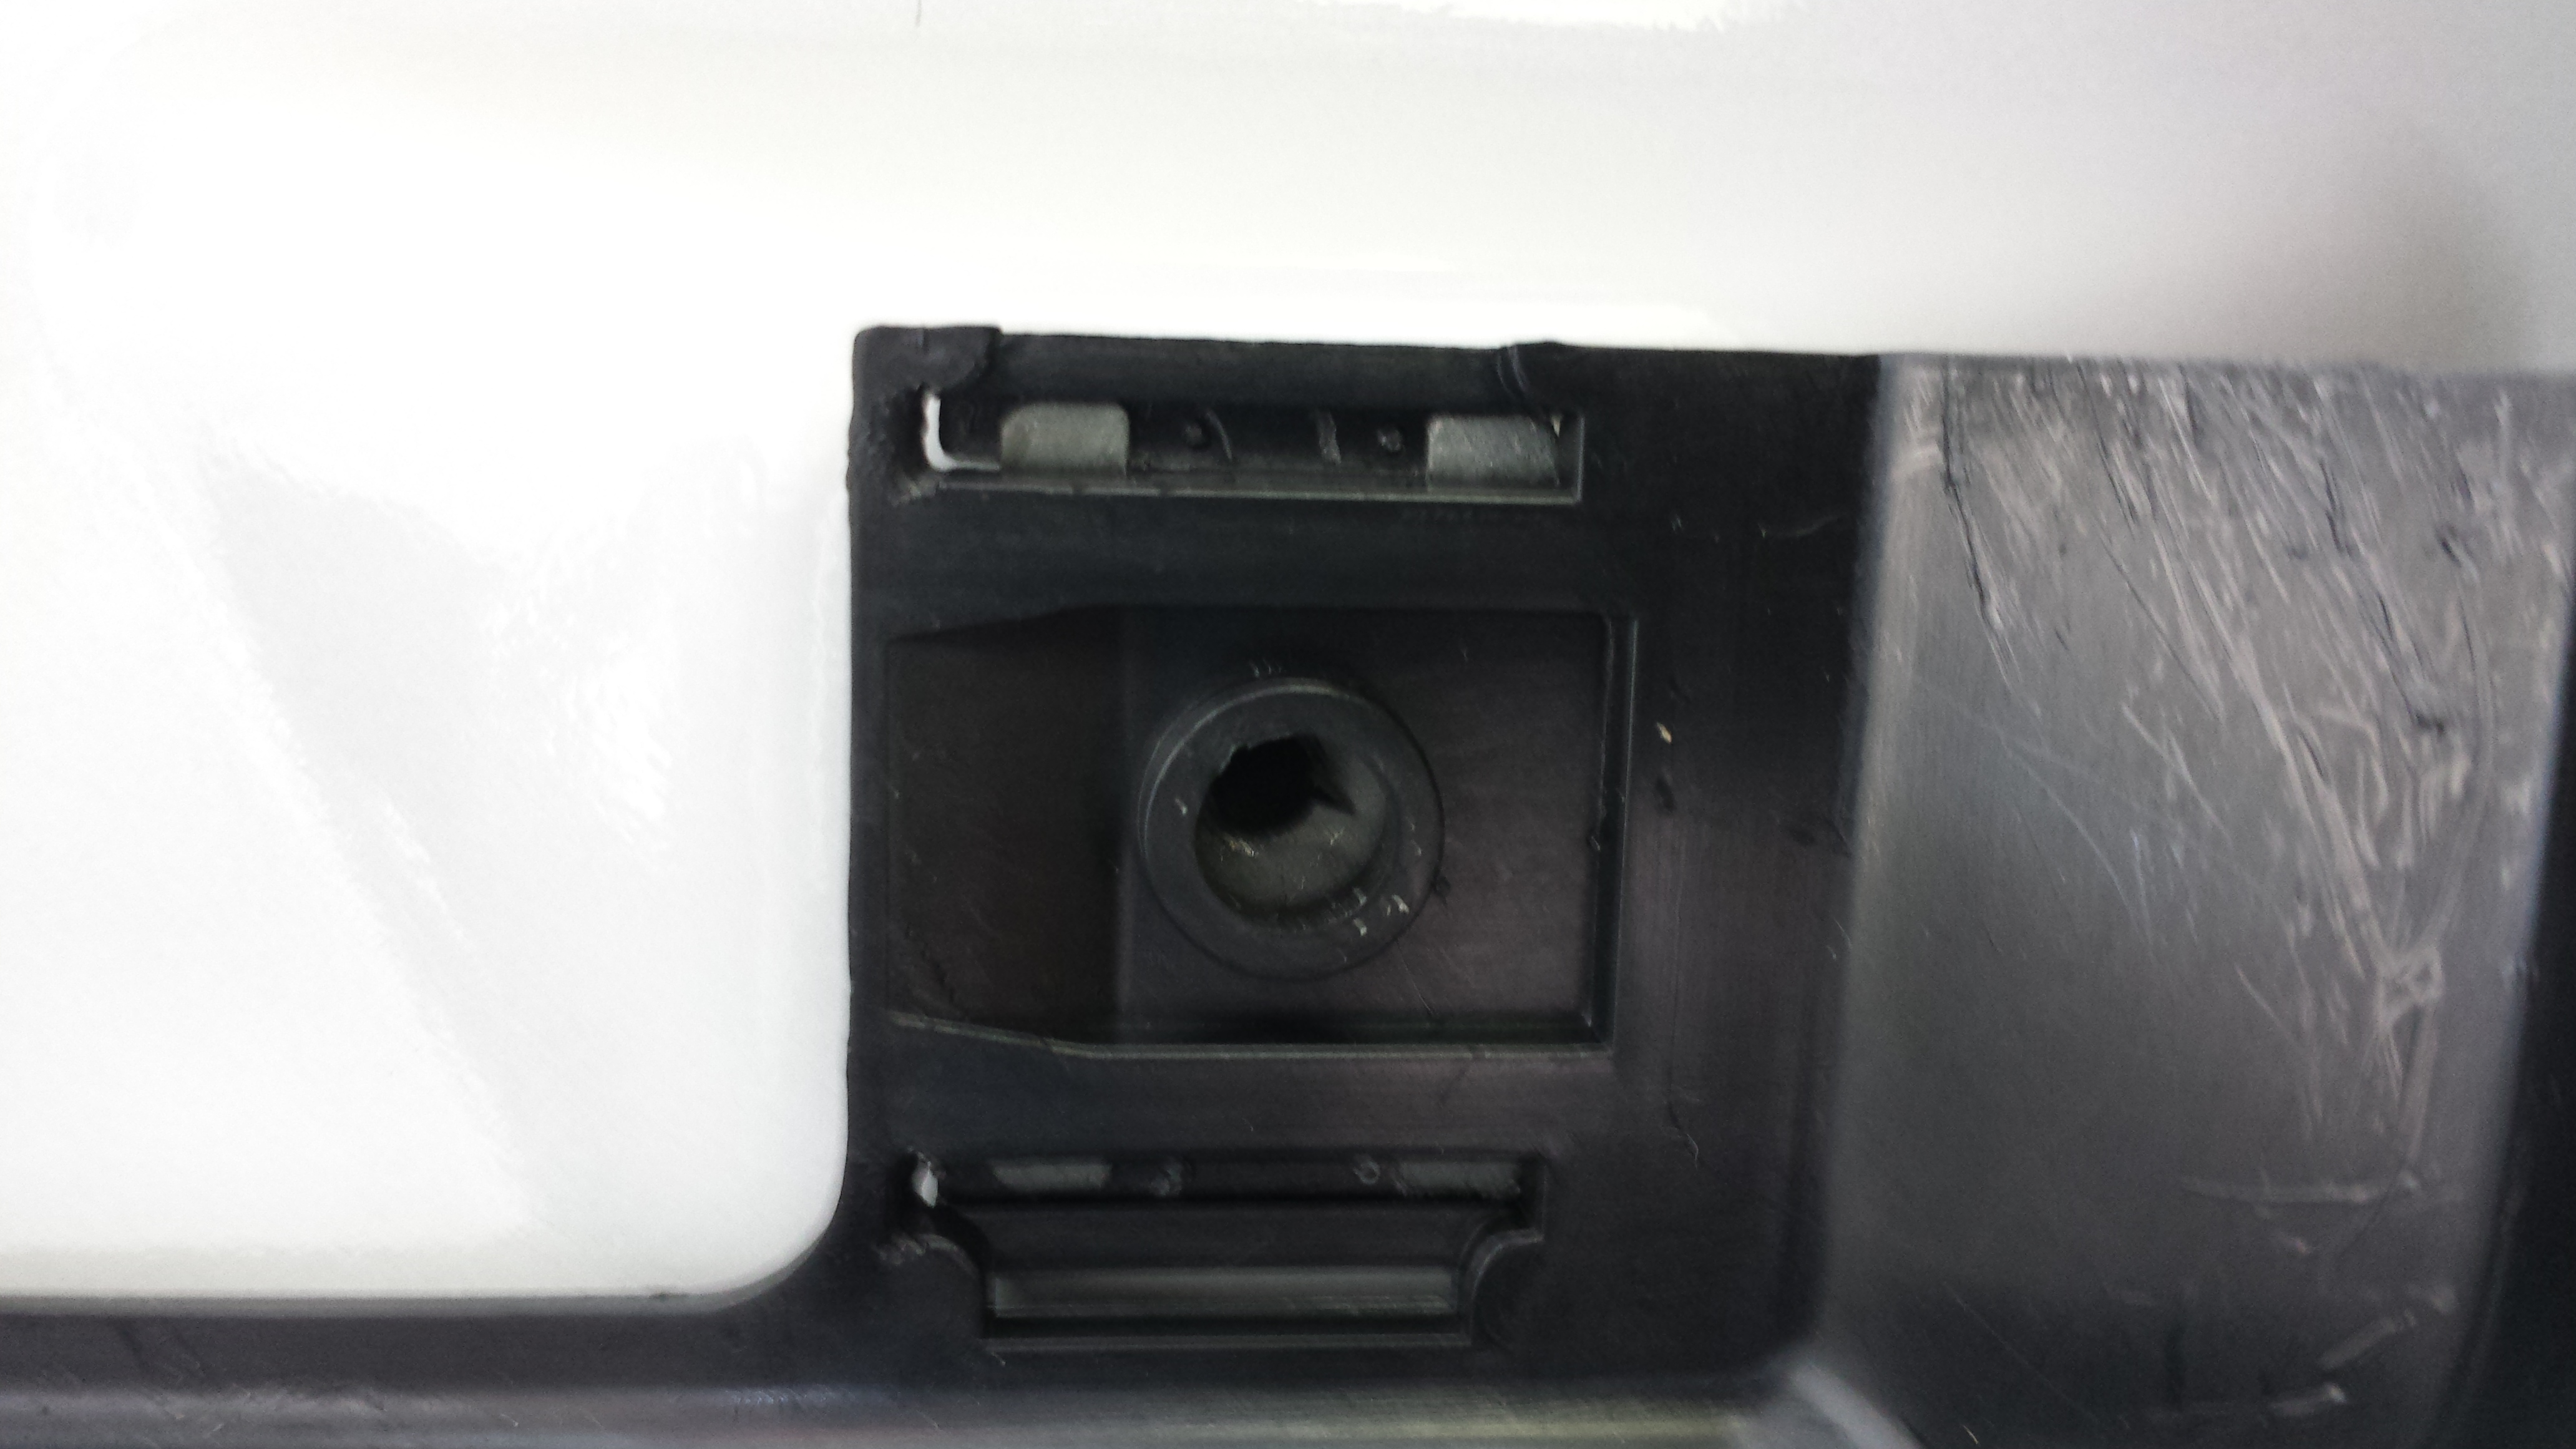
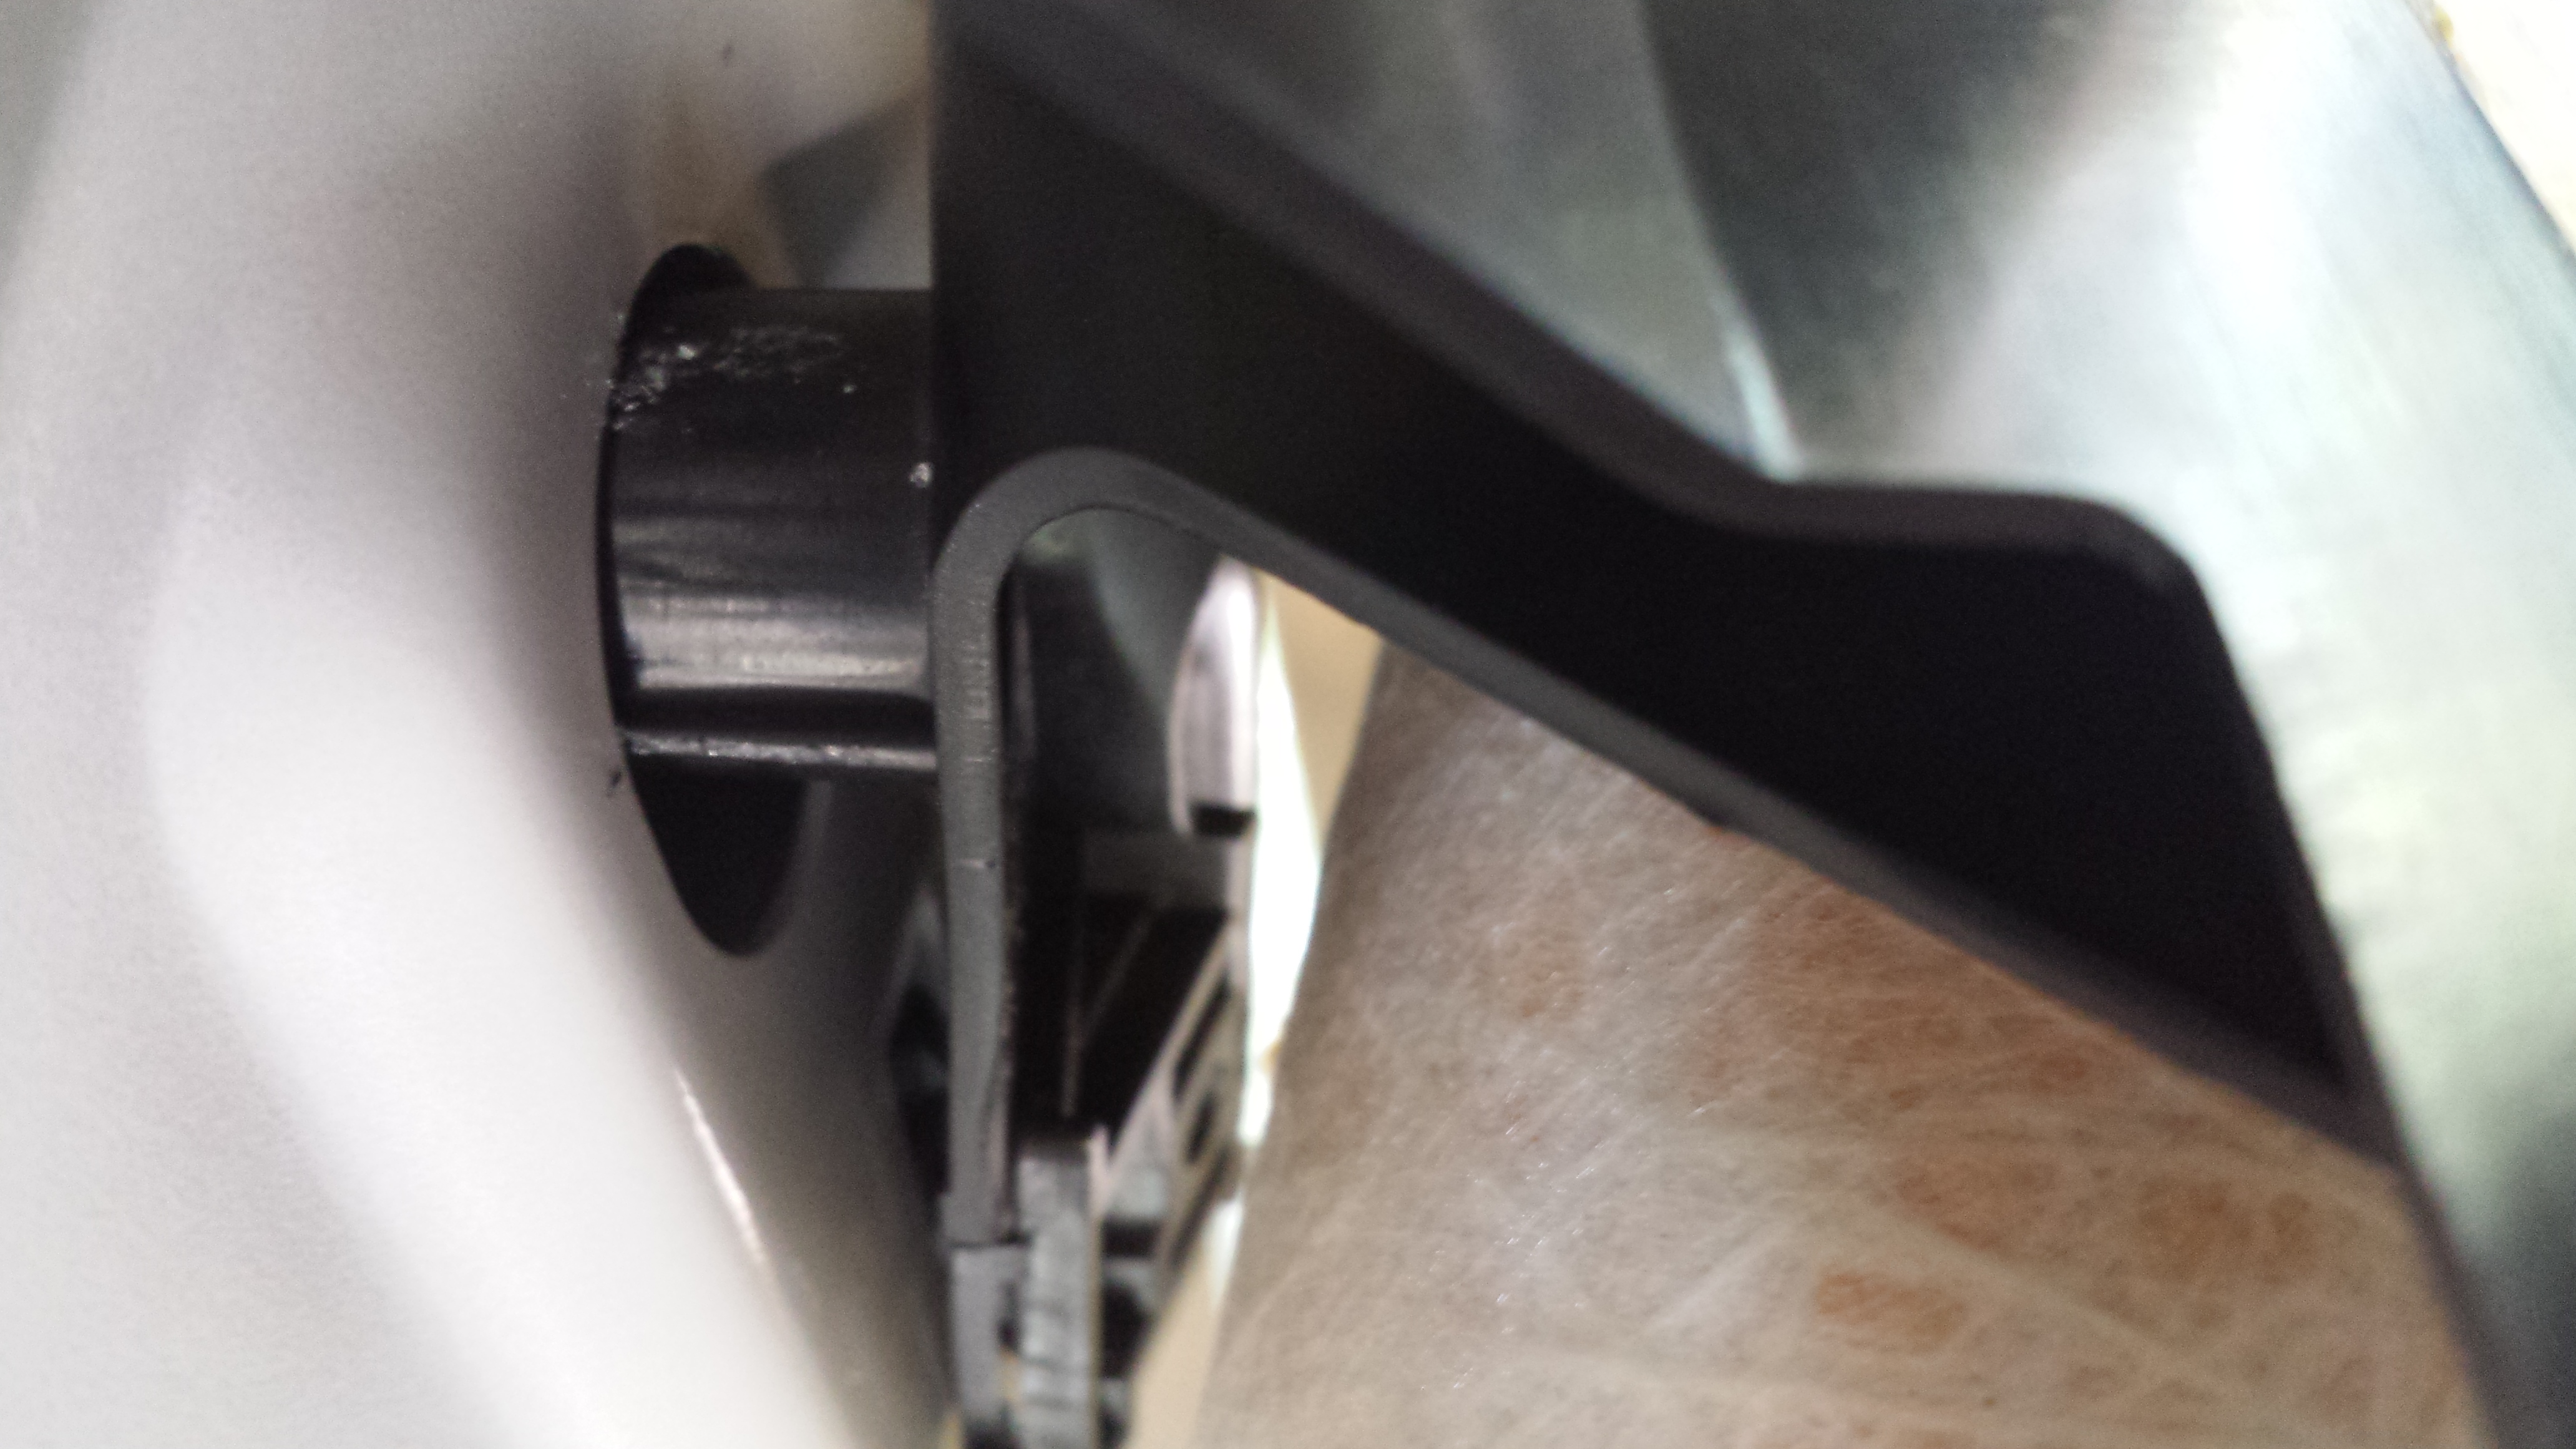
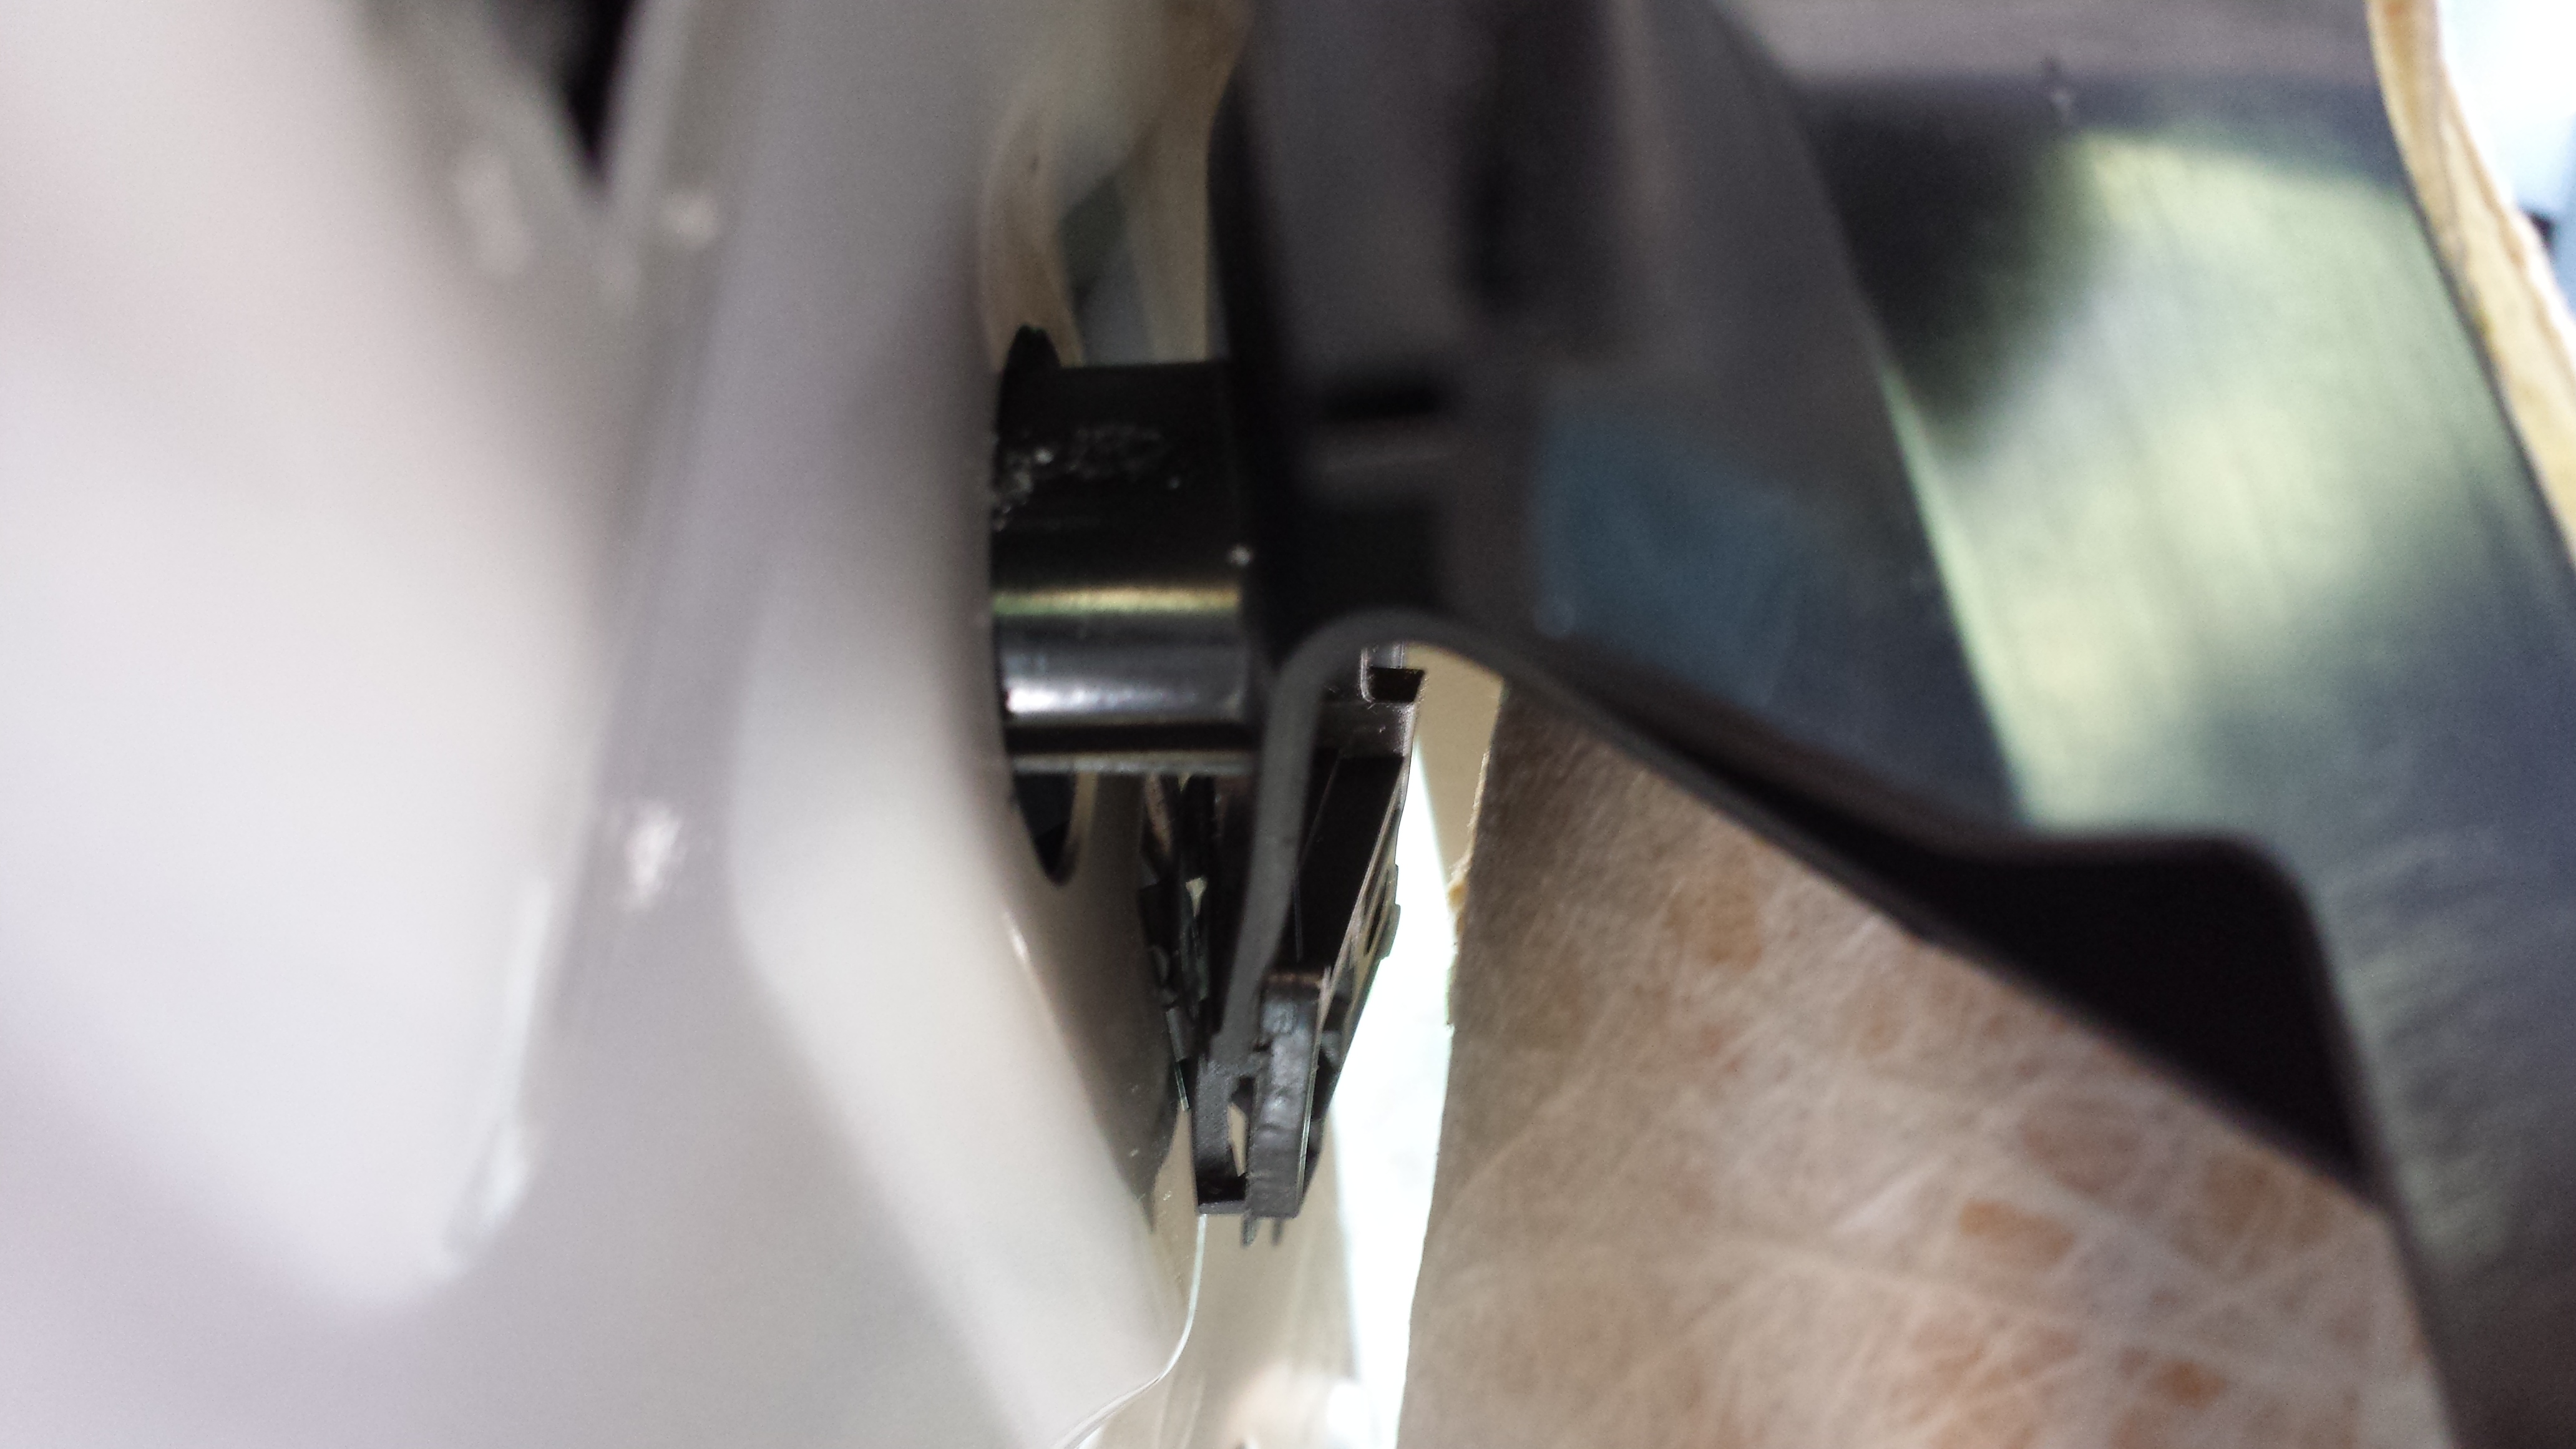
- This shows the hole in the black plastic where the screw came out, and you can see two little metal tabs that are still holding things to the body.
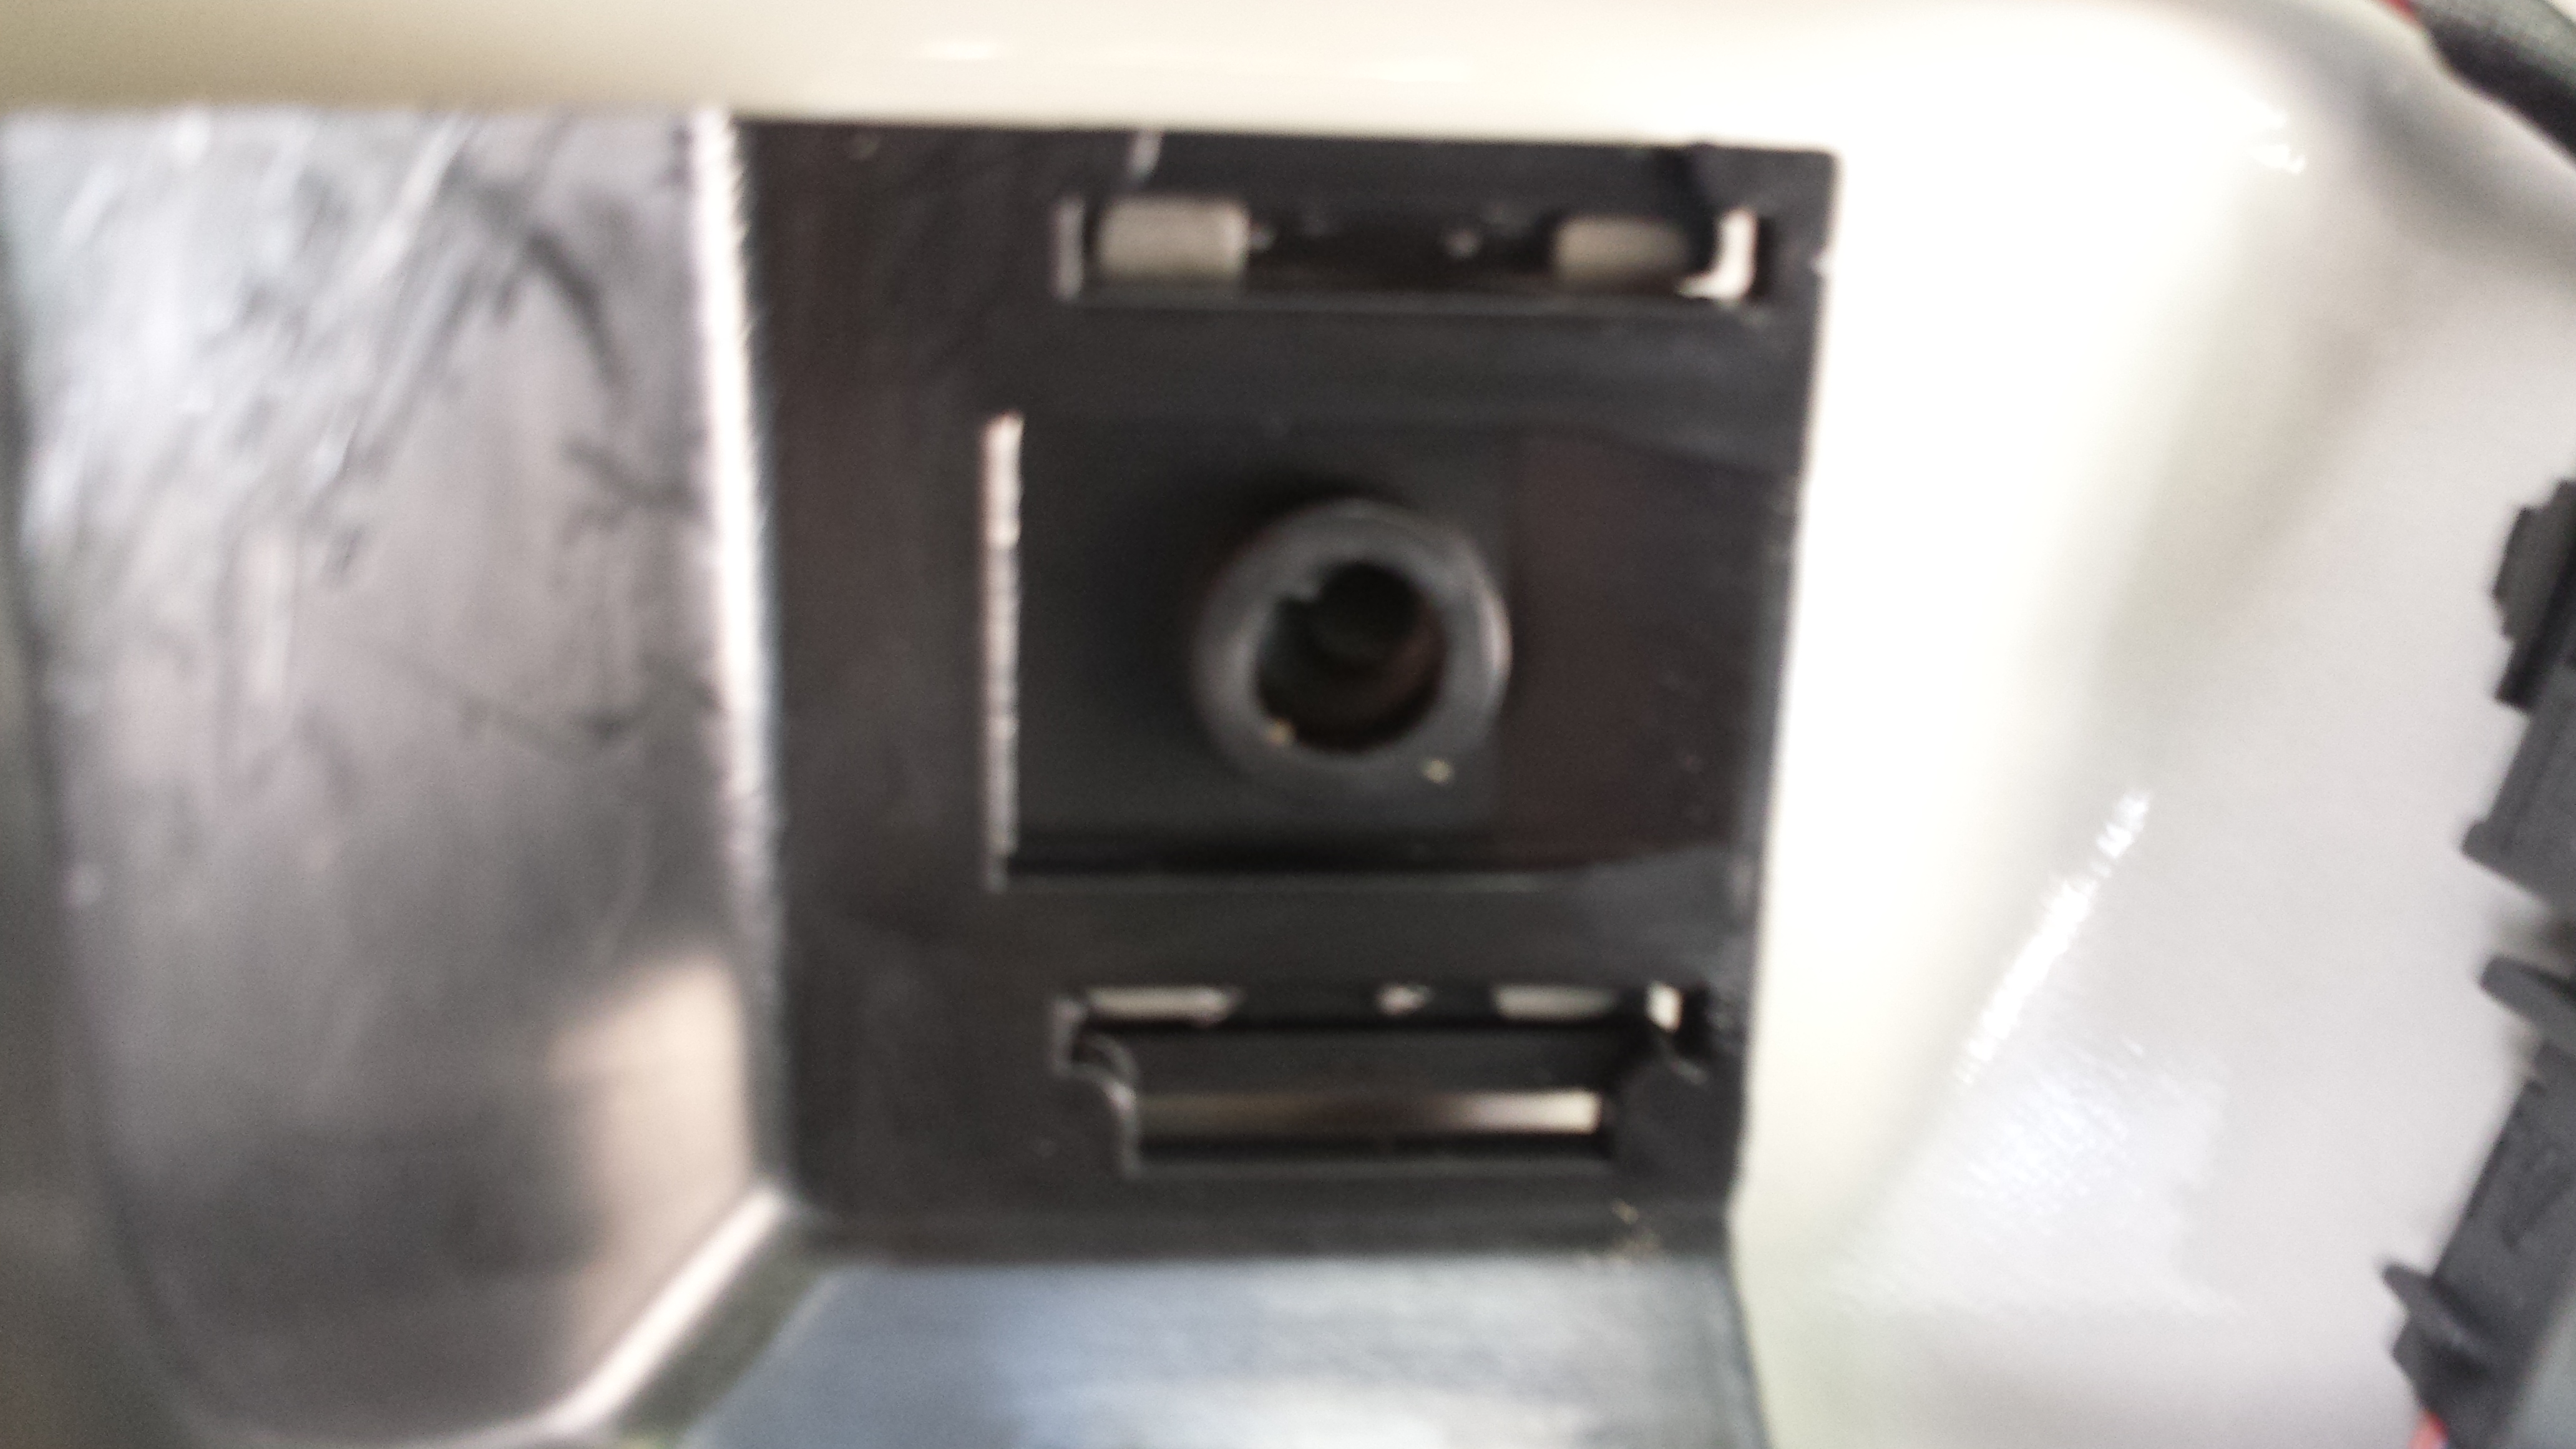
- Better view of both metal anchors.

- Zoomed out a bit further

- Text
- Text
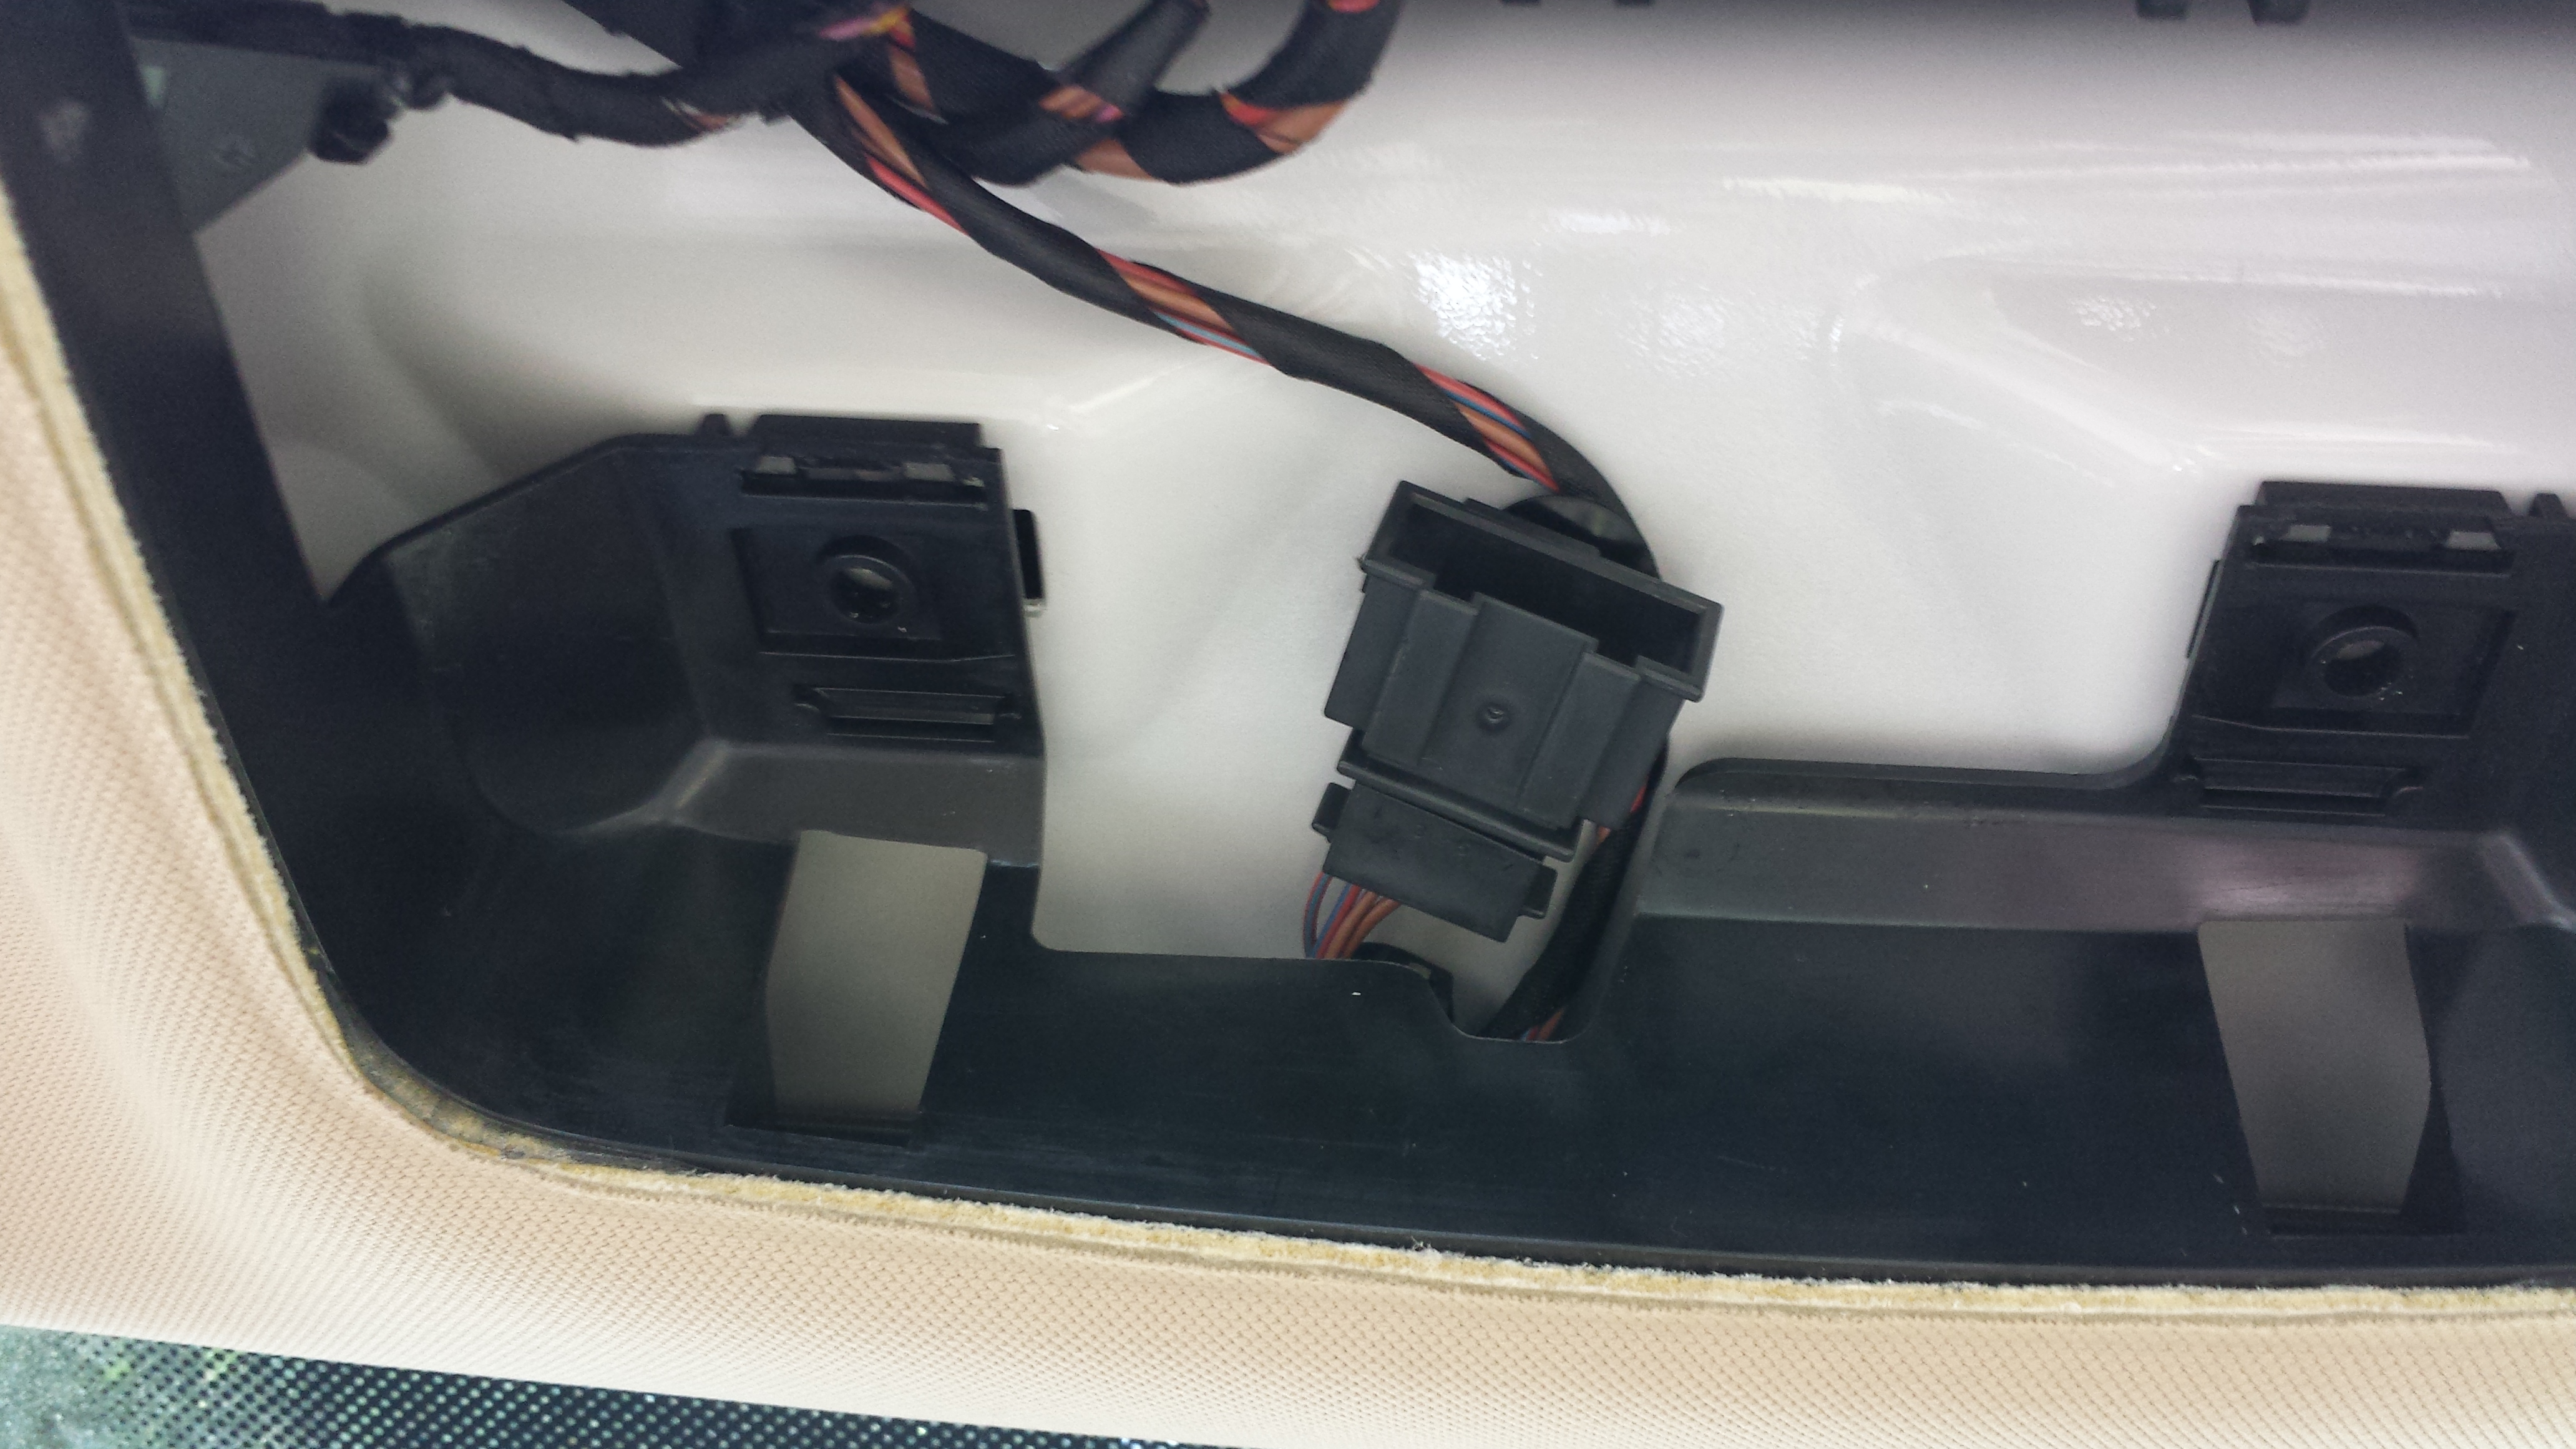
- I pushed the headliner left and worked the left-side metal clip the right, releasing half of it.
- Pardon the upside down picture
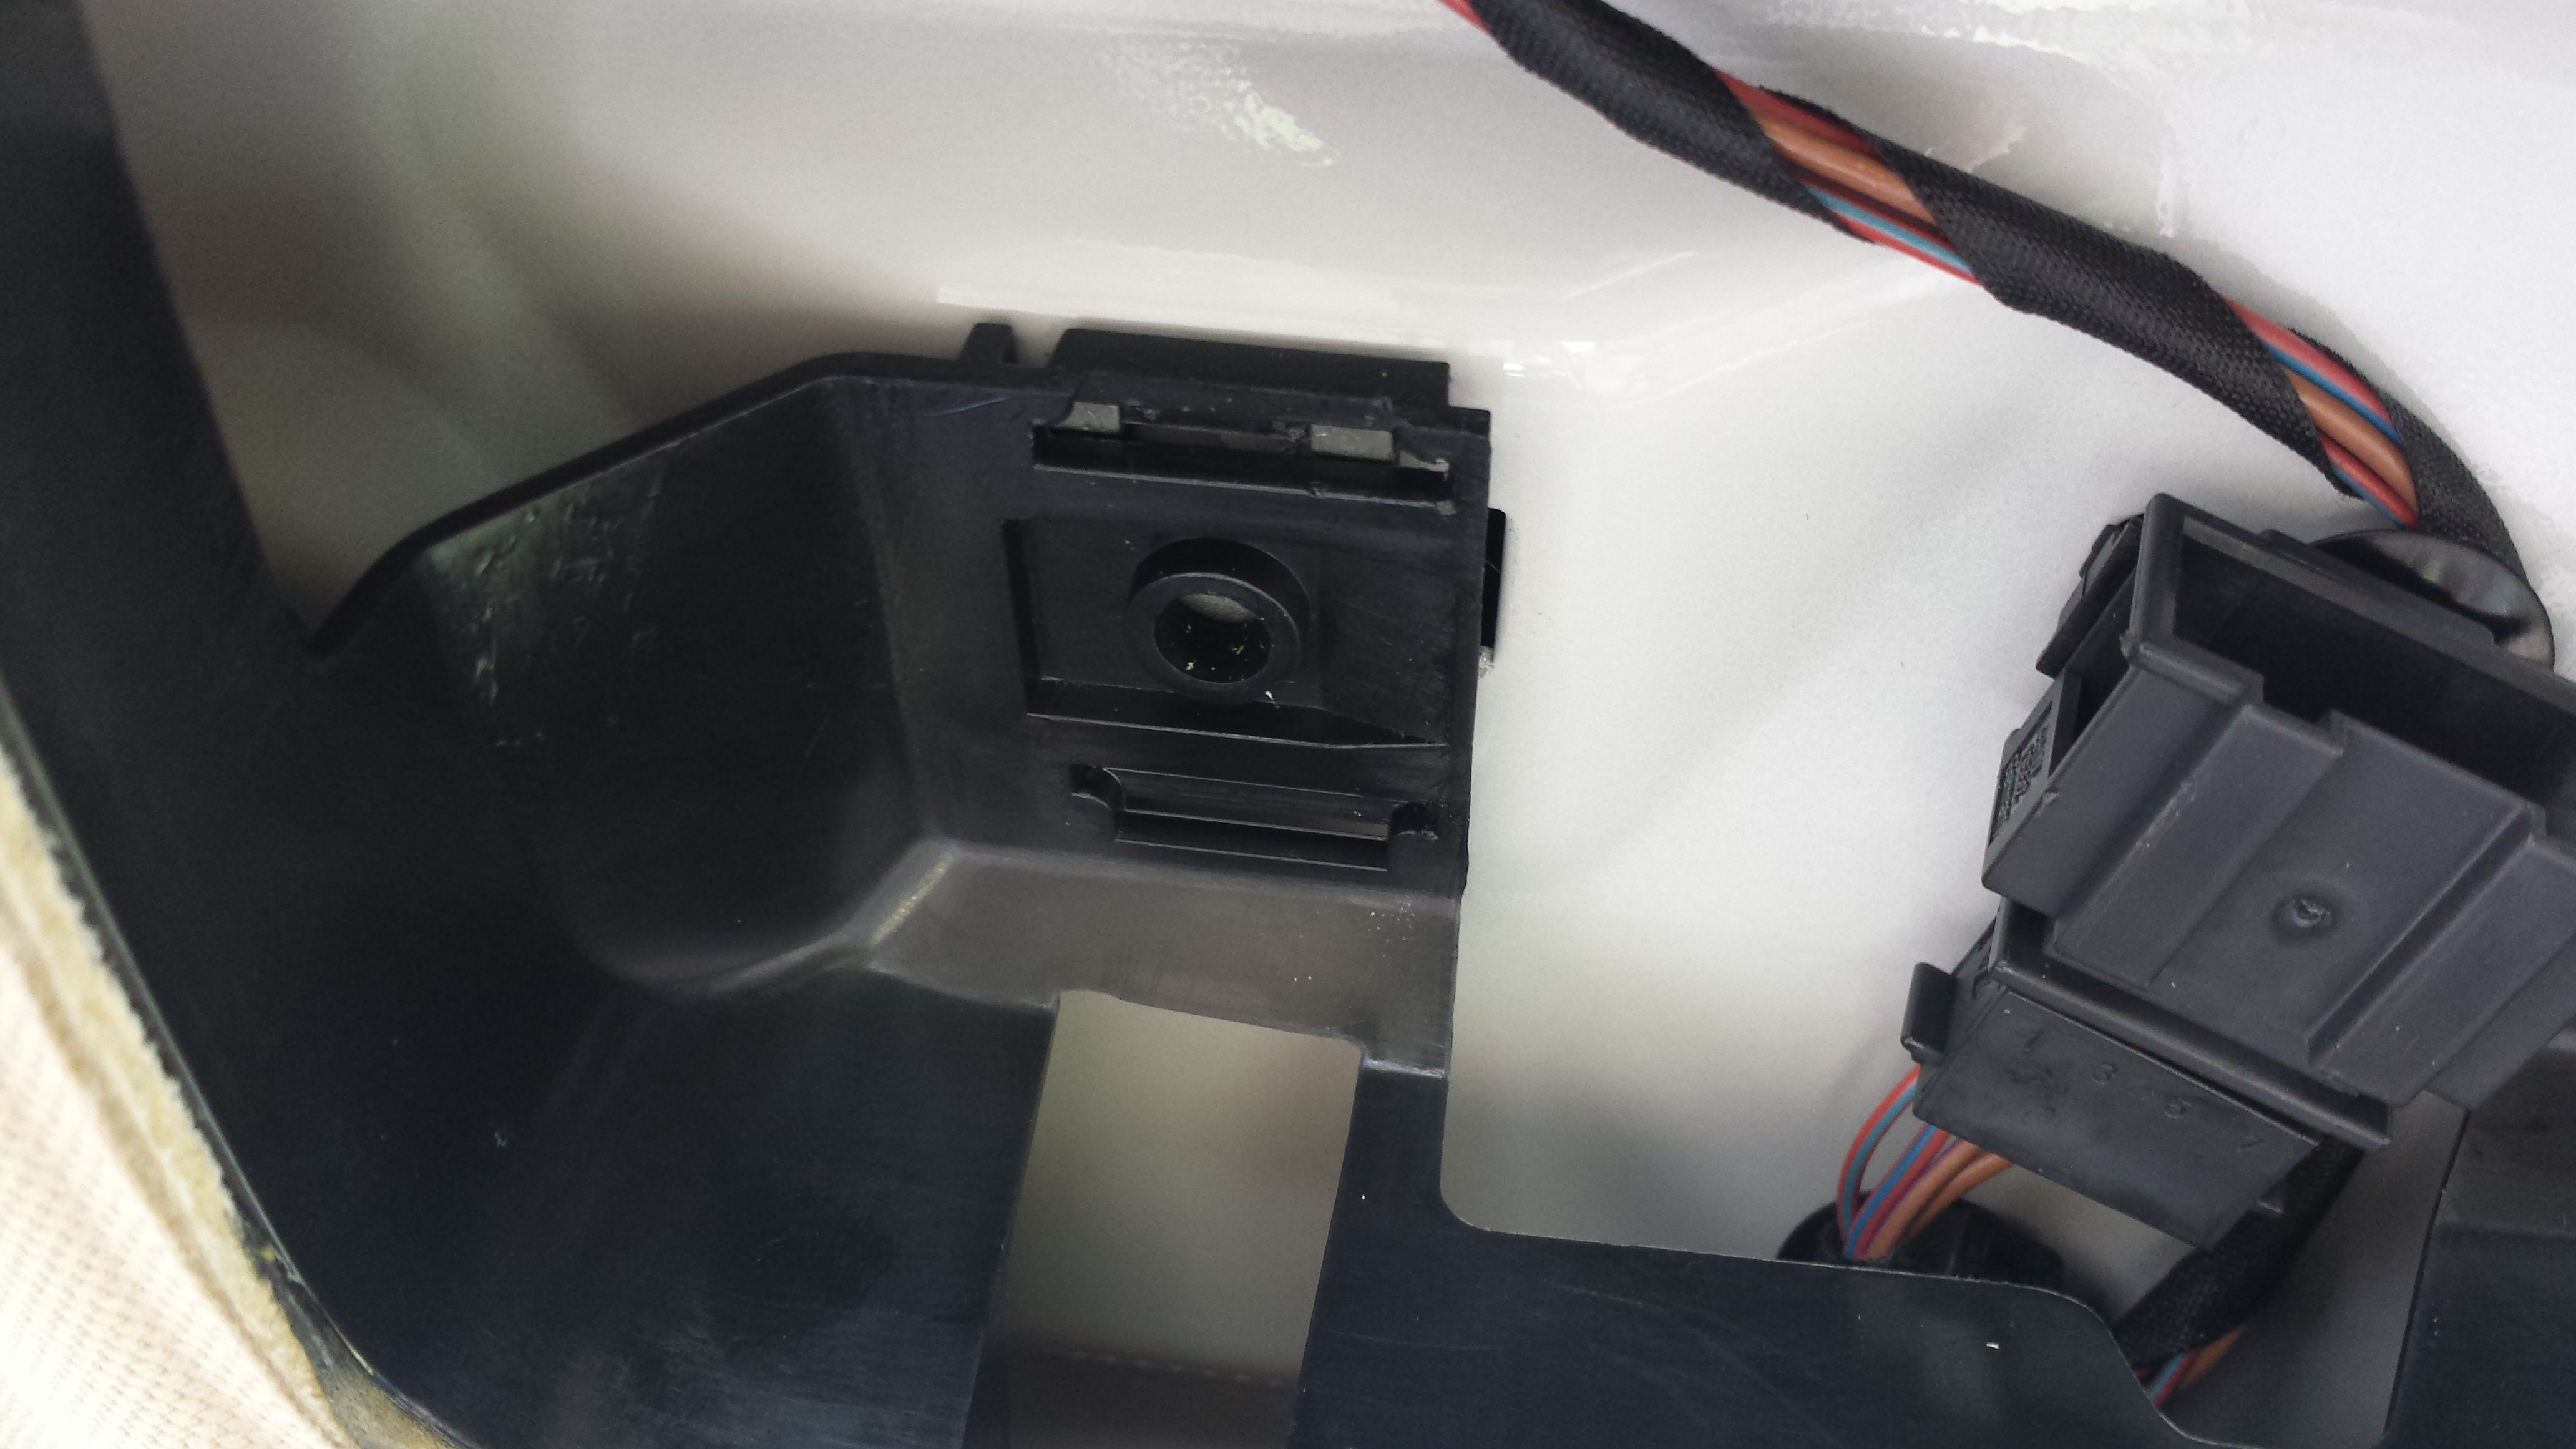
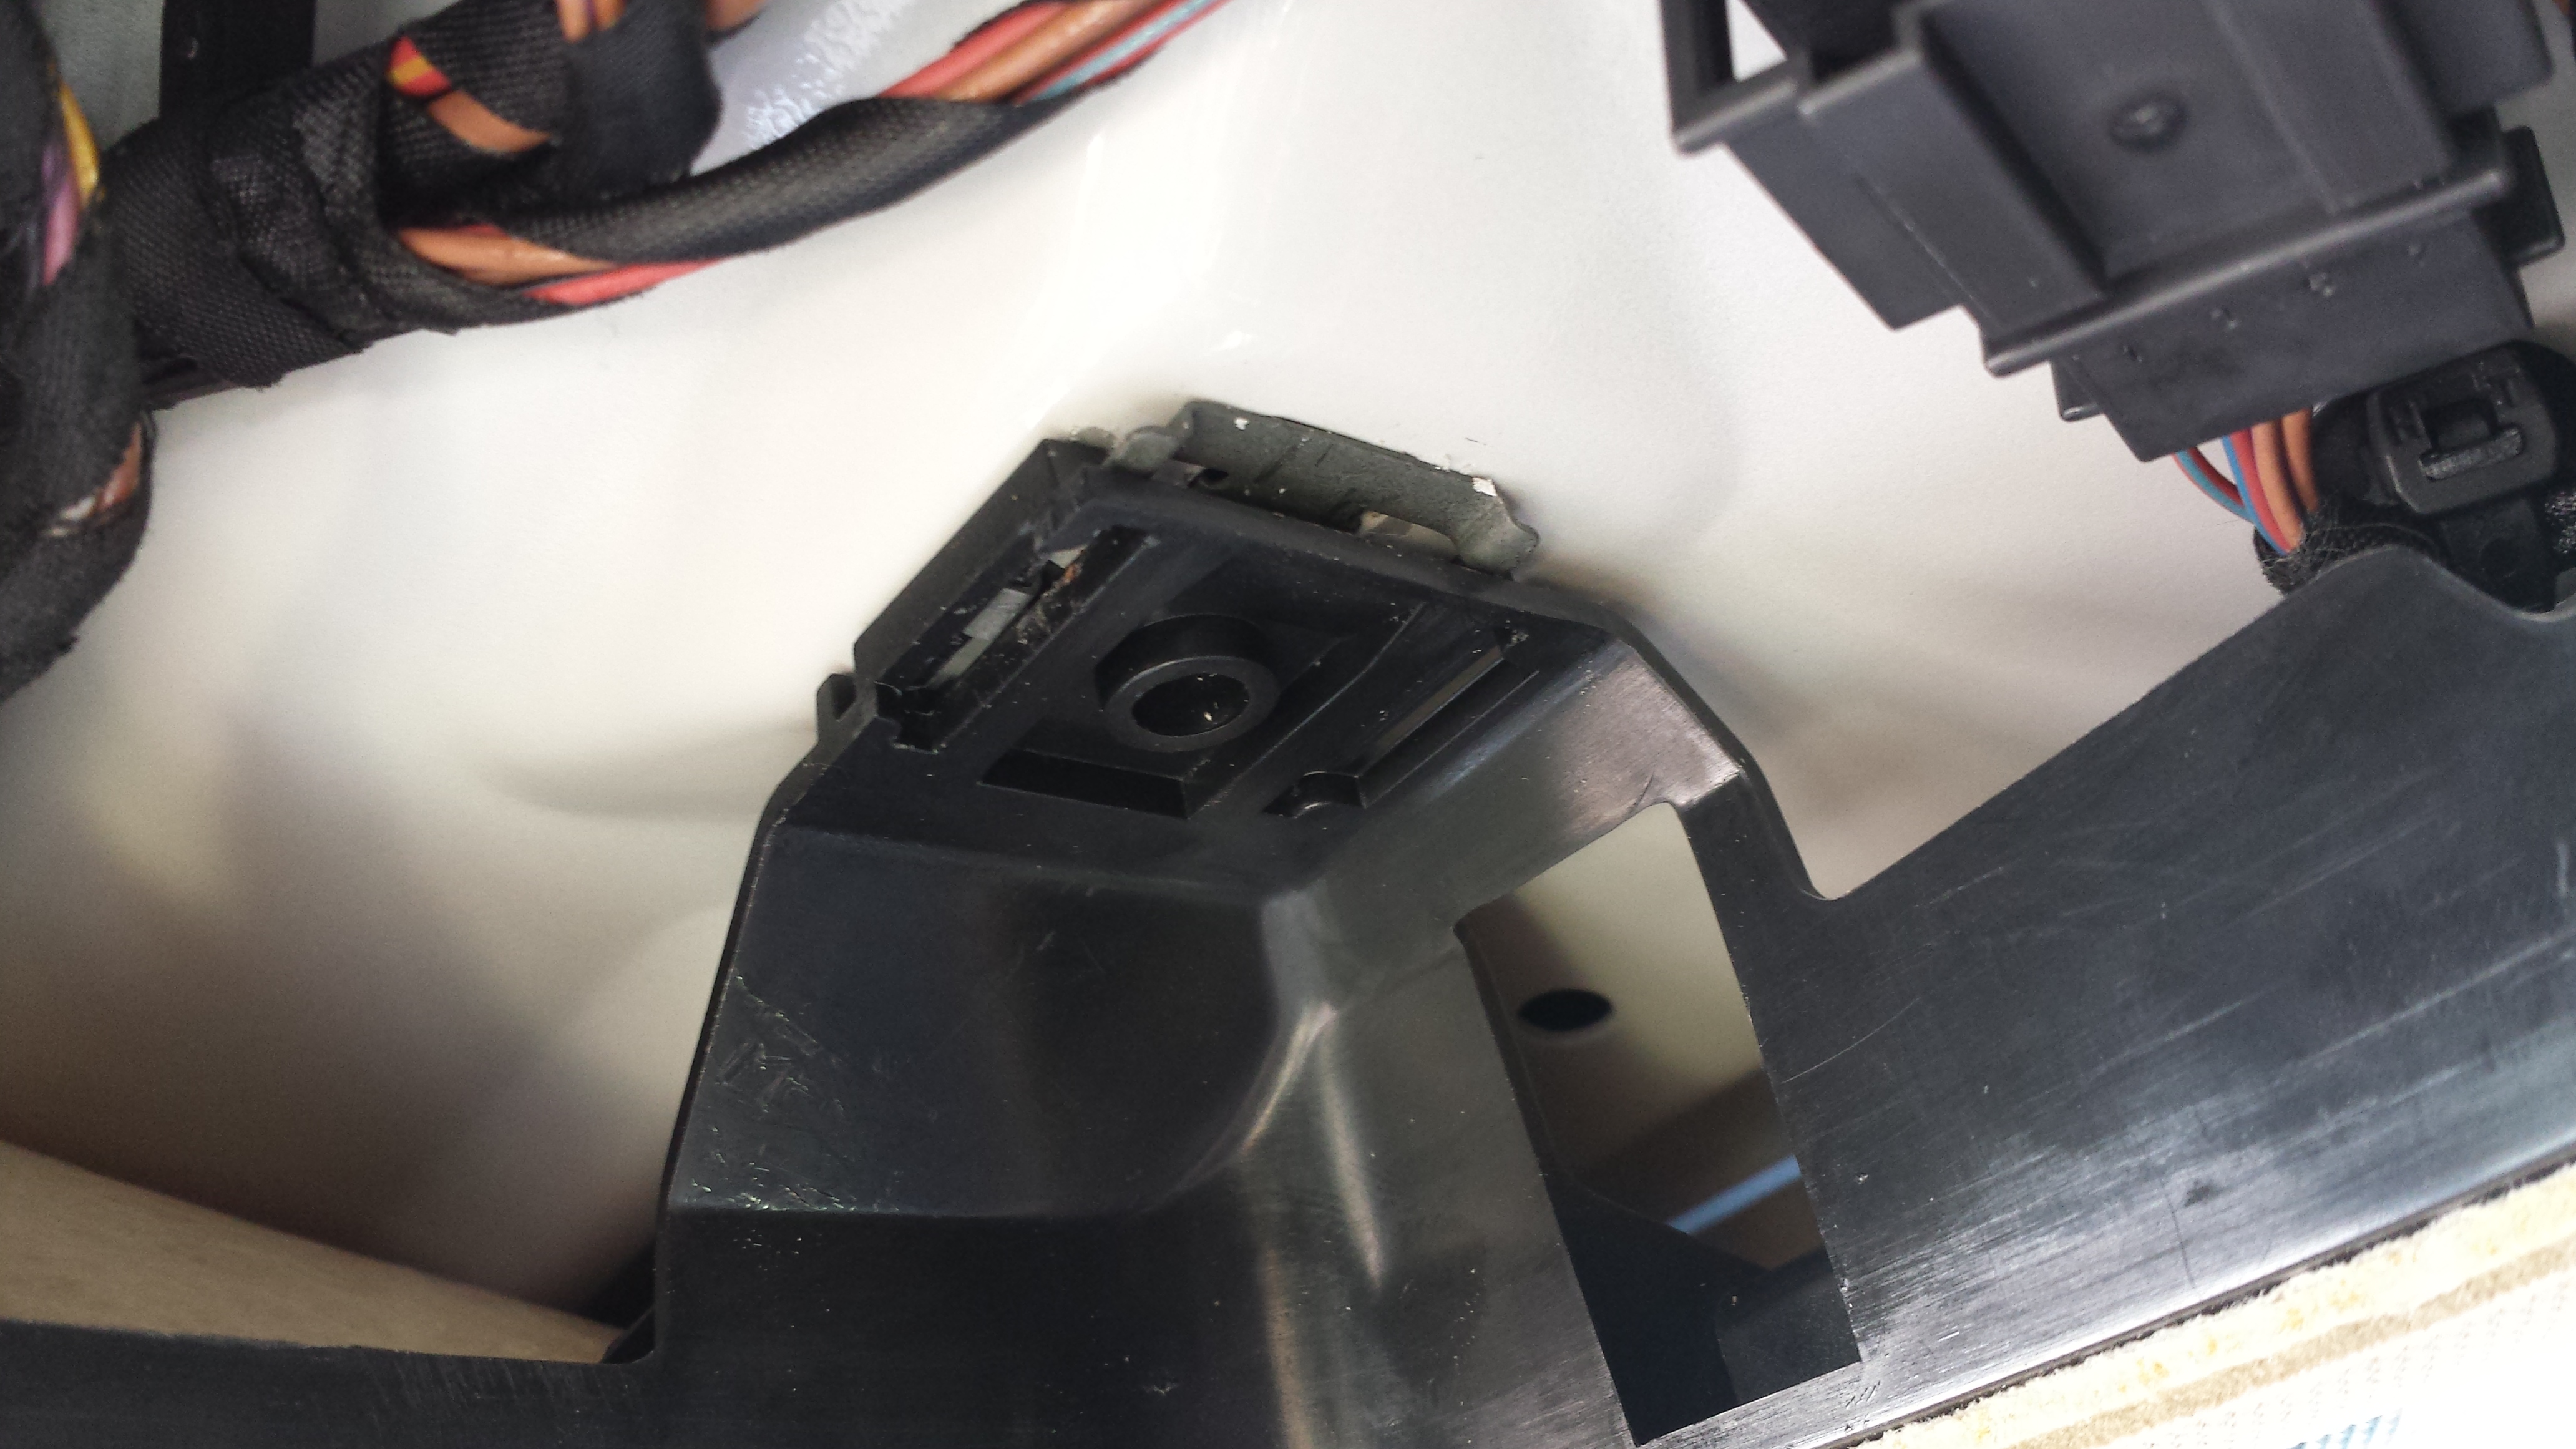
- Here is the right-side metal clipped slid to the left with the headliner pushed right. Normally there is a screw through the hole in the black plastic that goes through the hole in the metal clip.
- Text
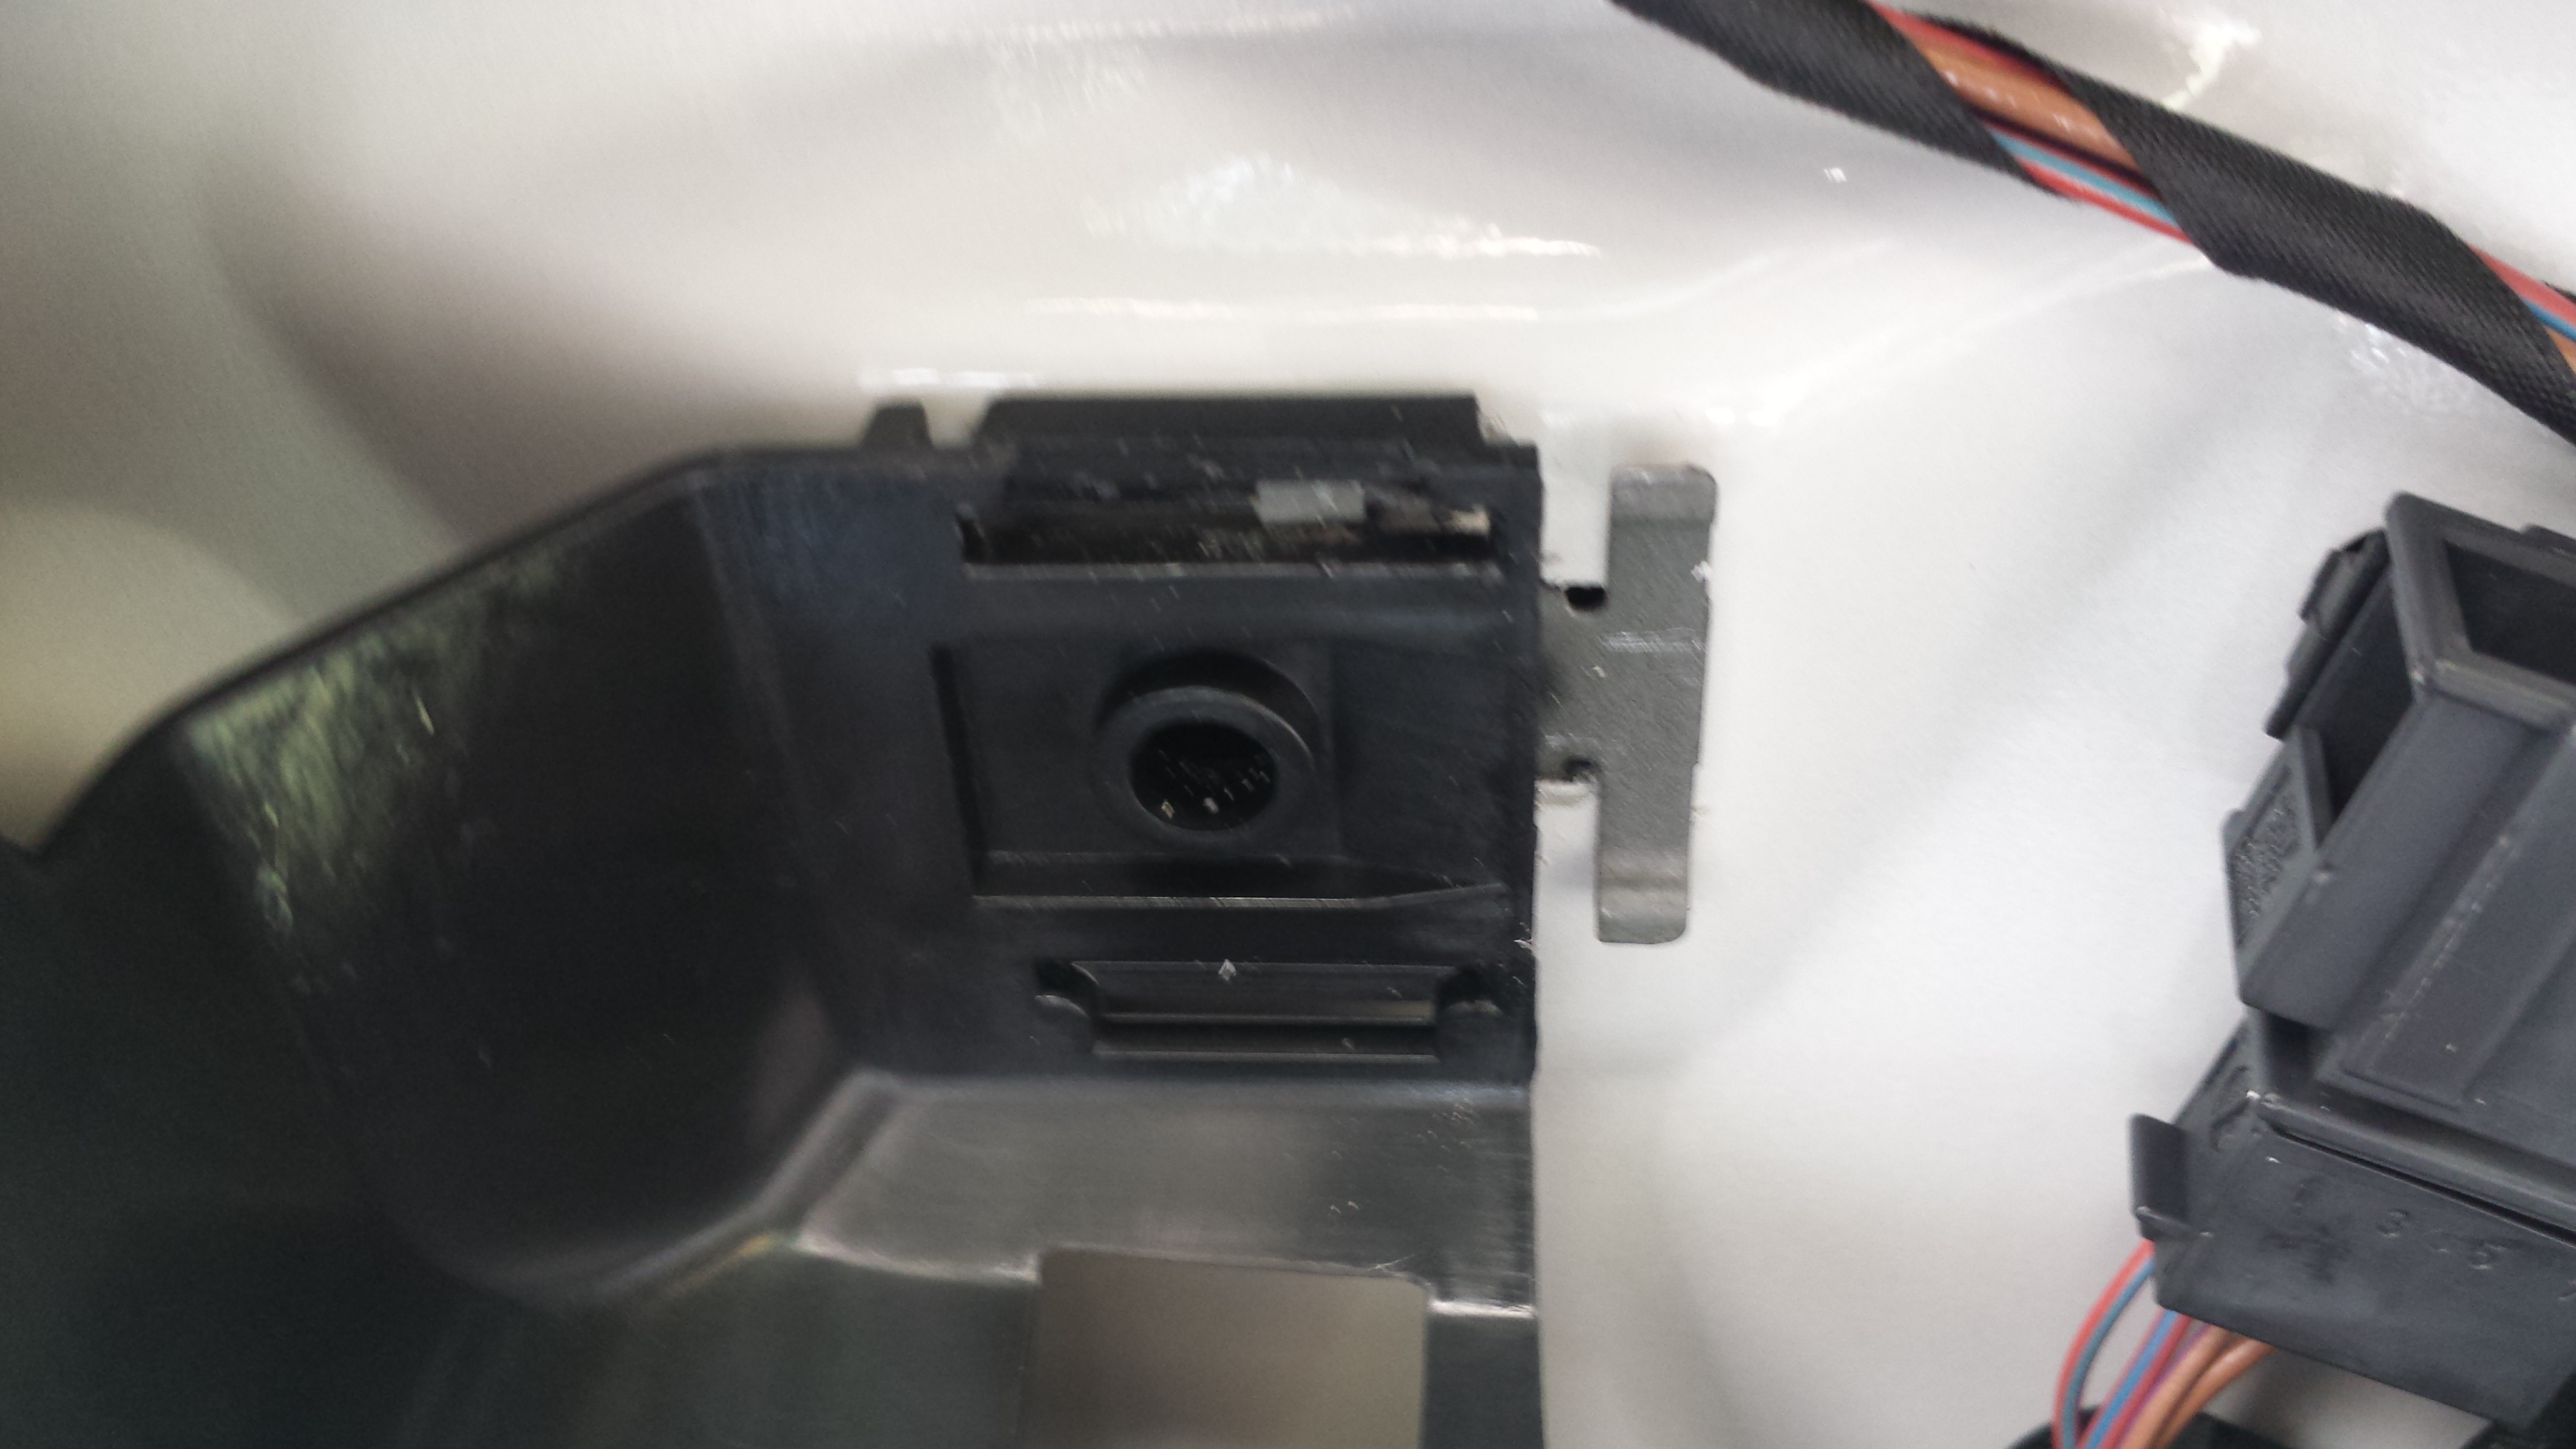
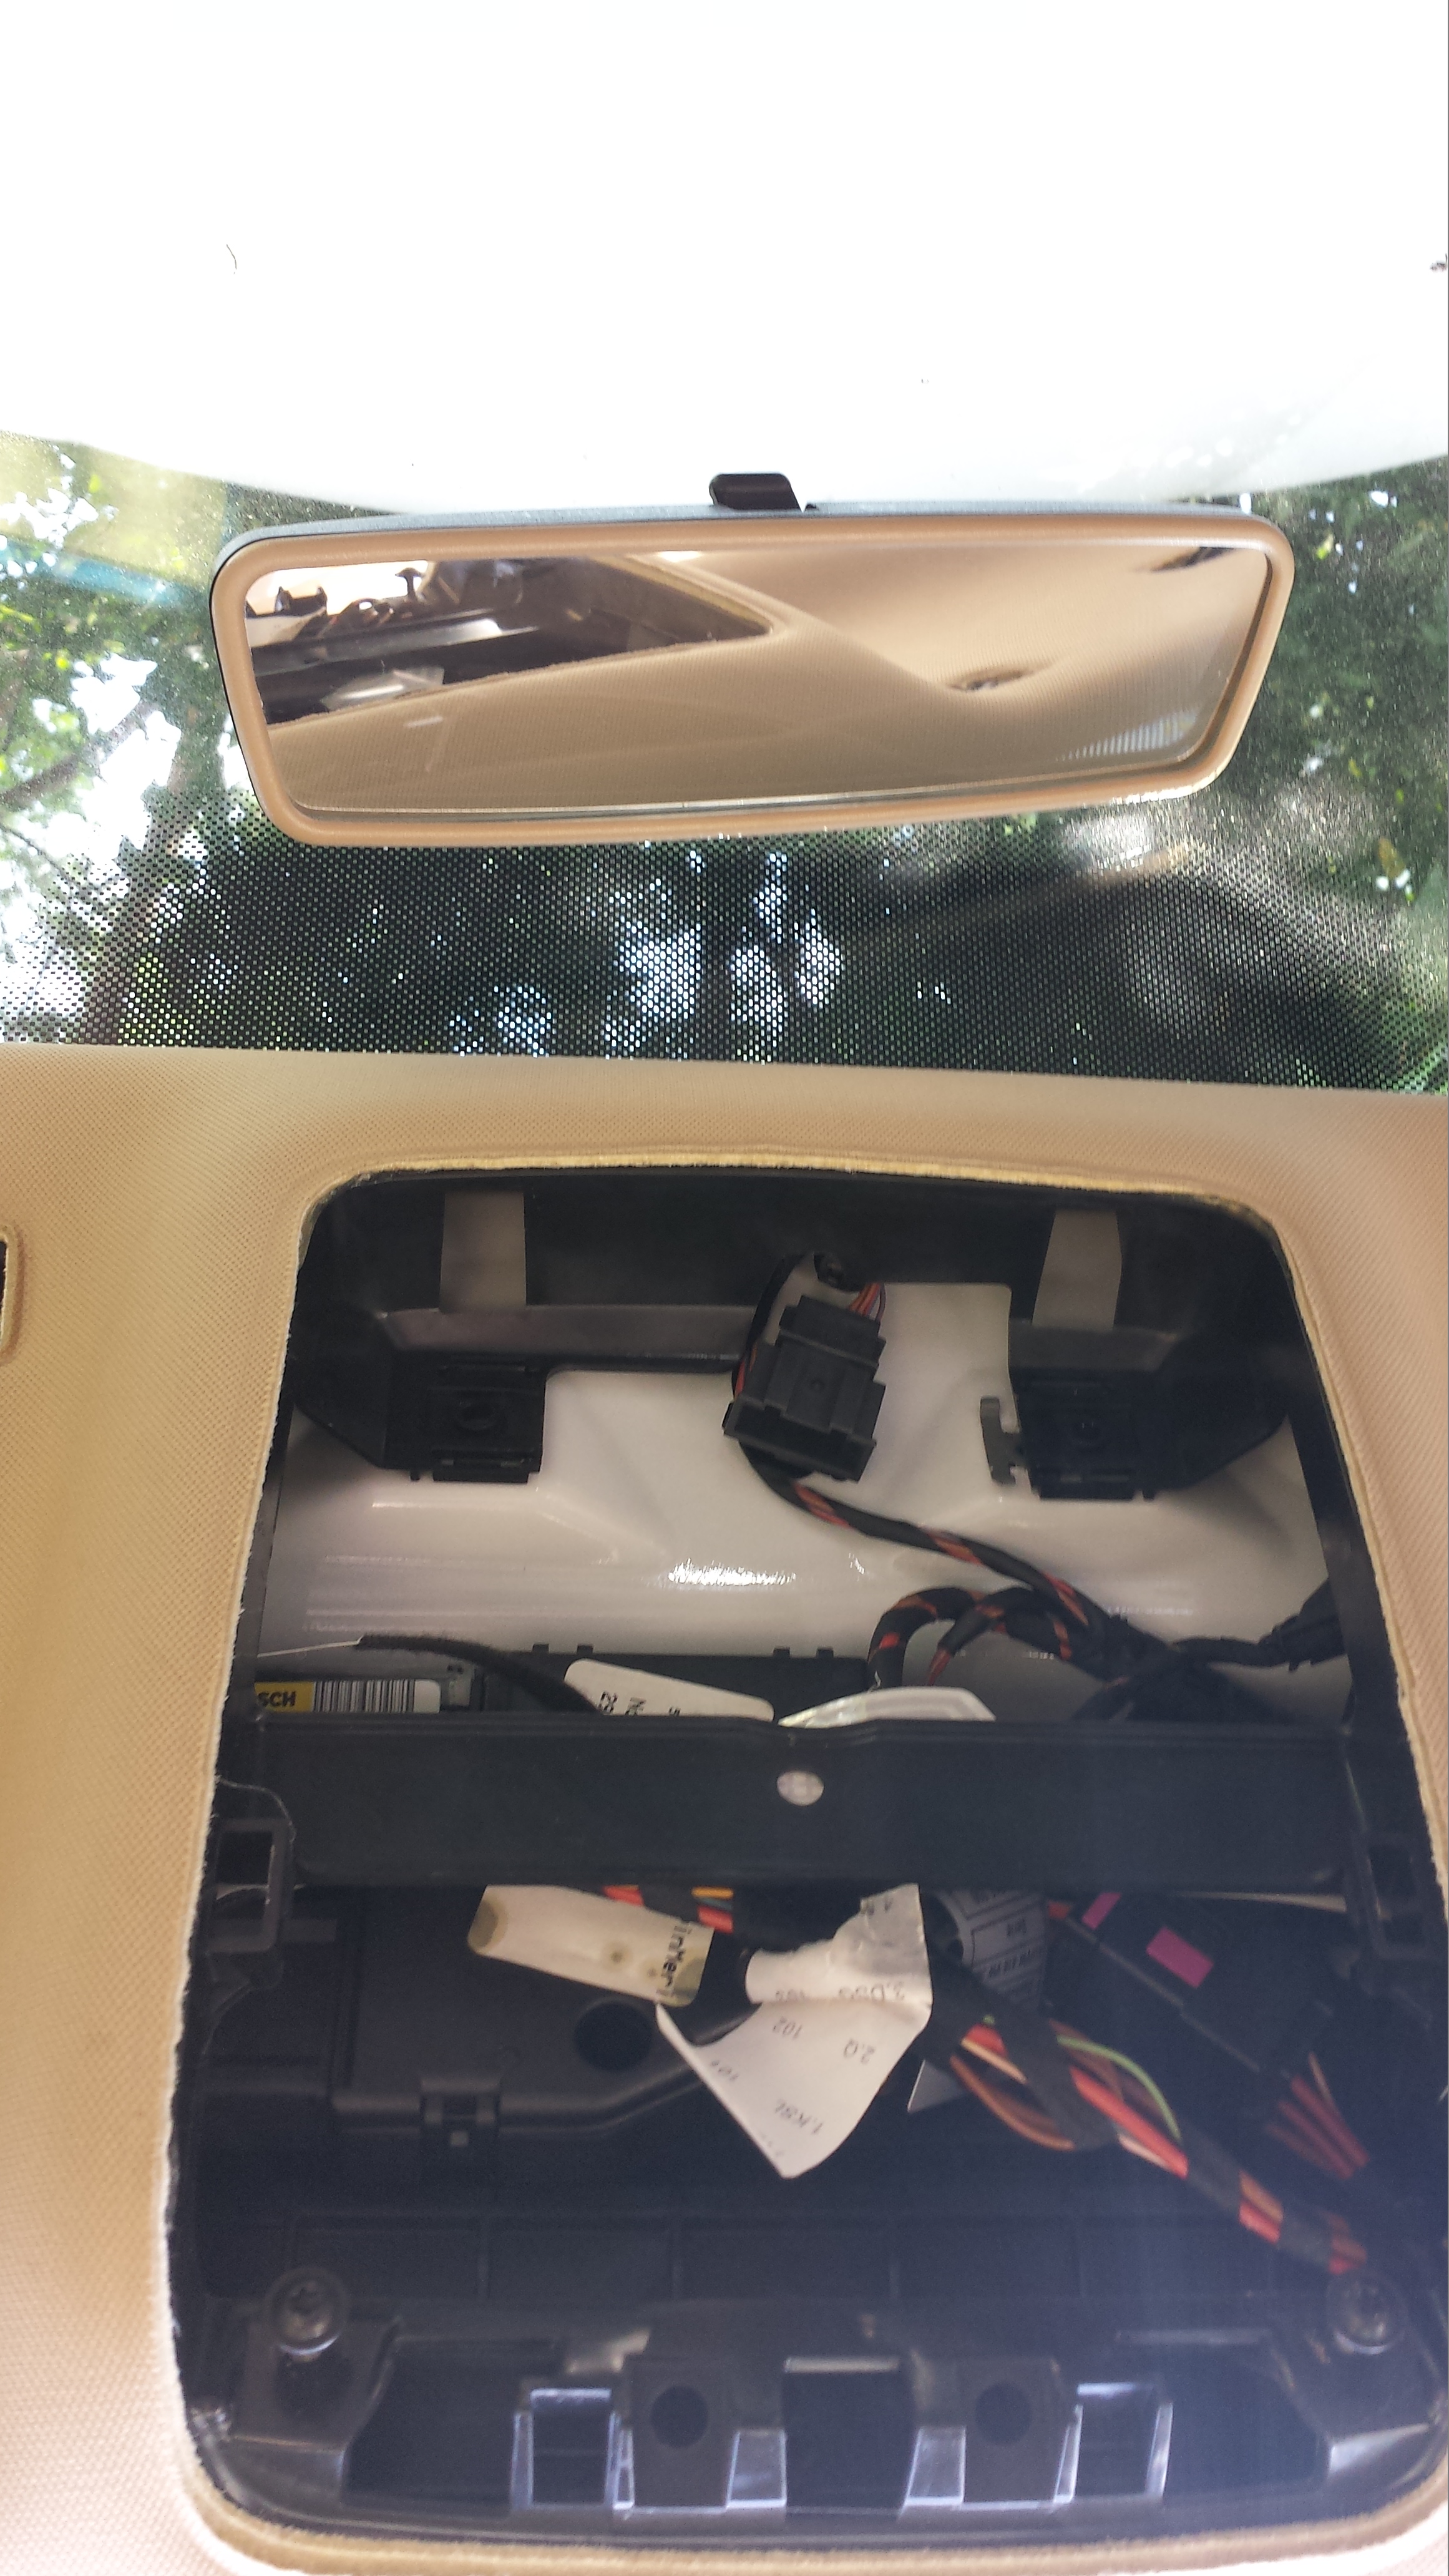
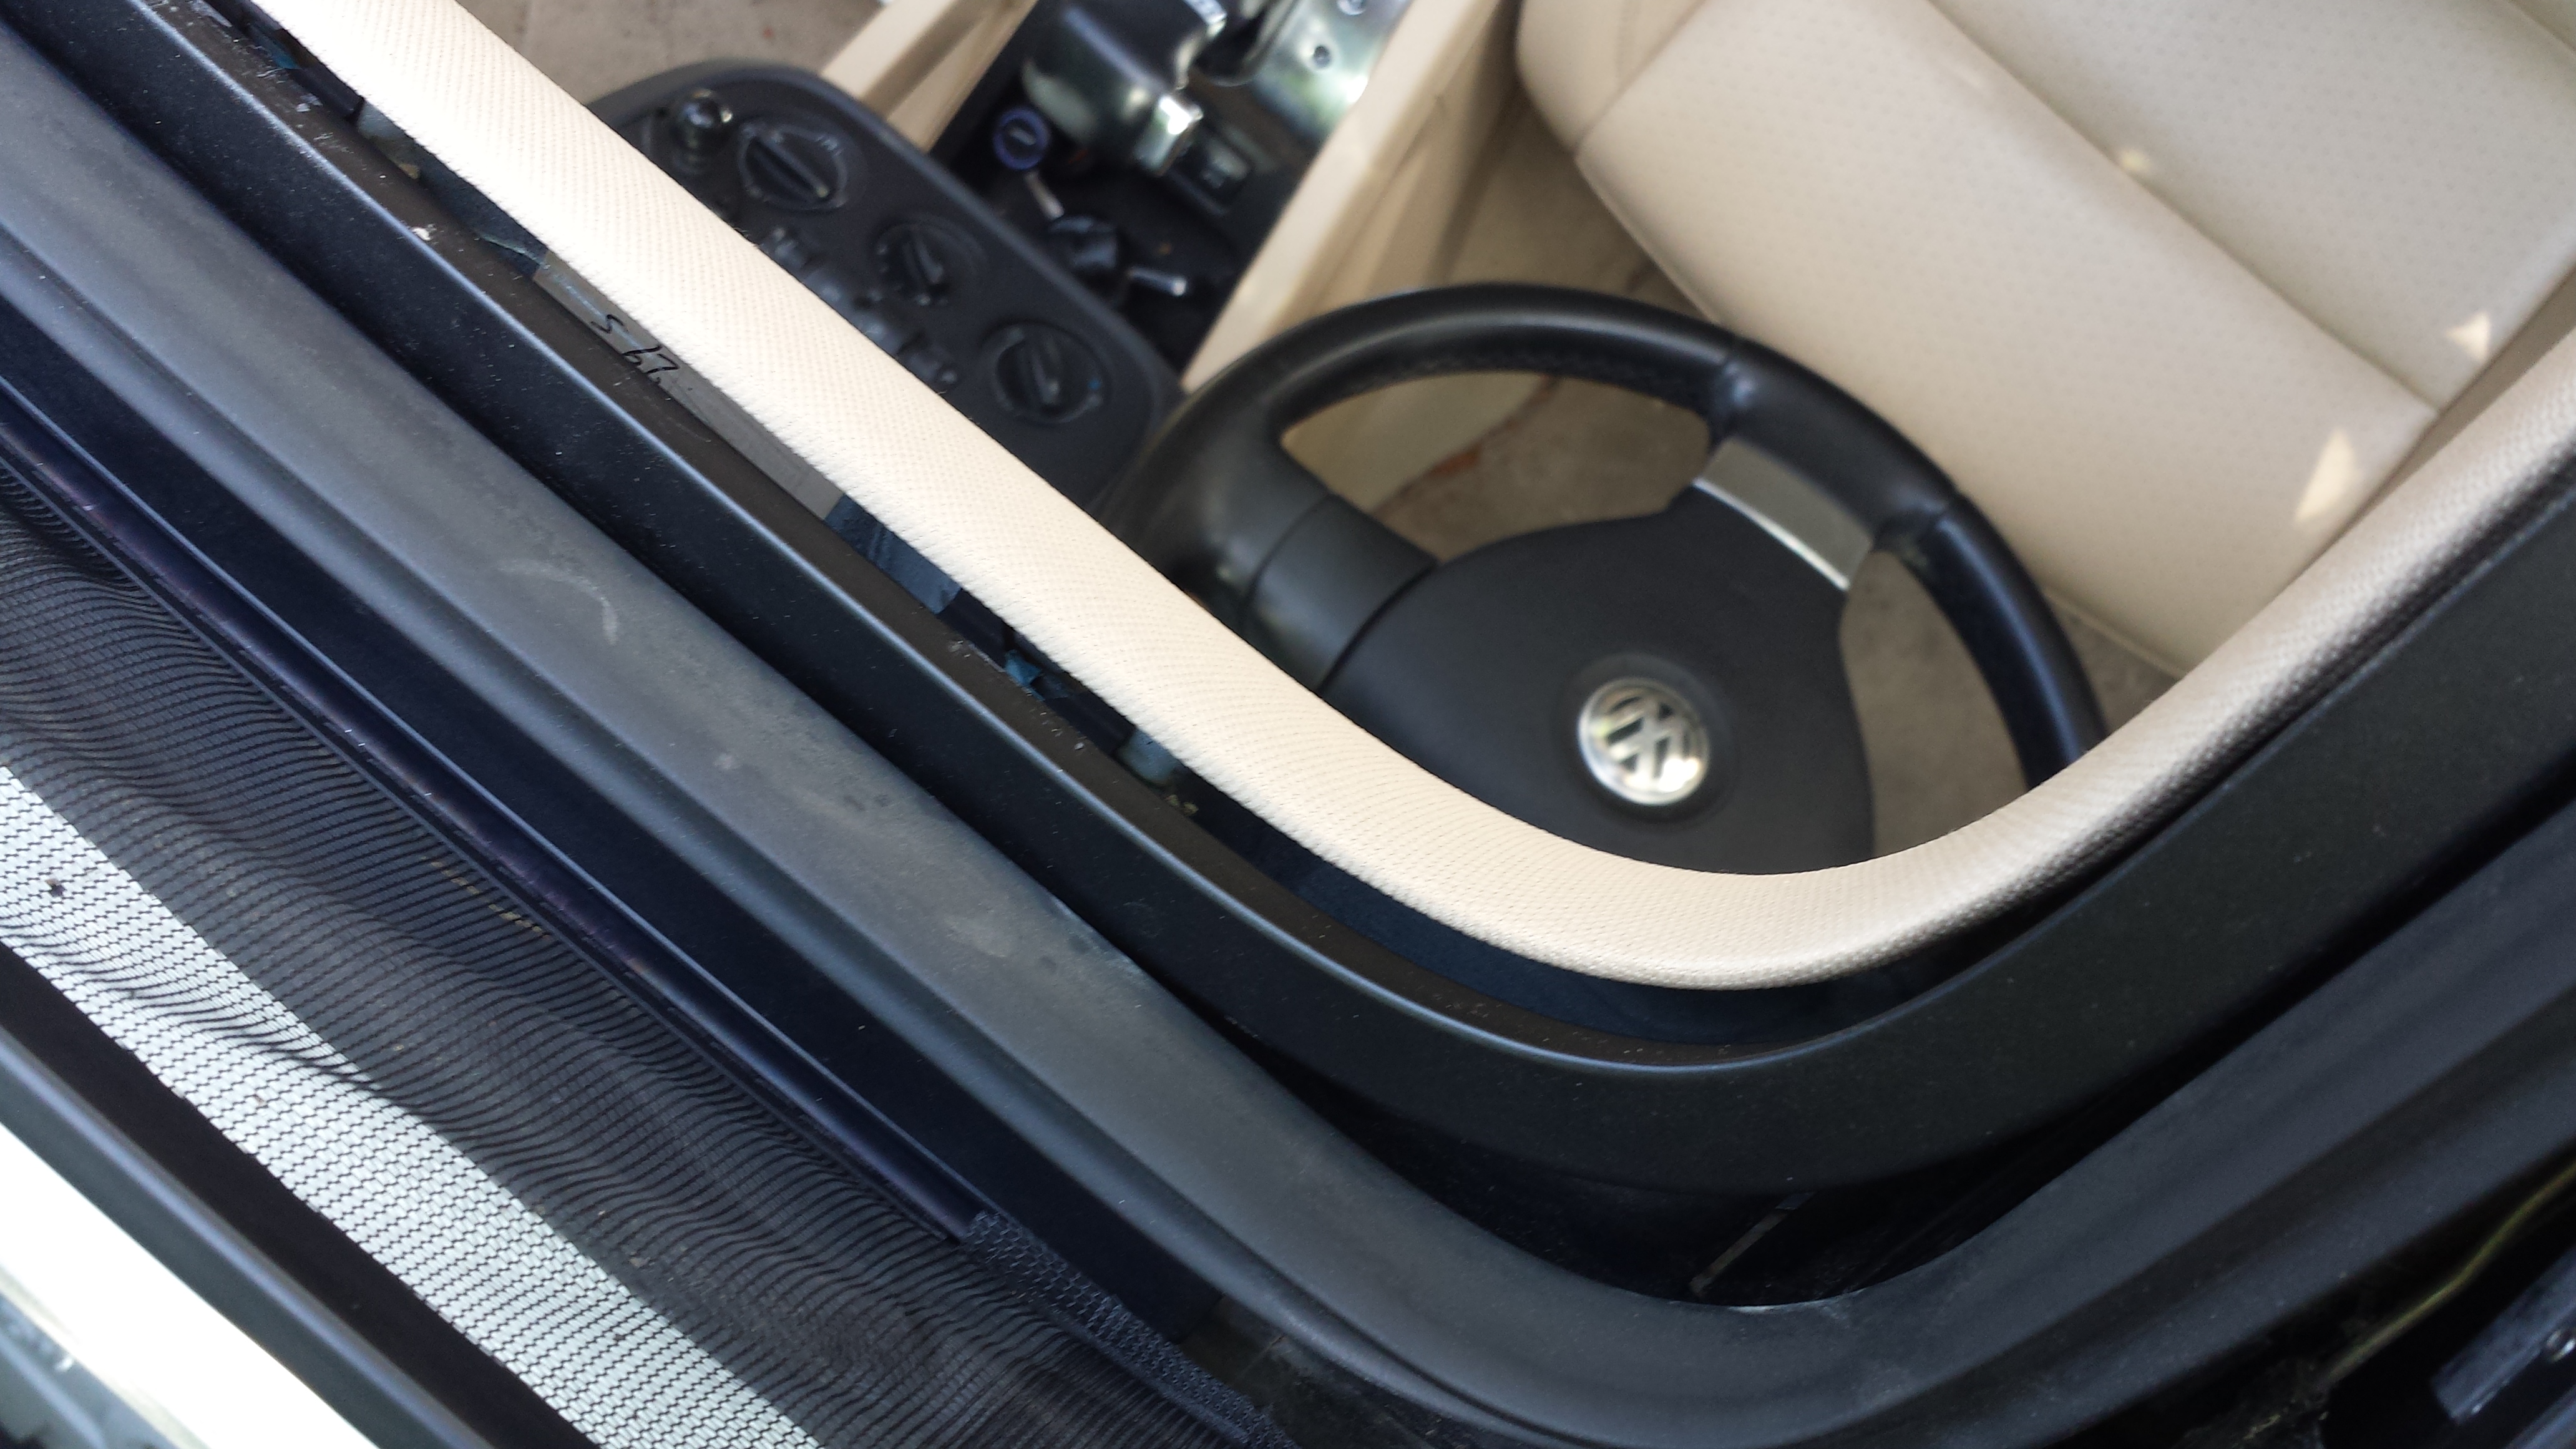
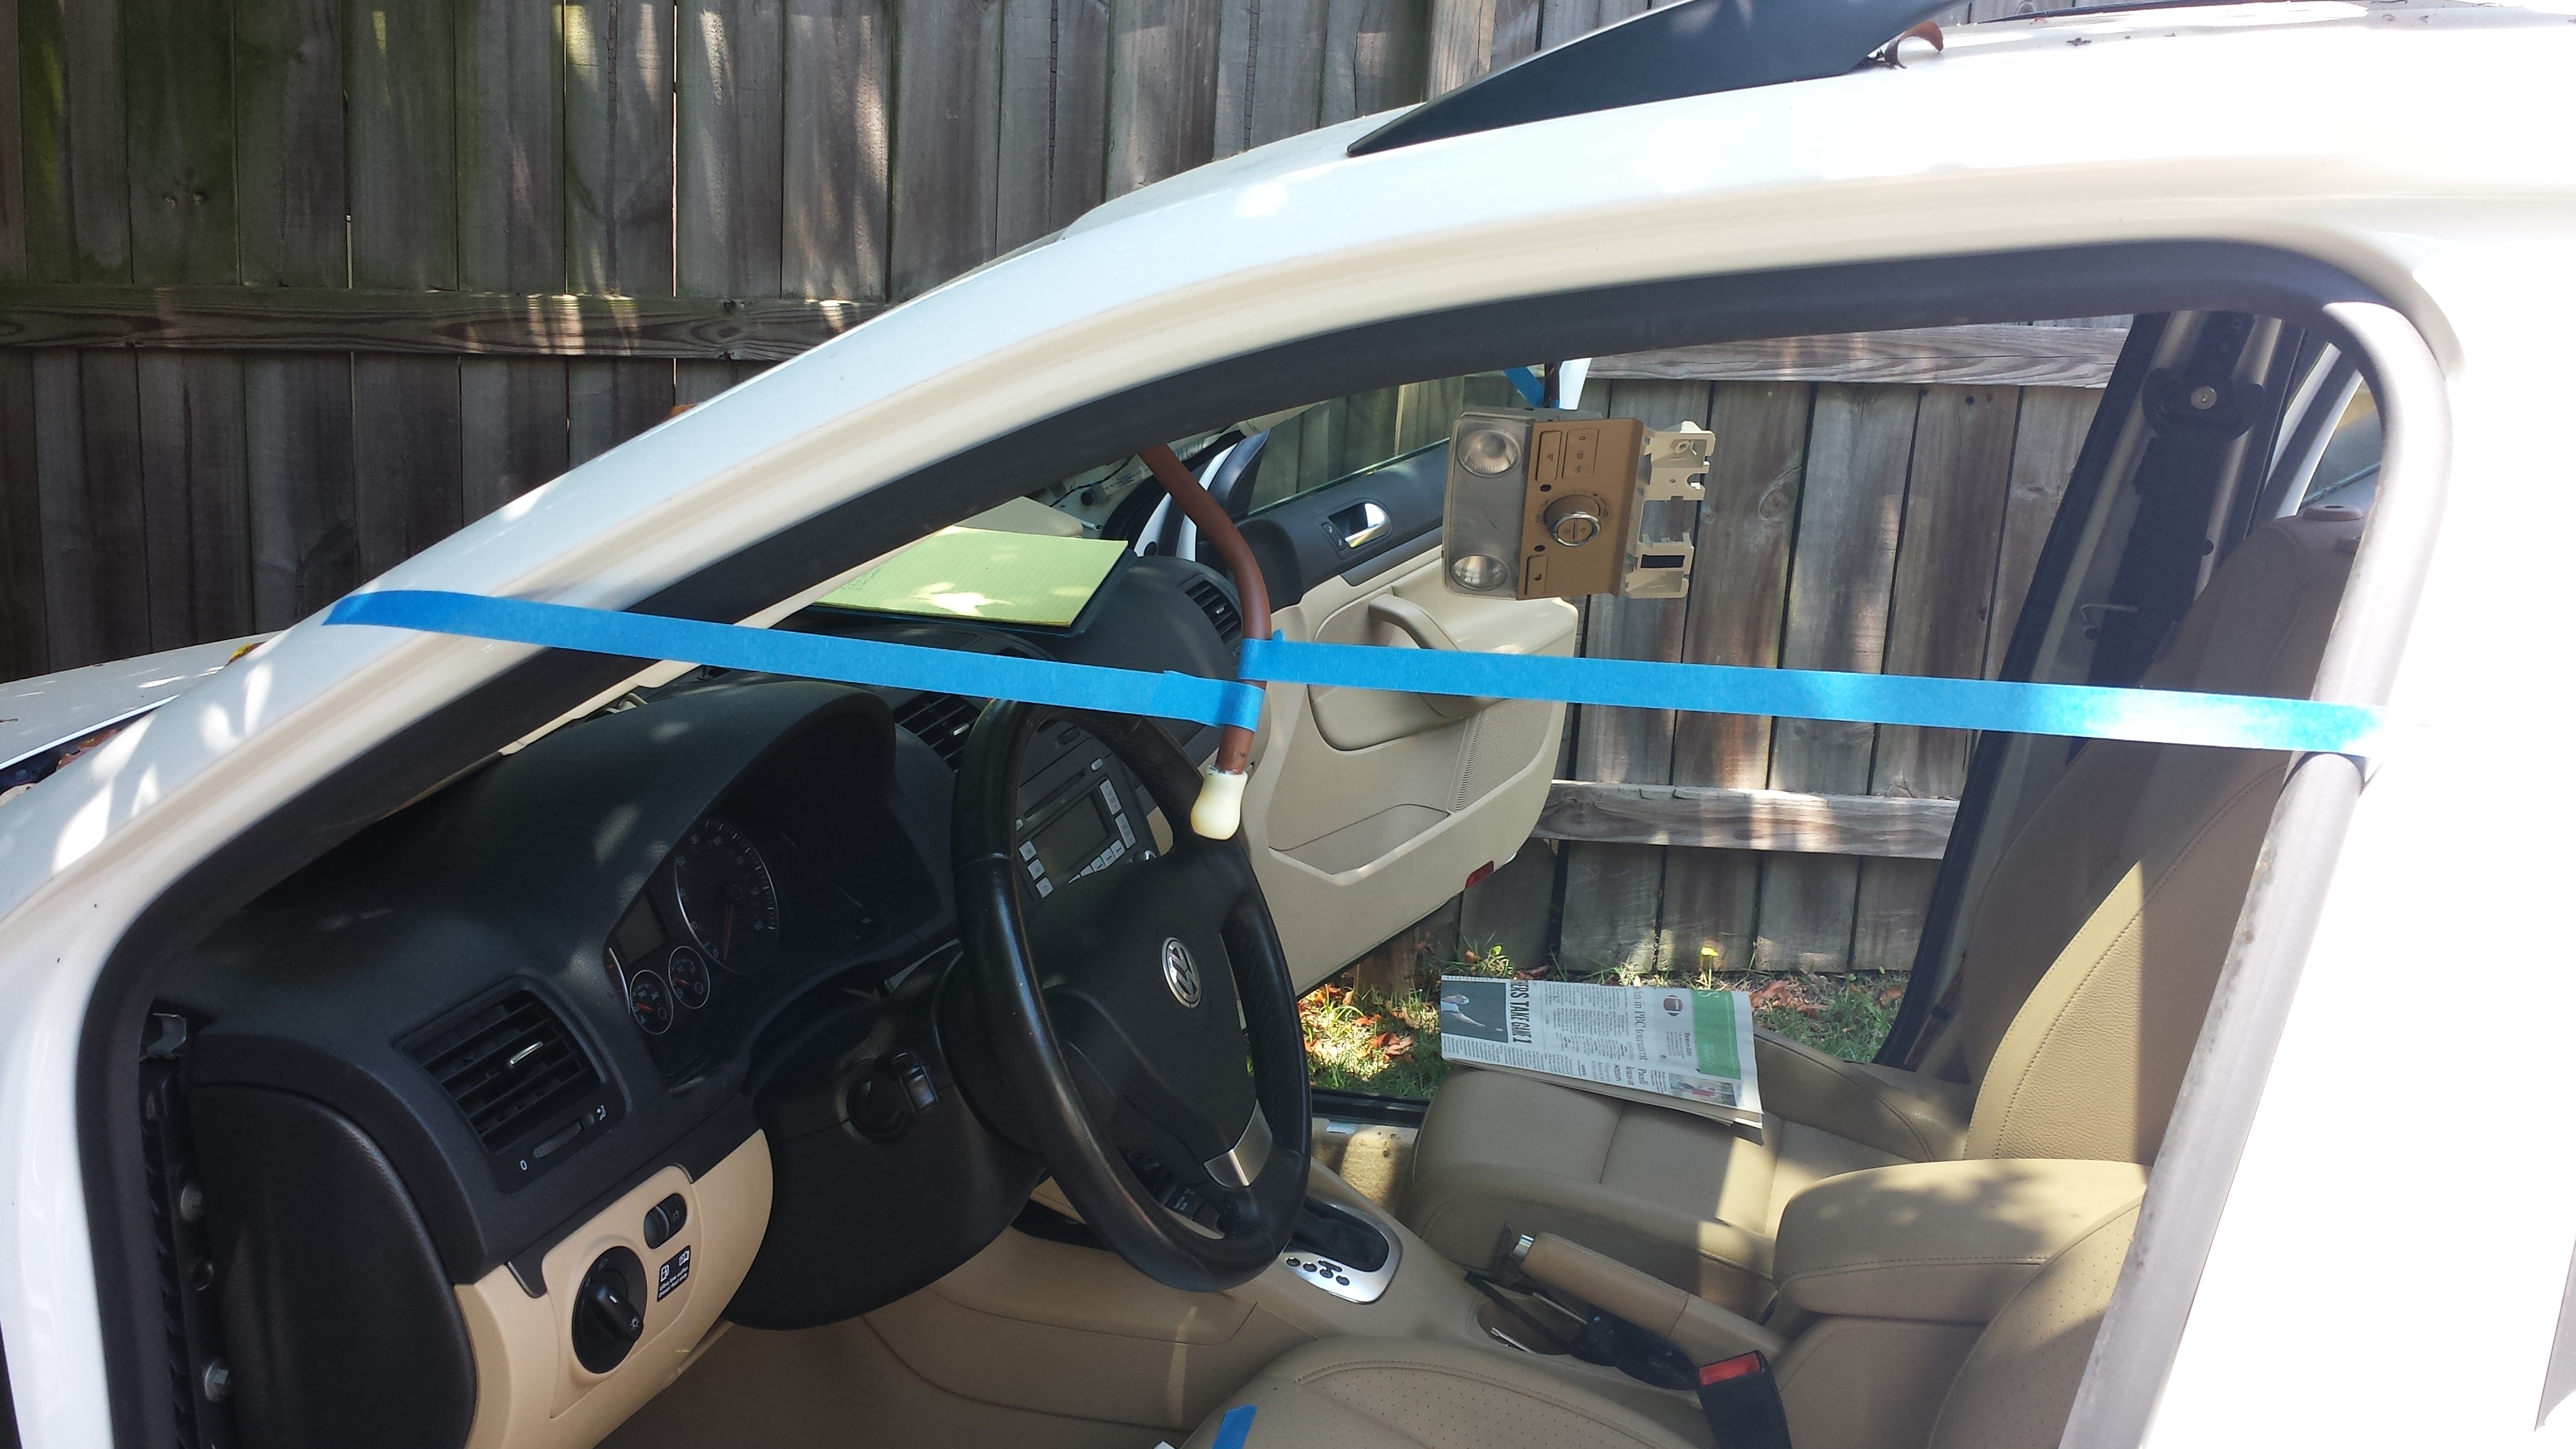
- My nemesis
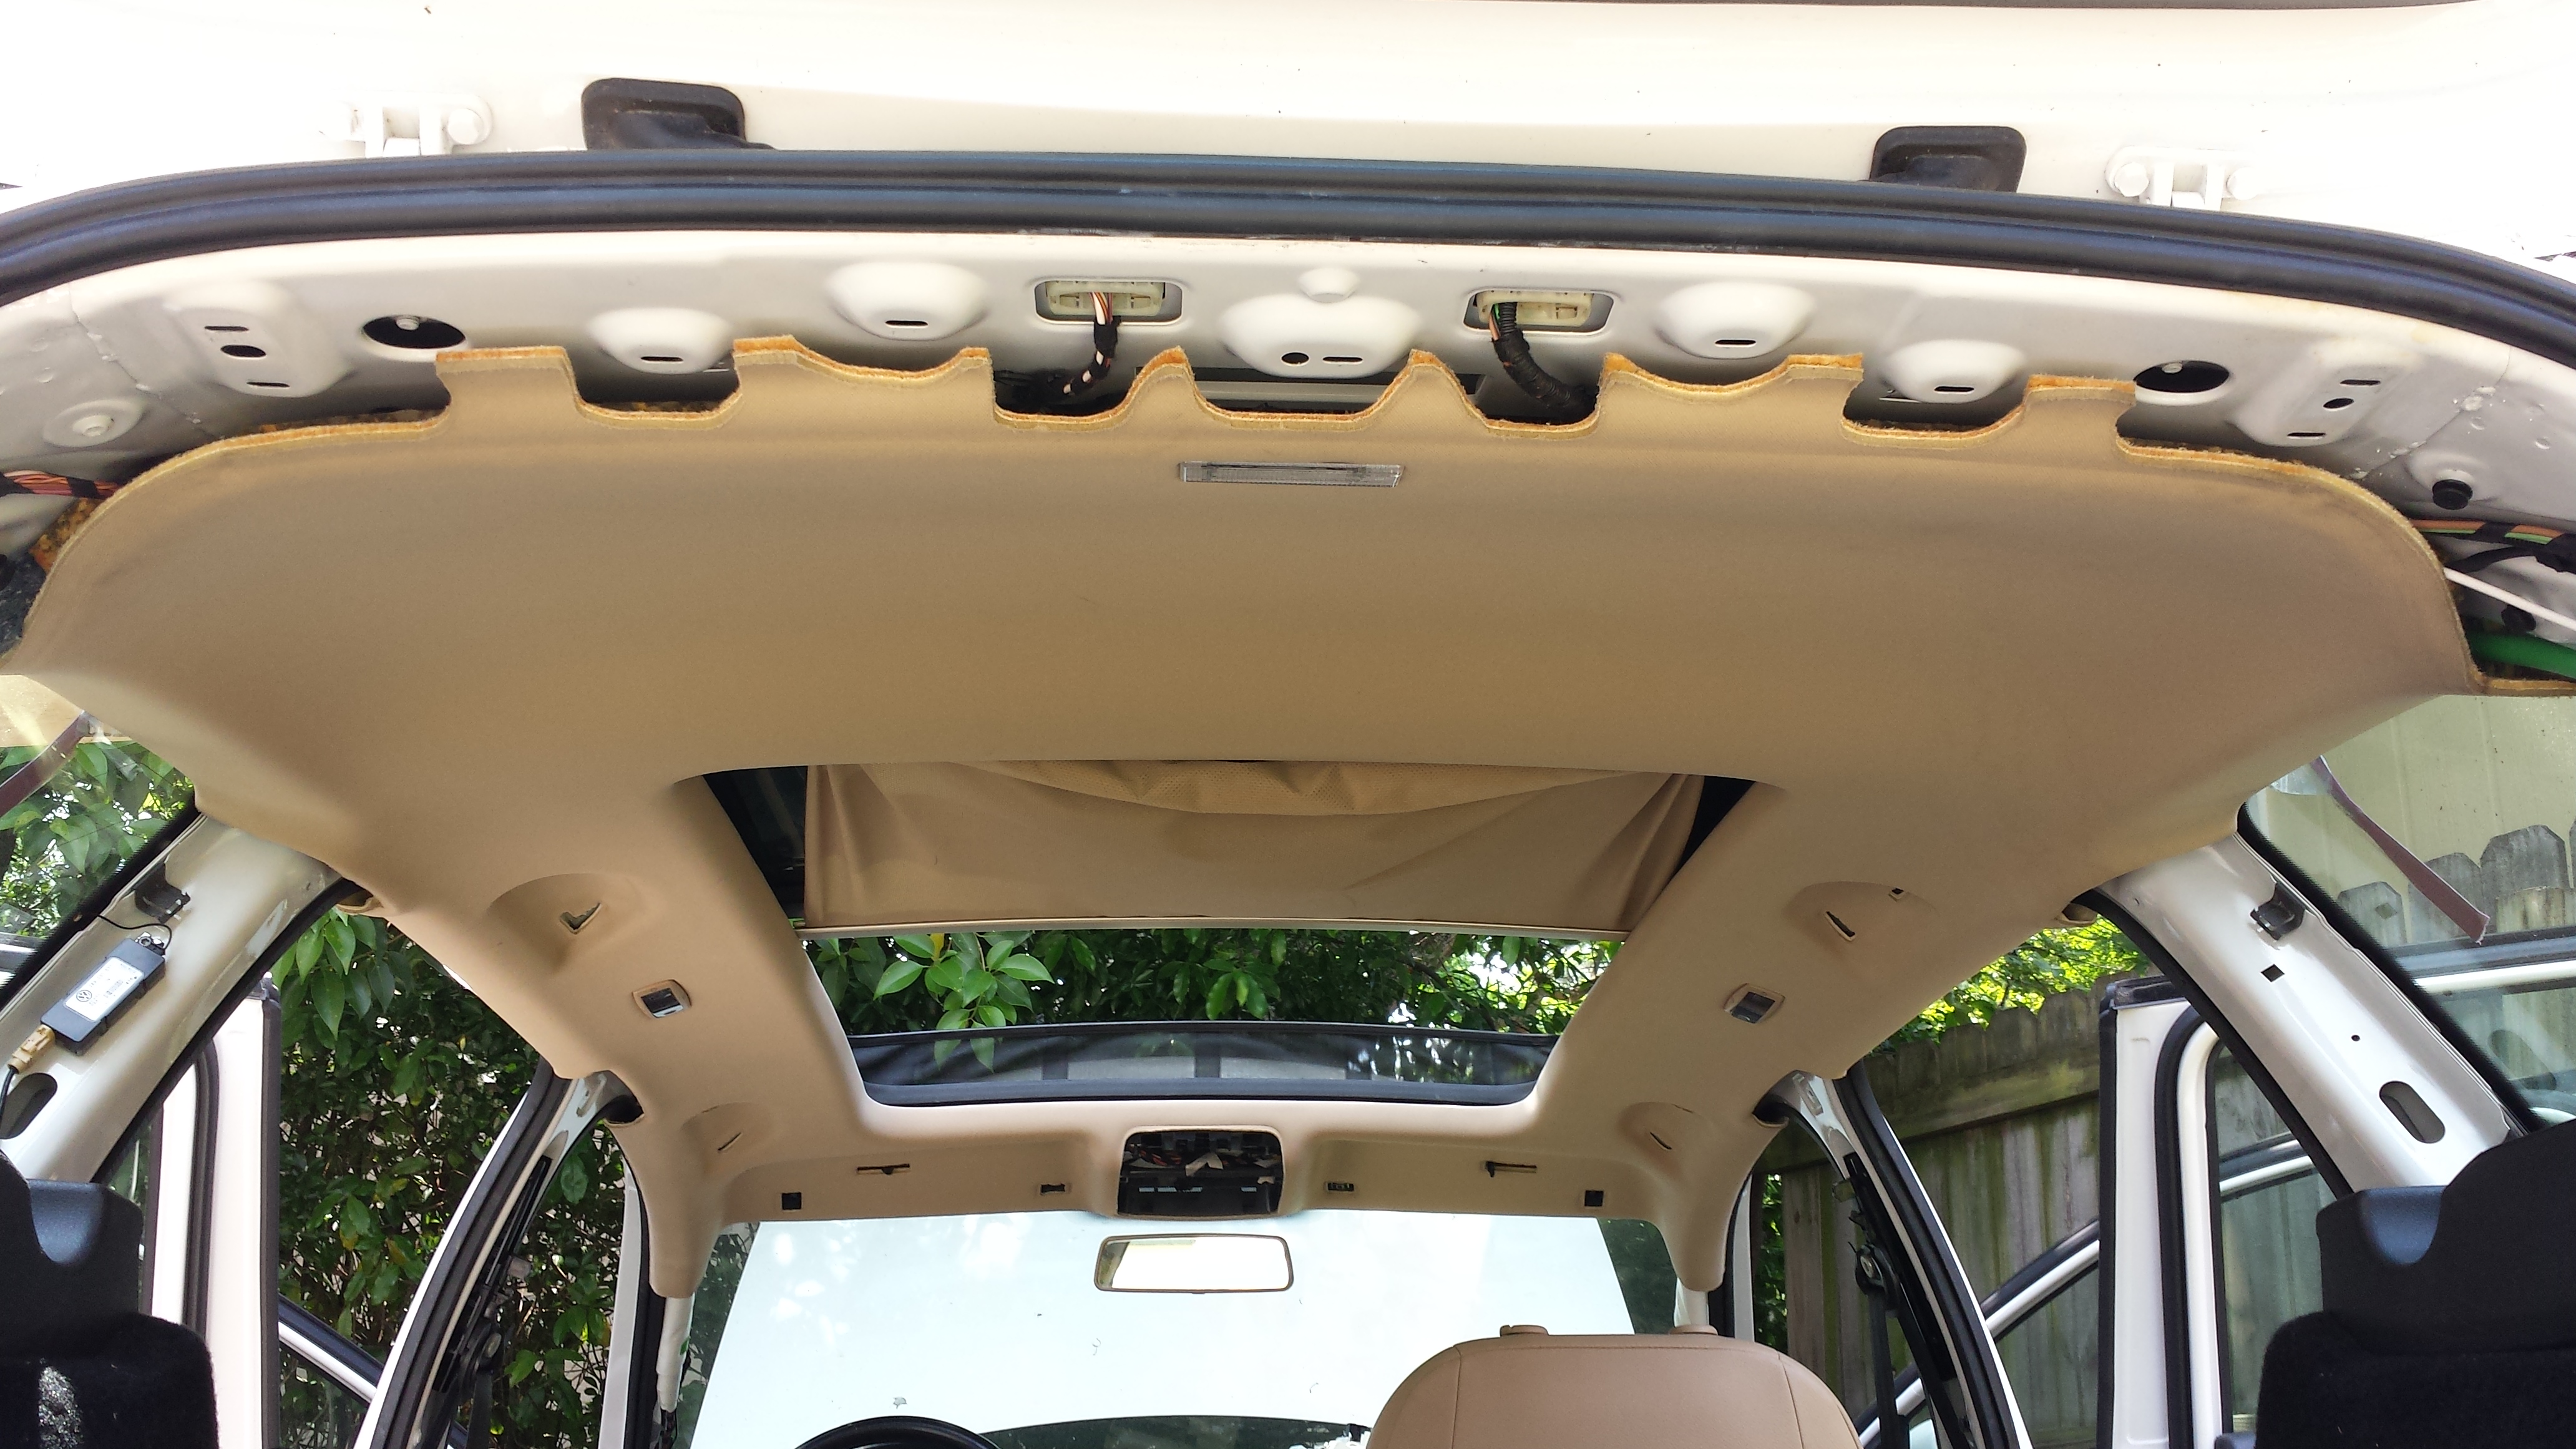
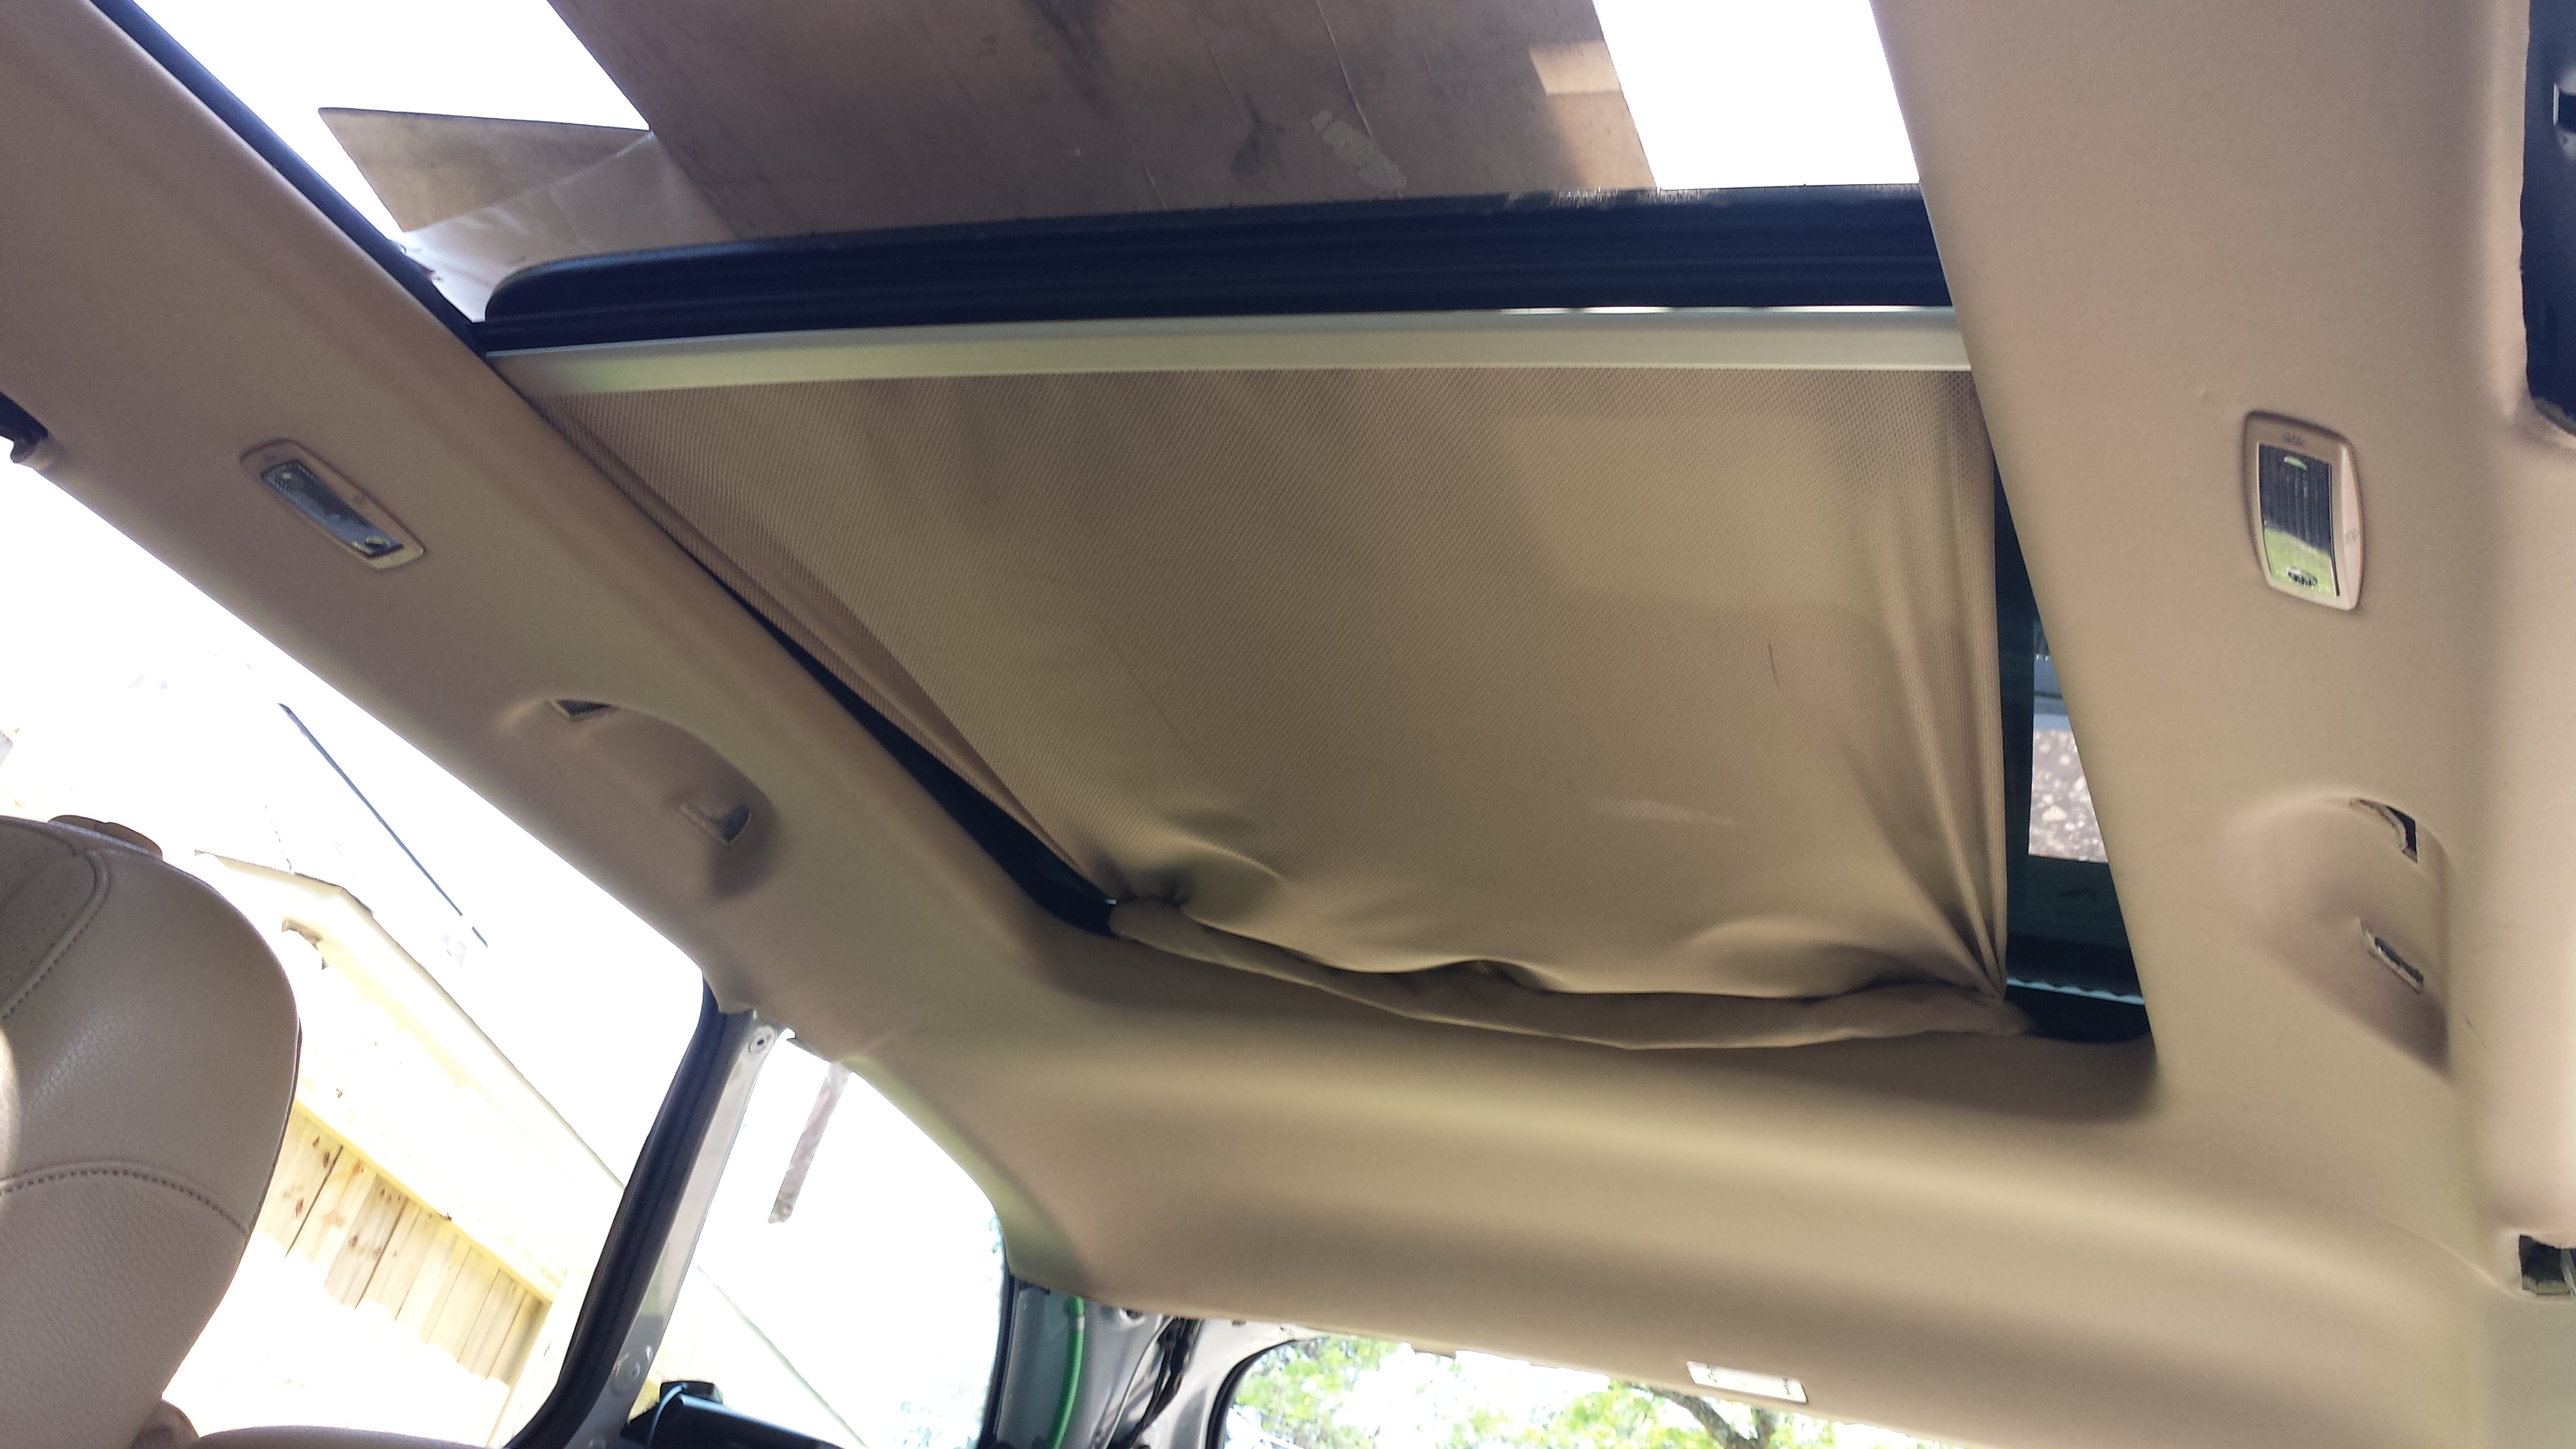
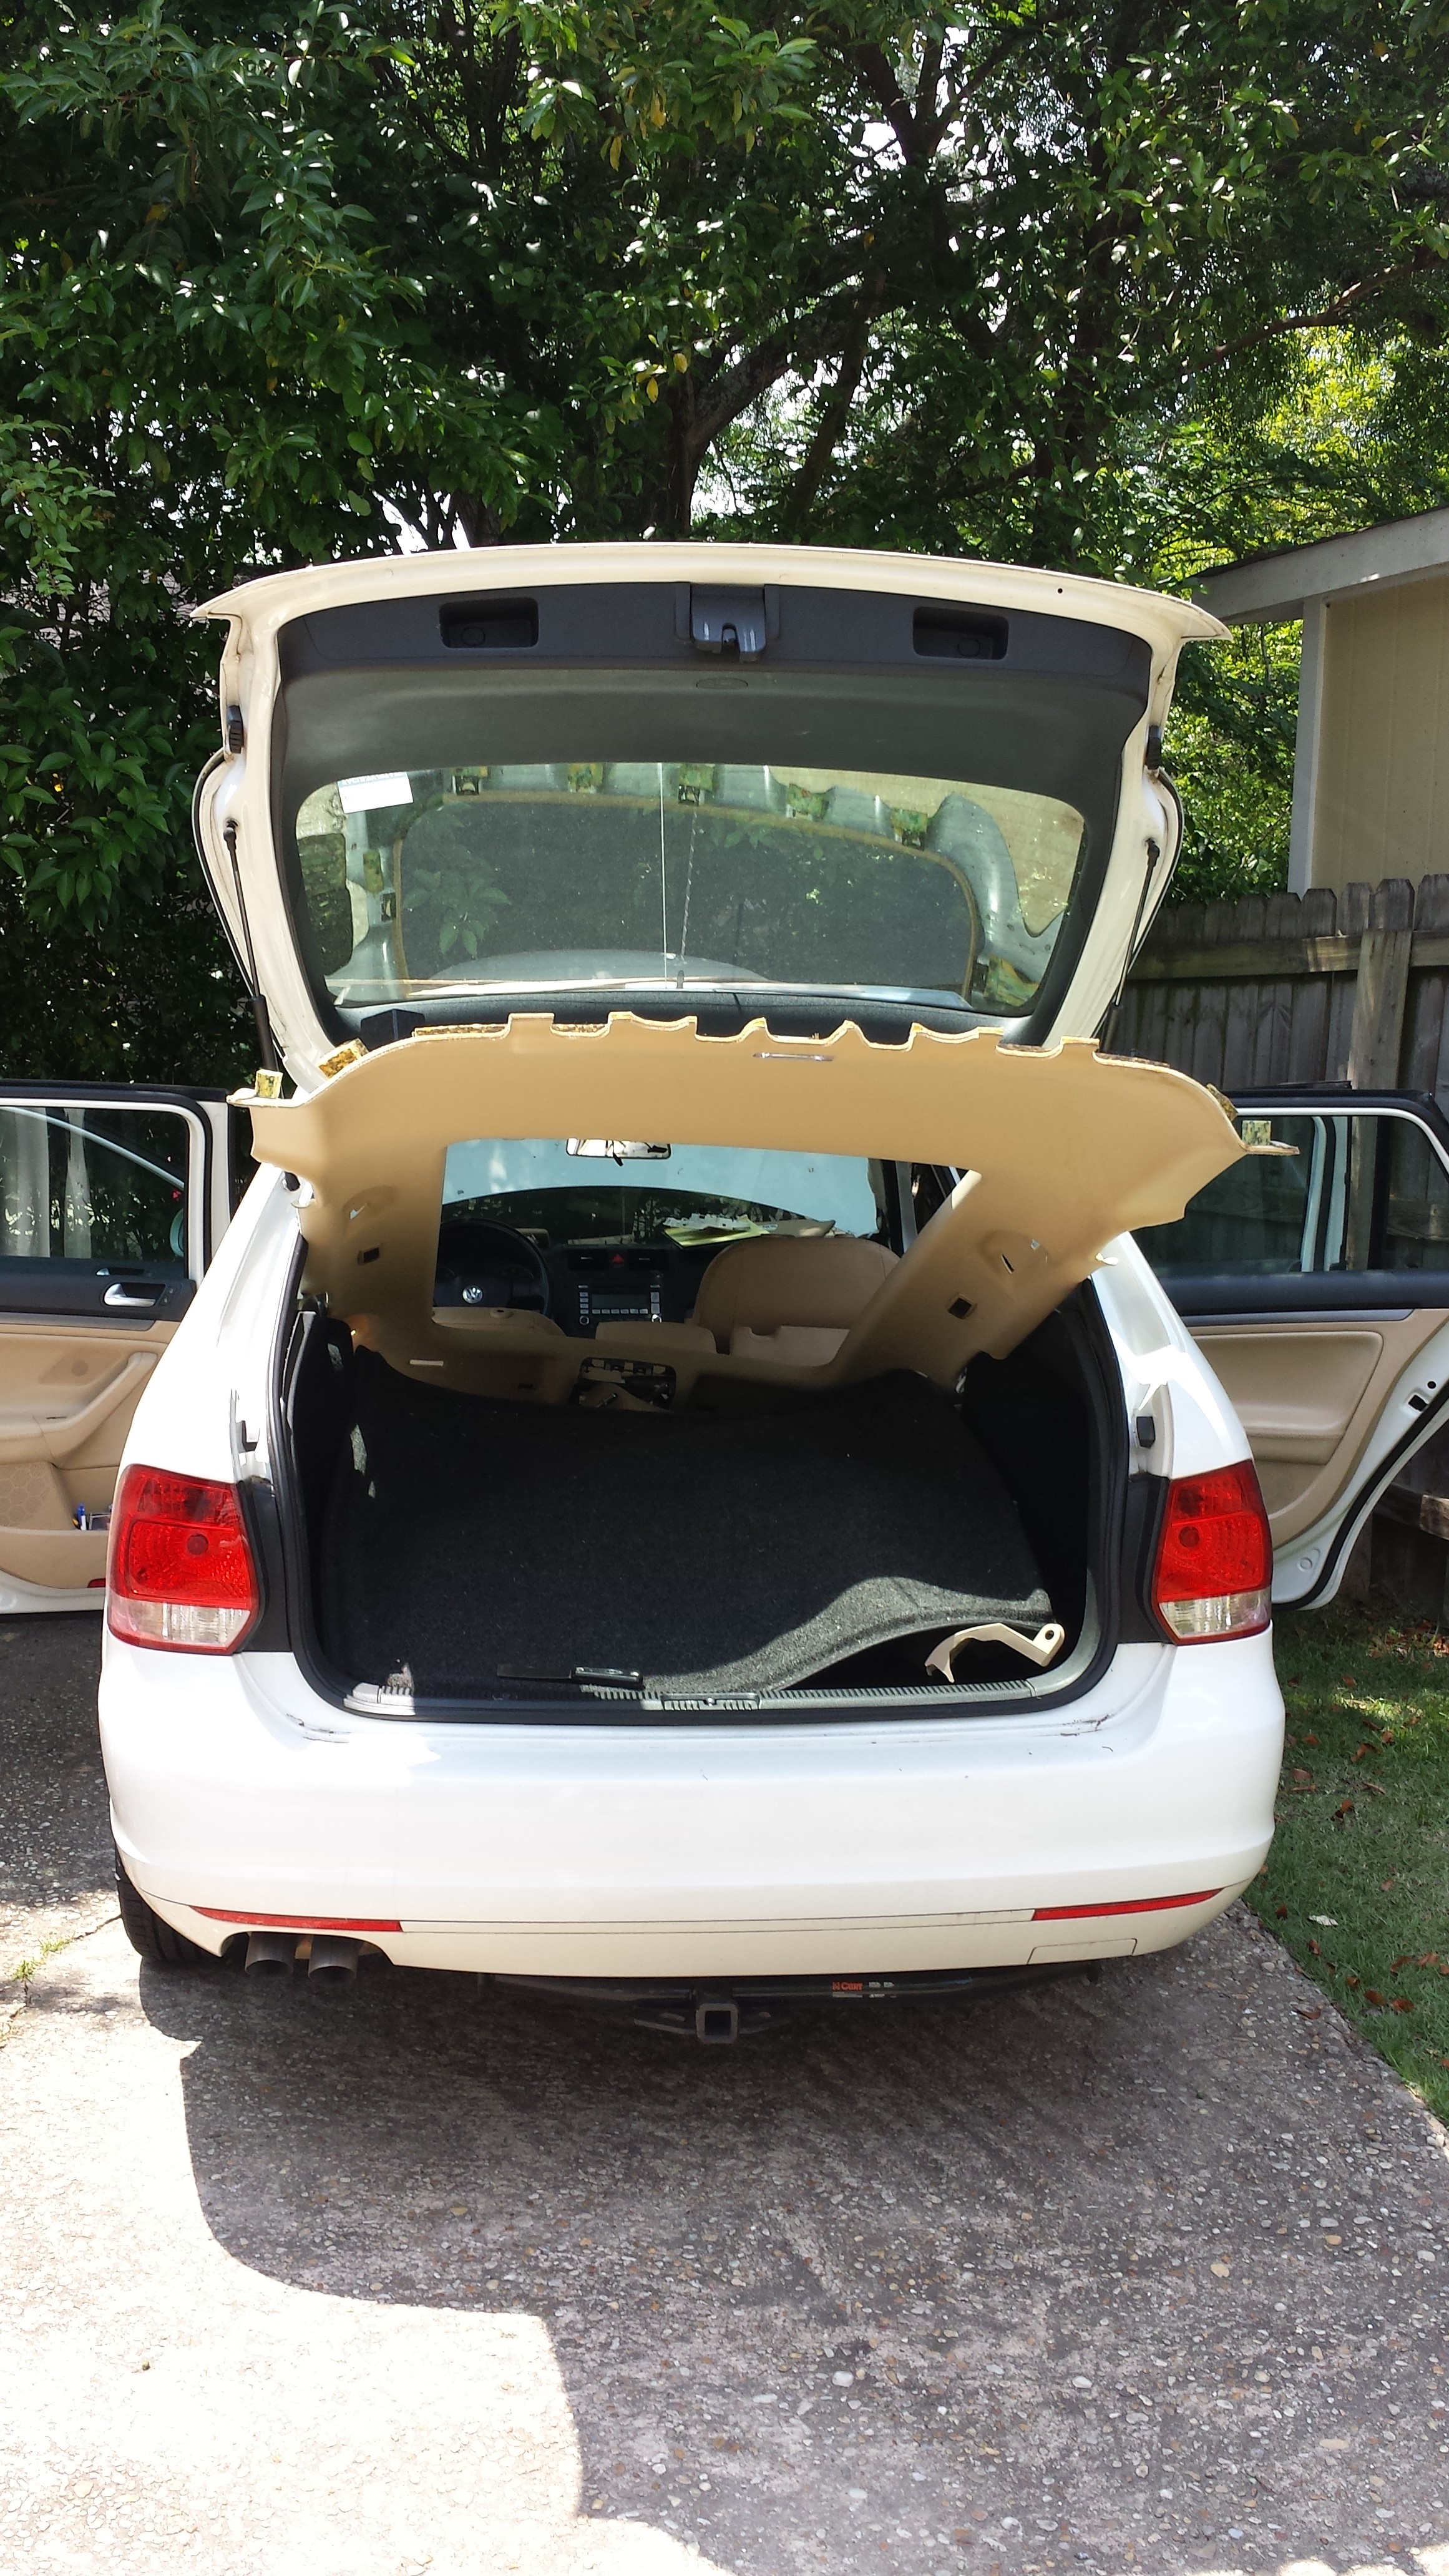
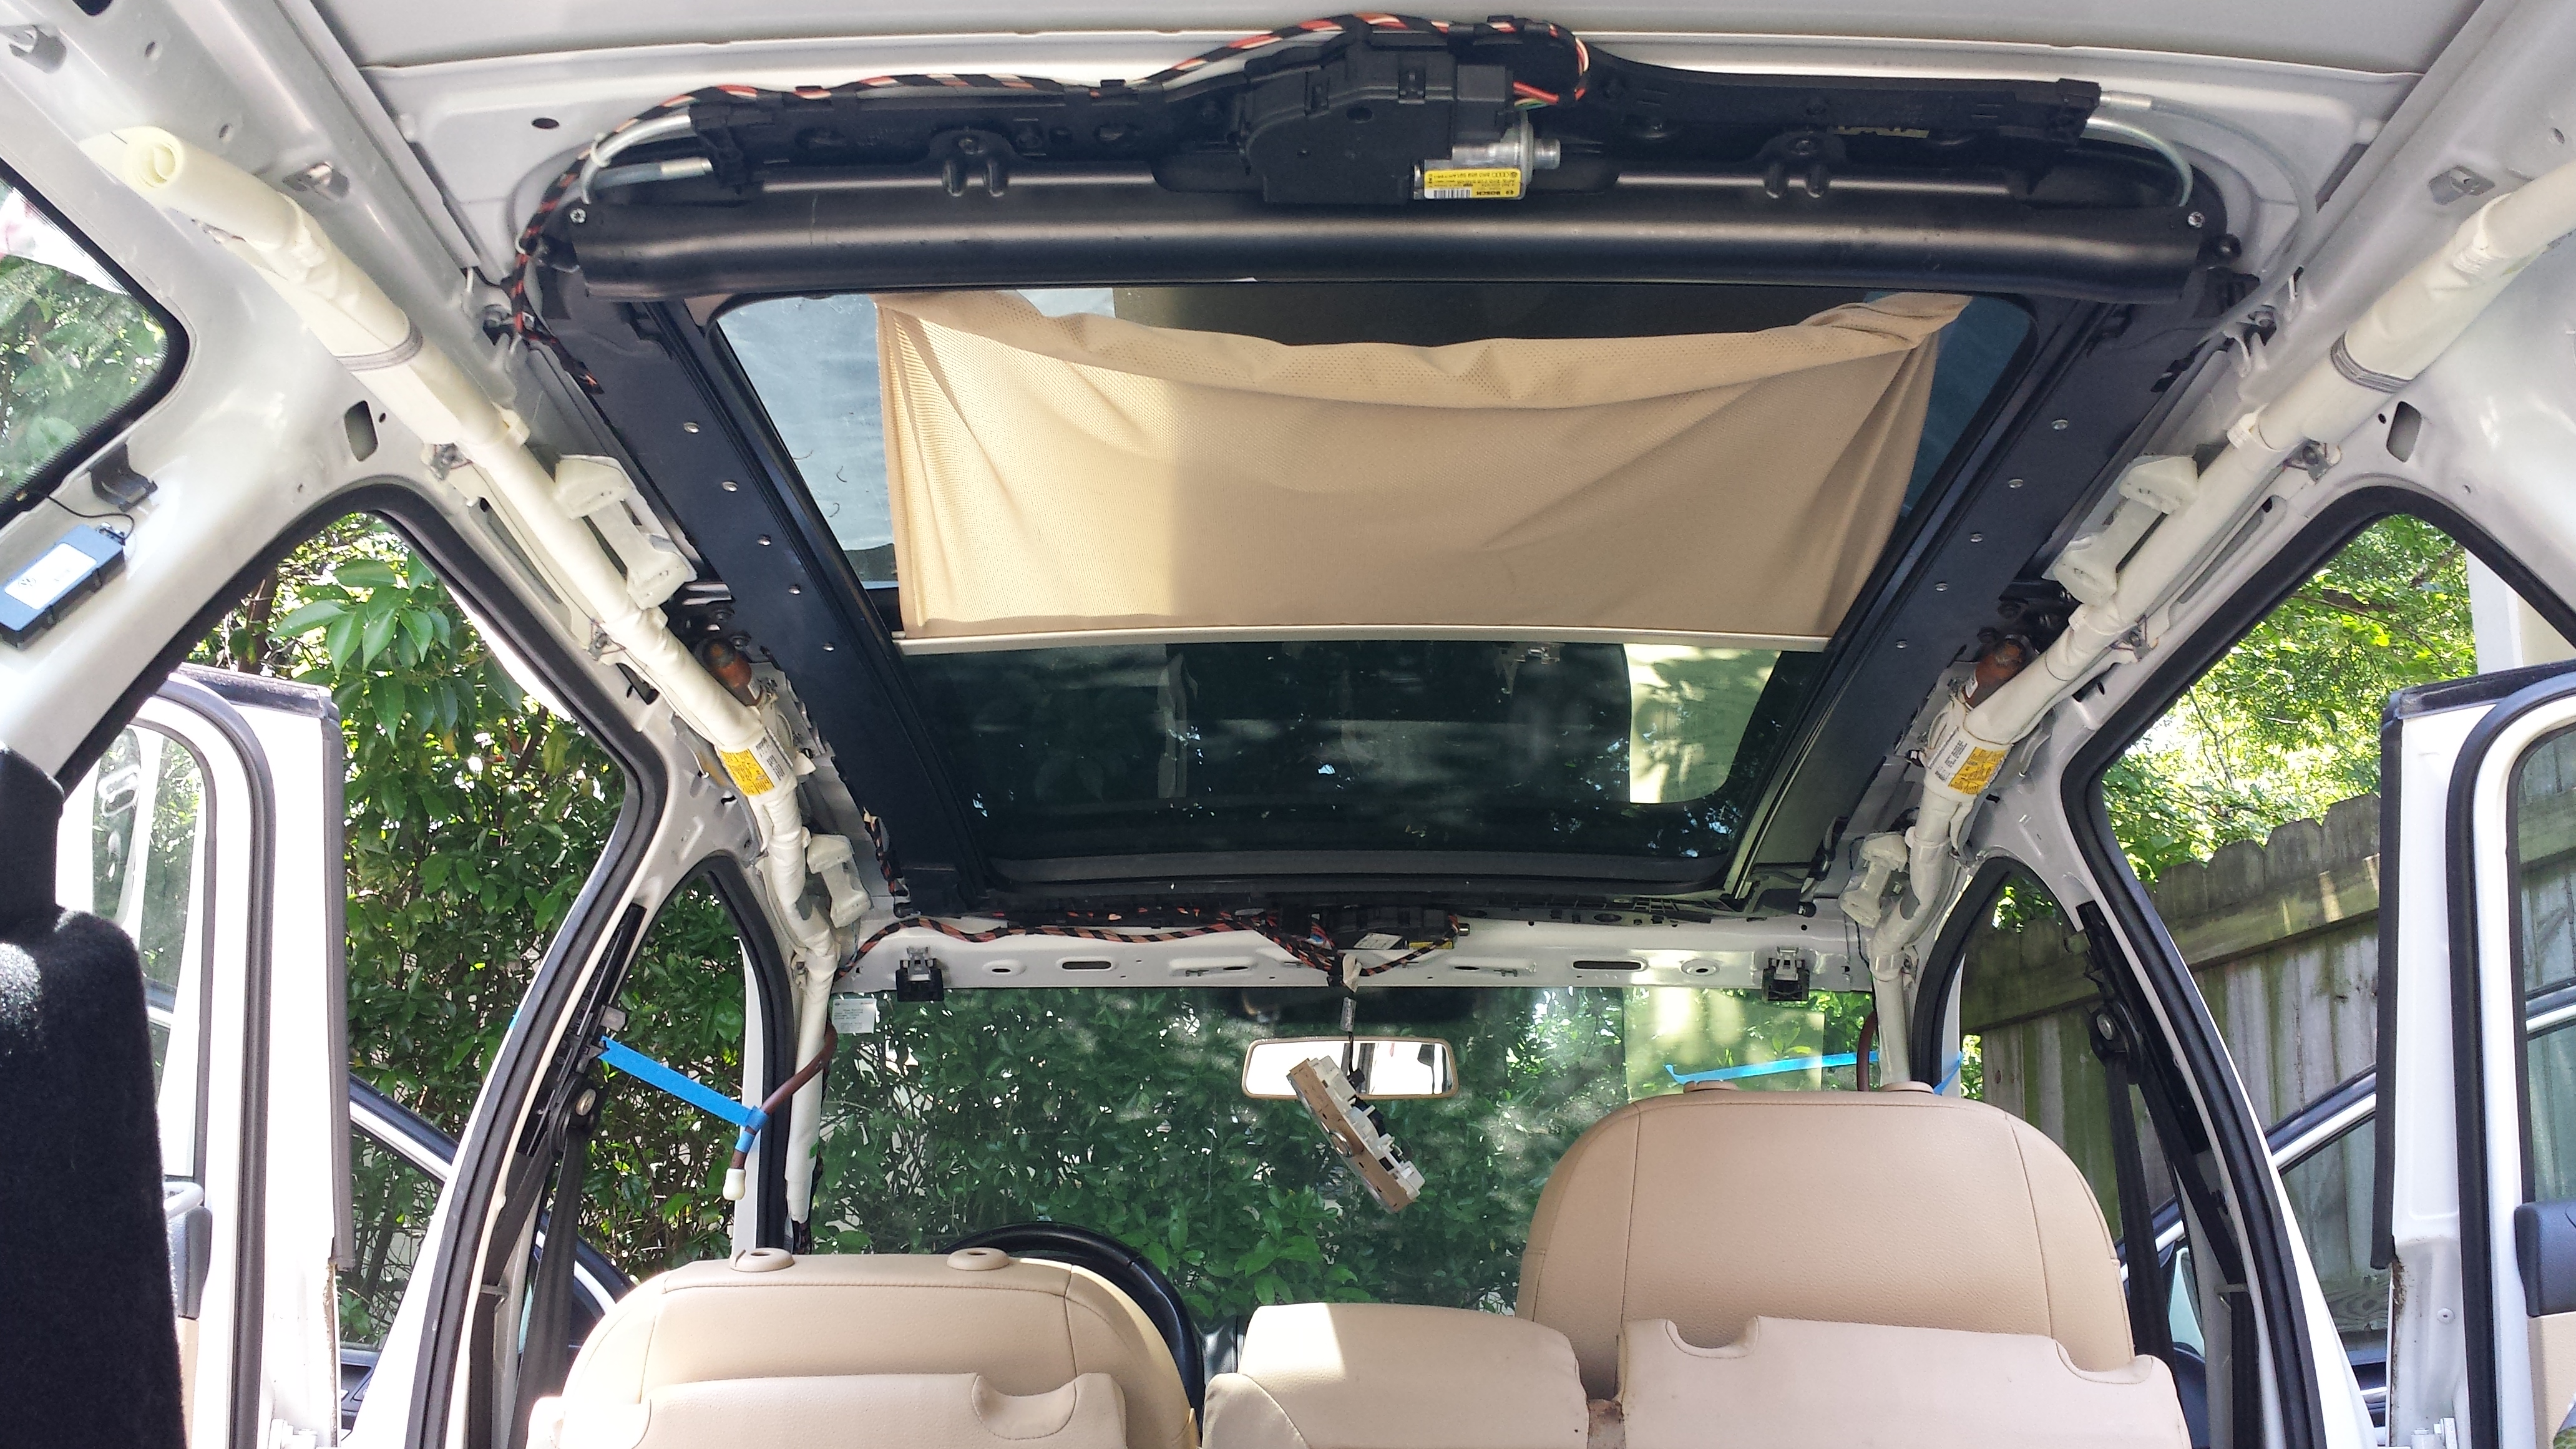
- Open sunroof
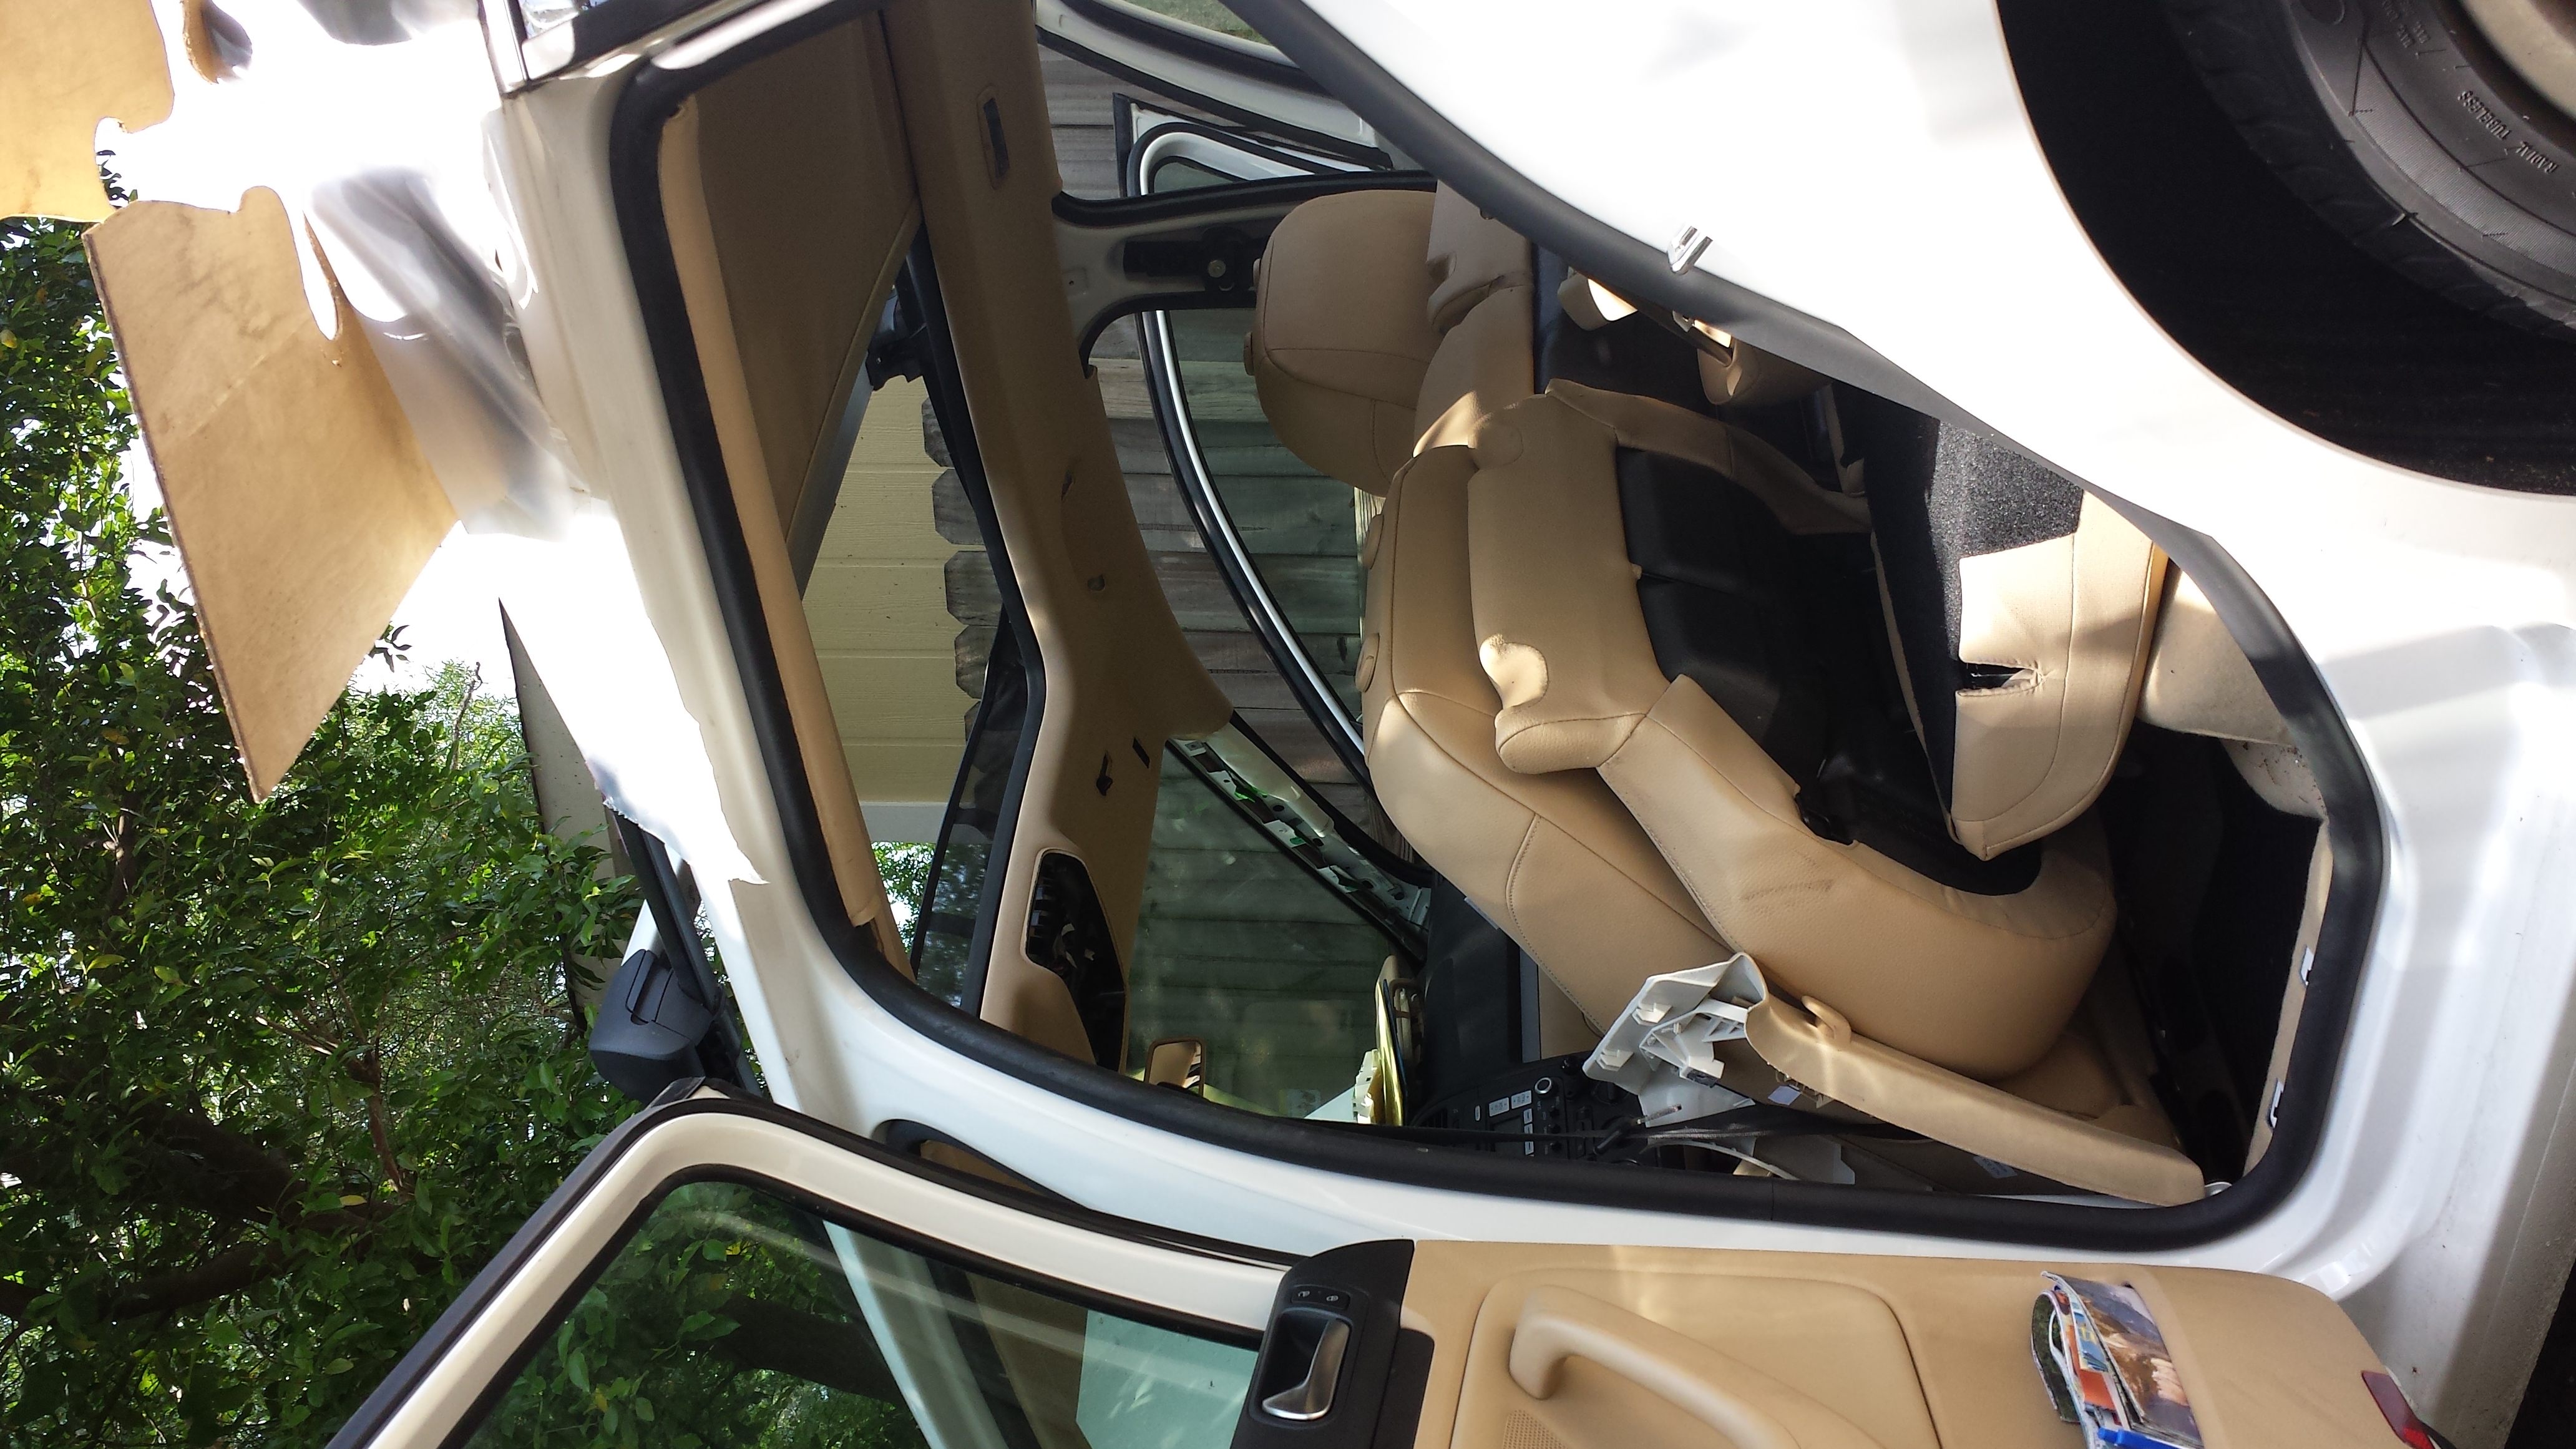
- All the pillars and trim removed
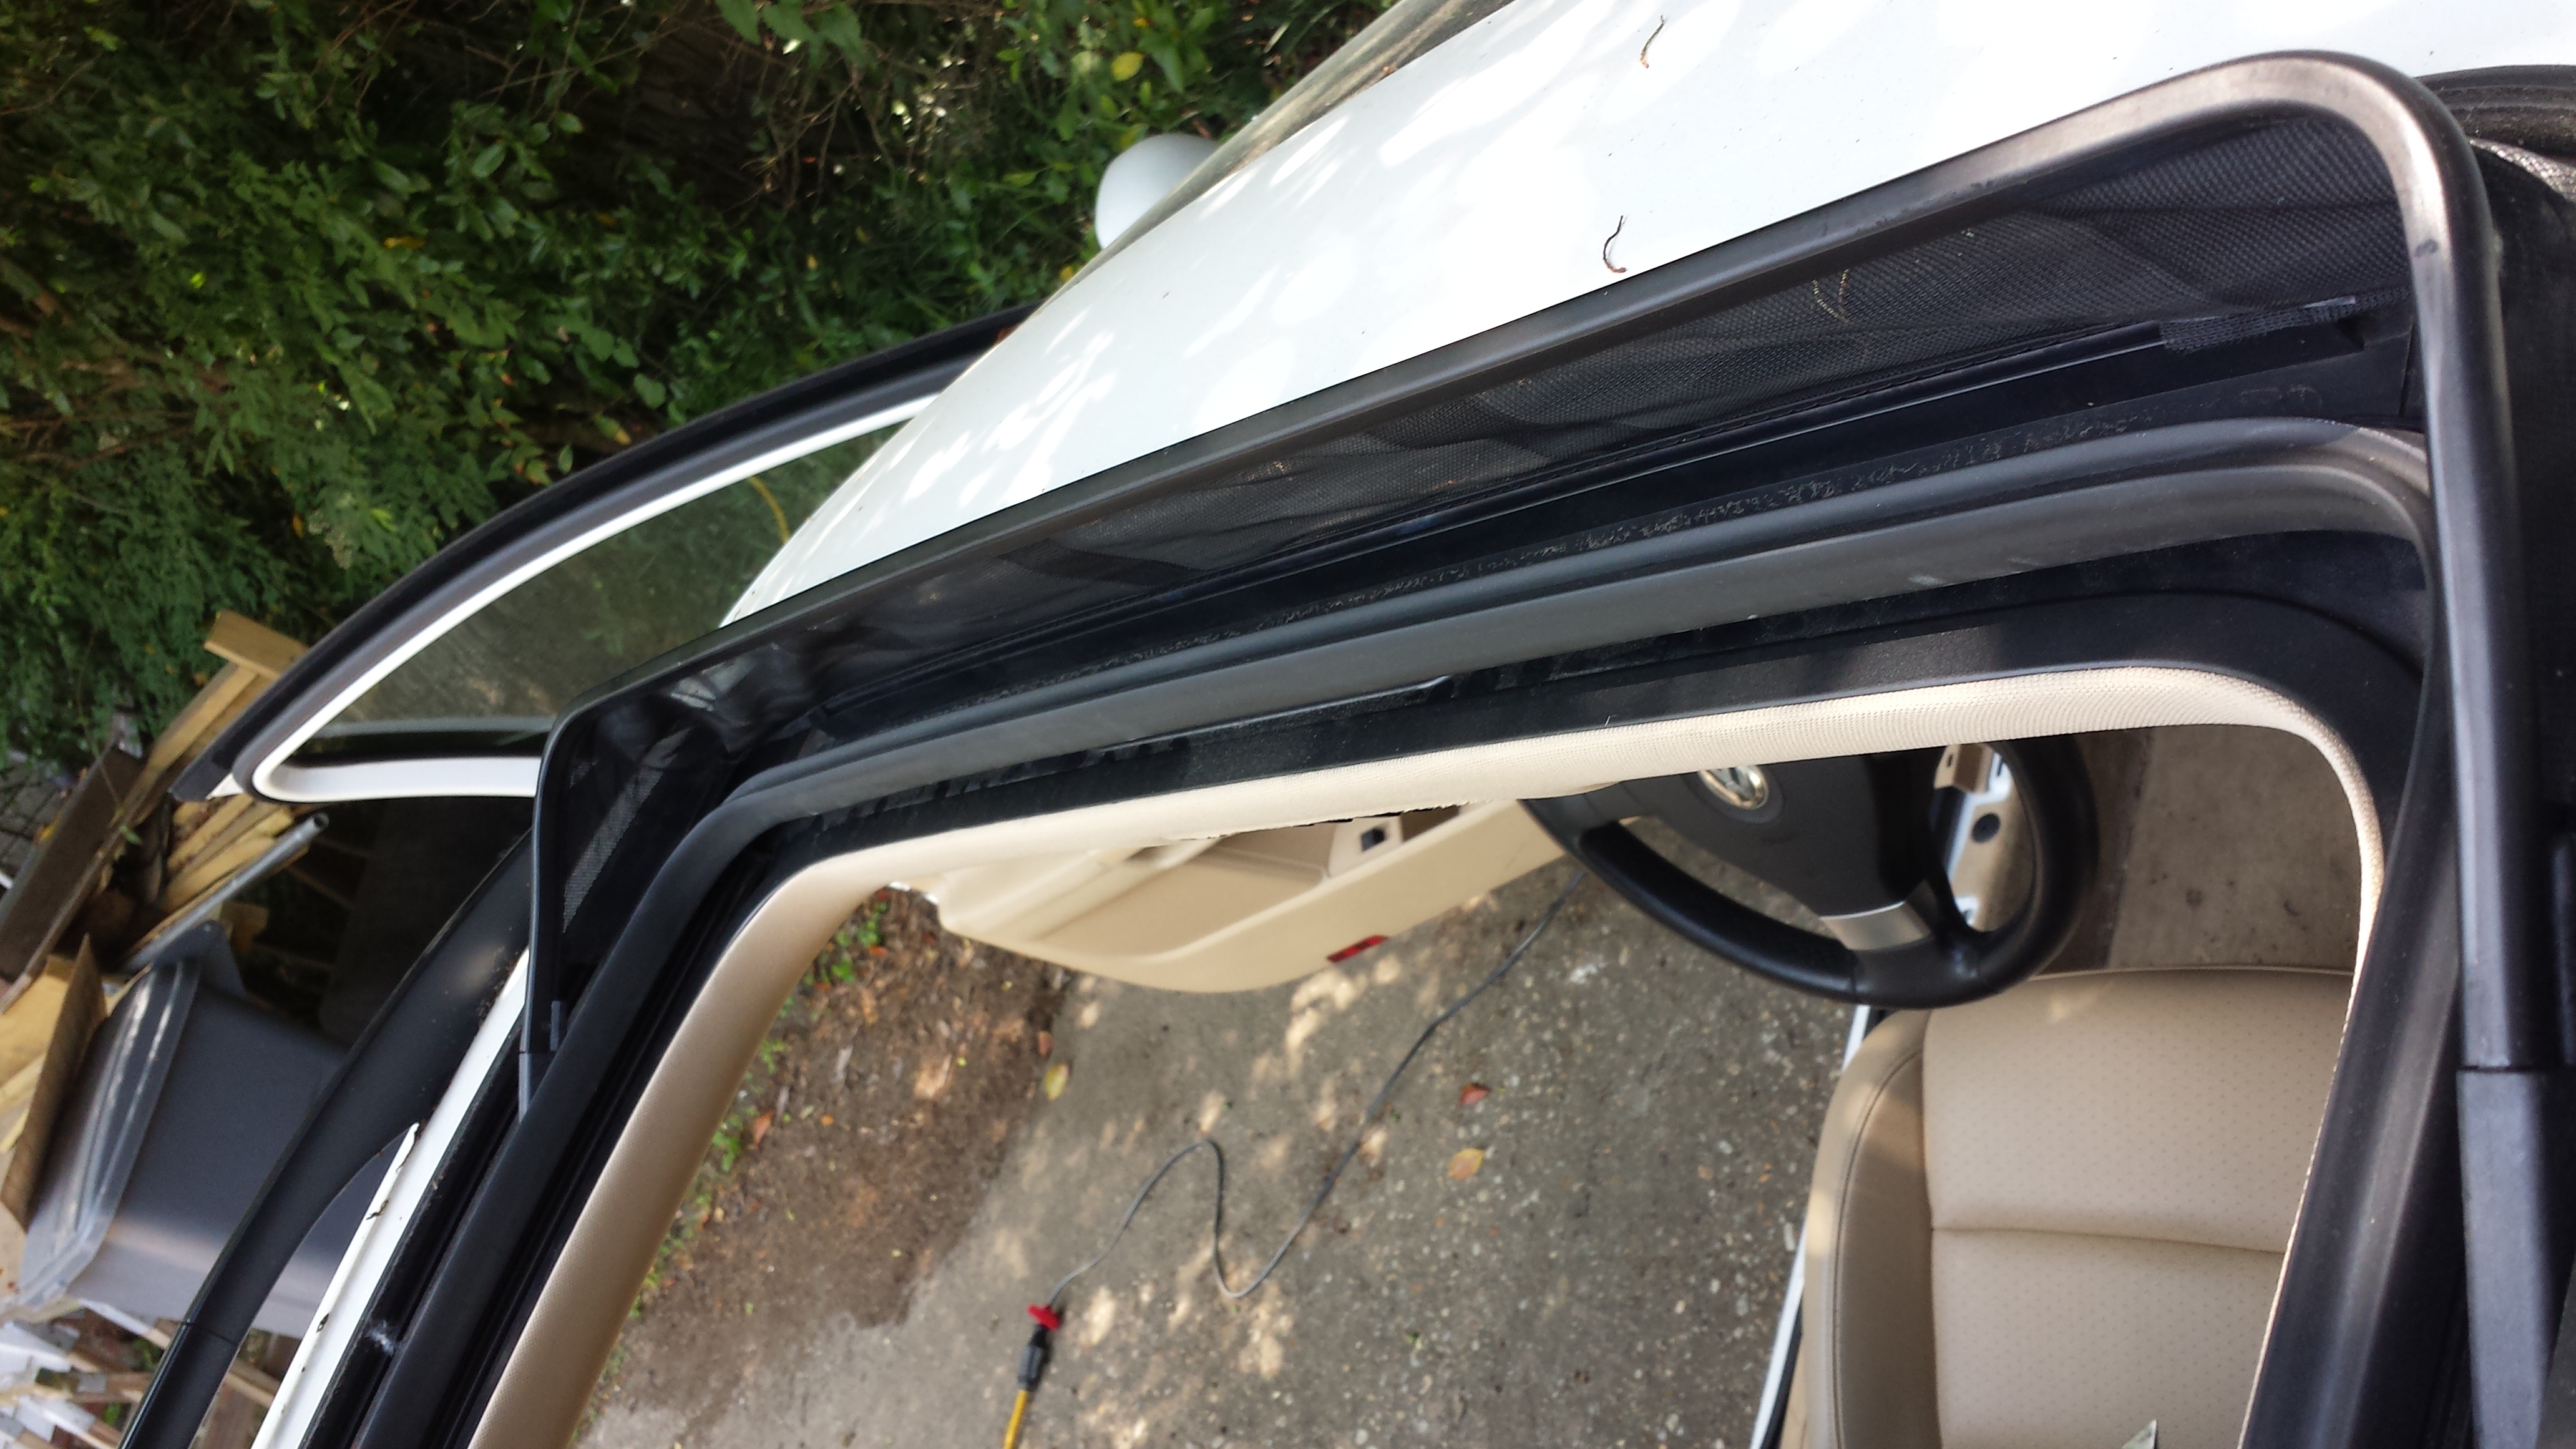
- Side door
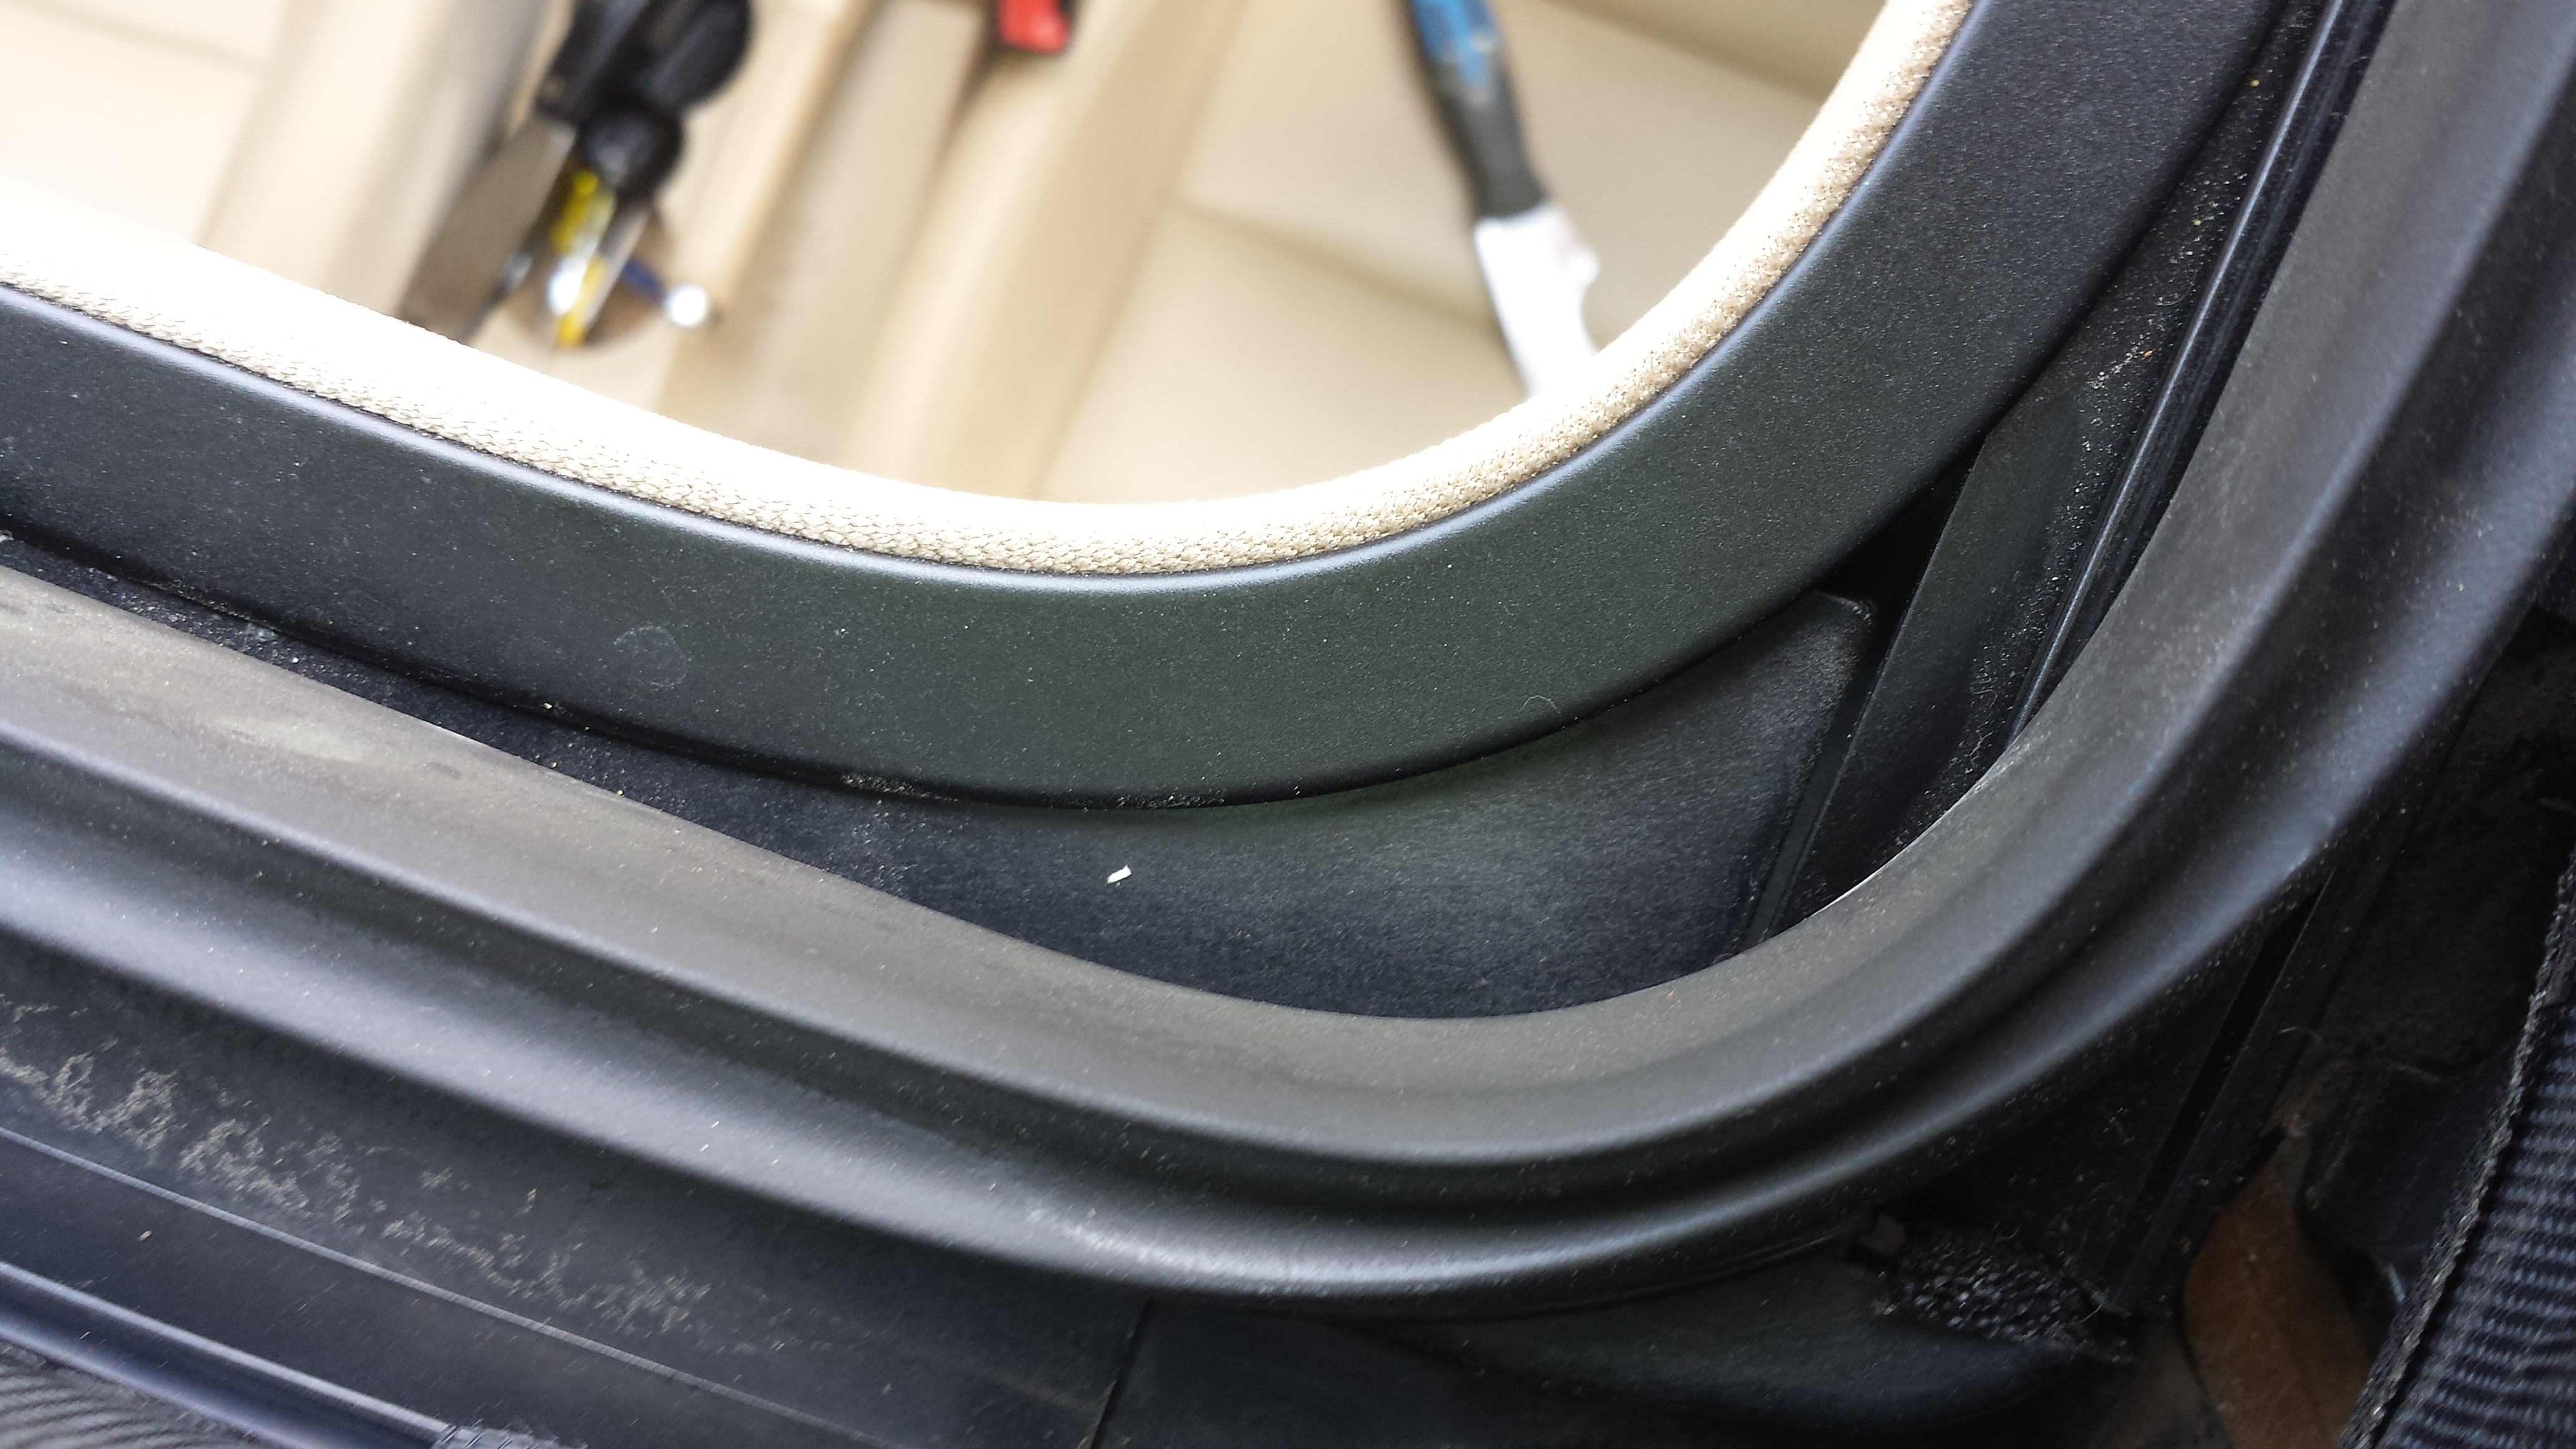
- Only thing holding sunroof in is the metal clips and the ring around the perimeter of the sunroof opening.
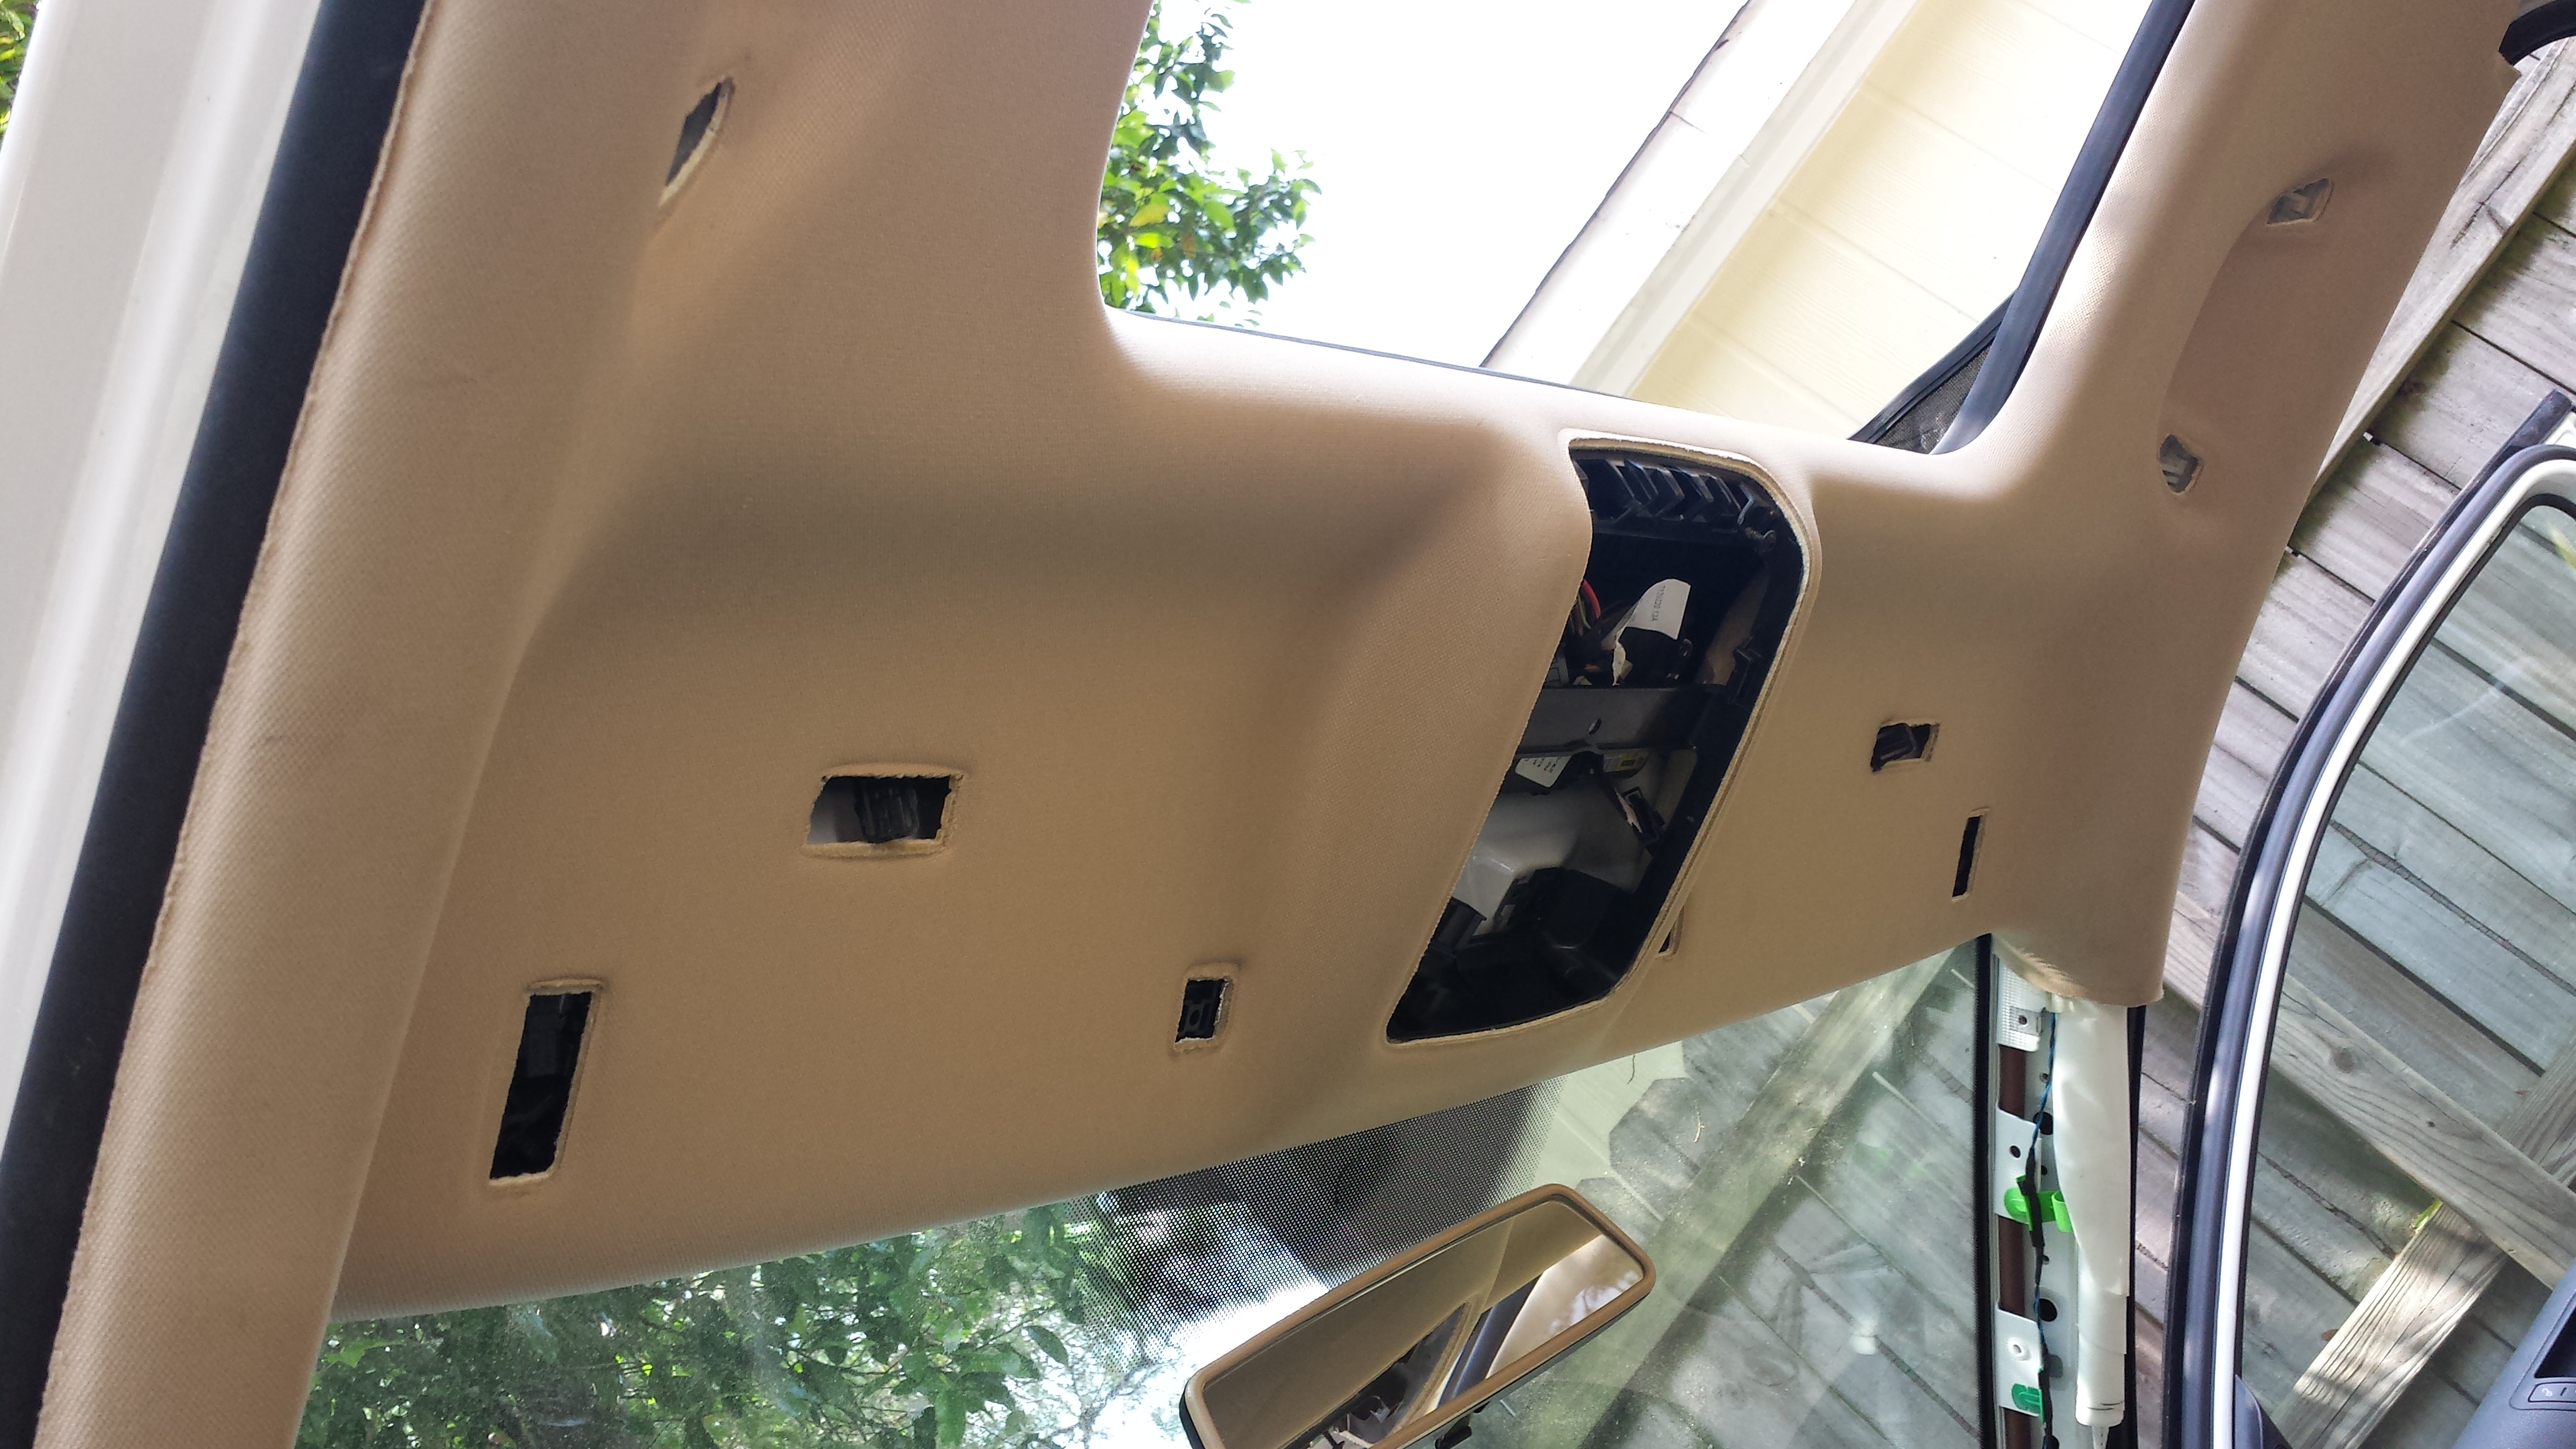
- Middle A-pillar trim removed
- Mangled sunshade
- Trying to figure out how to separate the headliner from the sunroof opening
- Eventually figured out I could insert a putty knife between the cloth-covered part and the black ring.
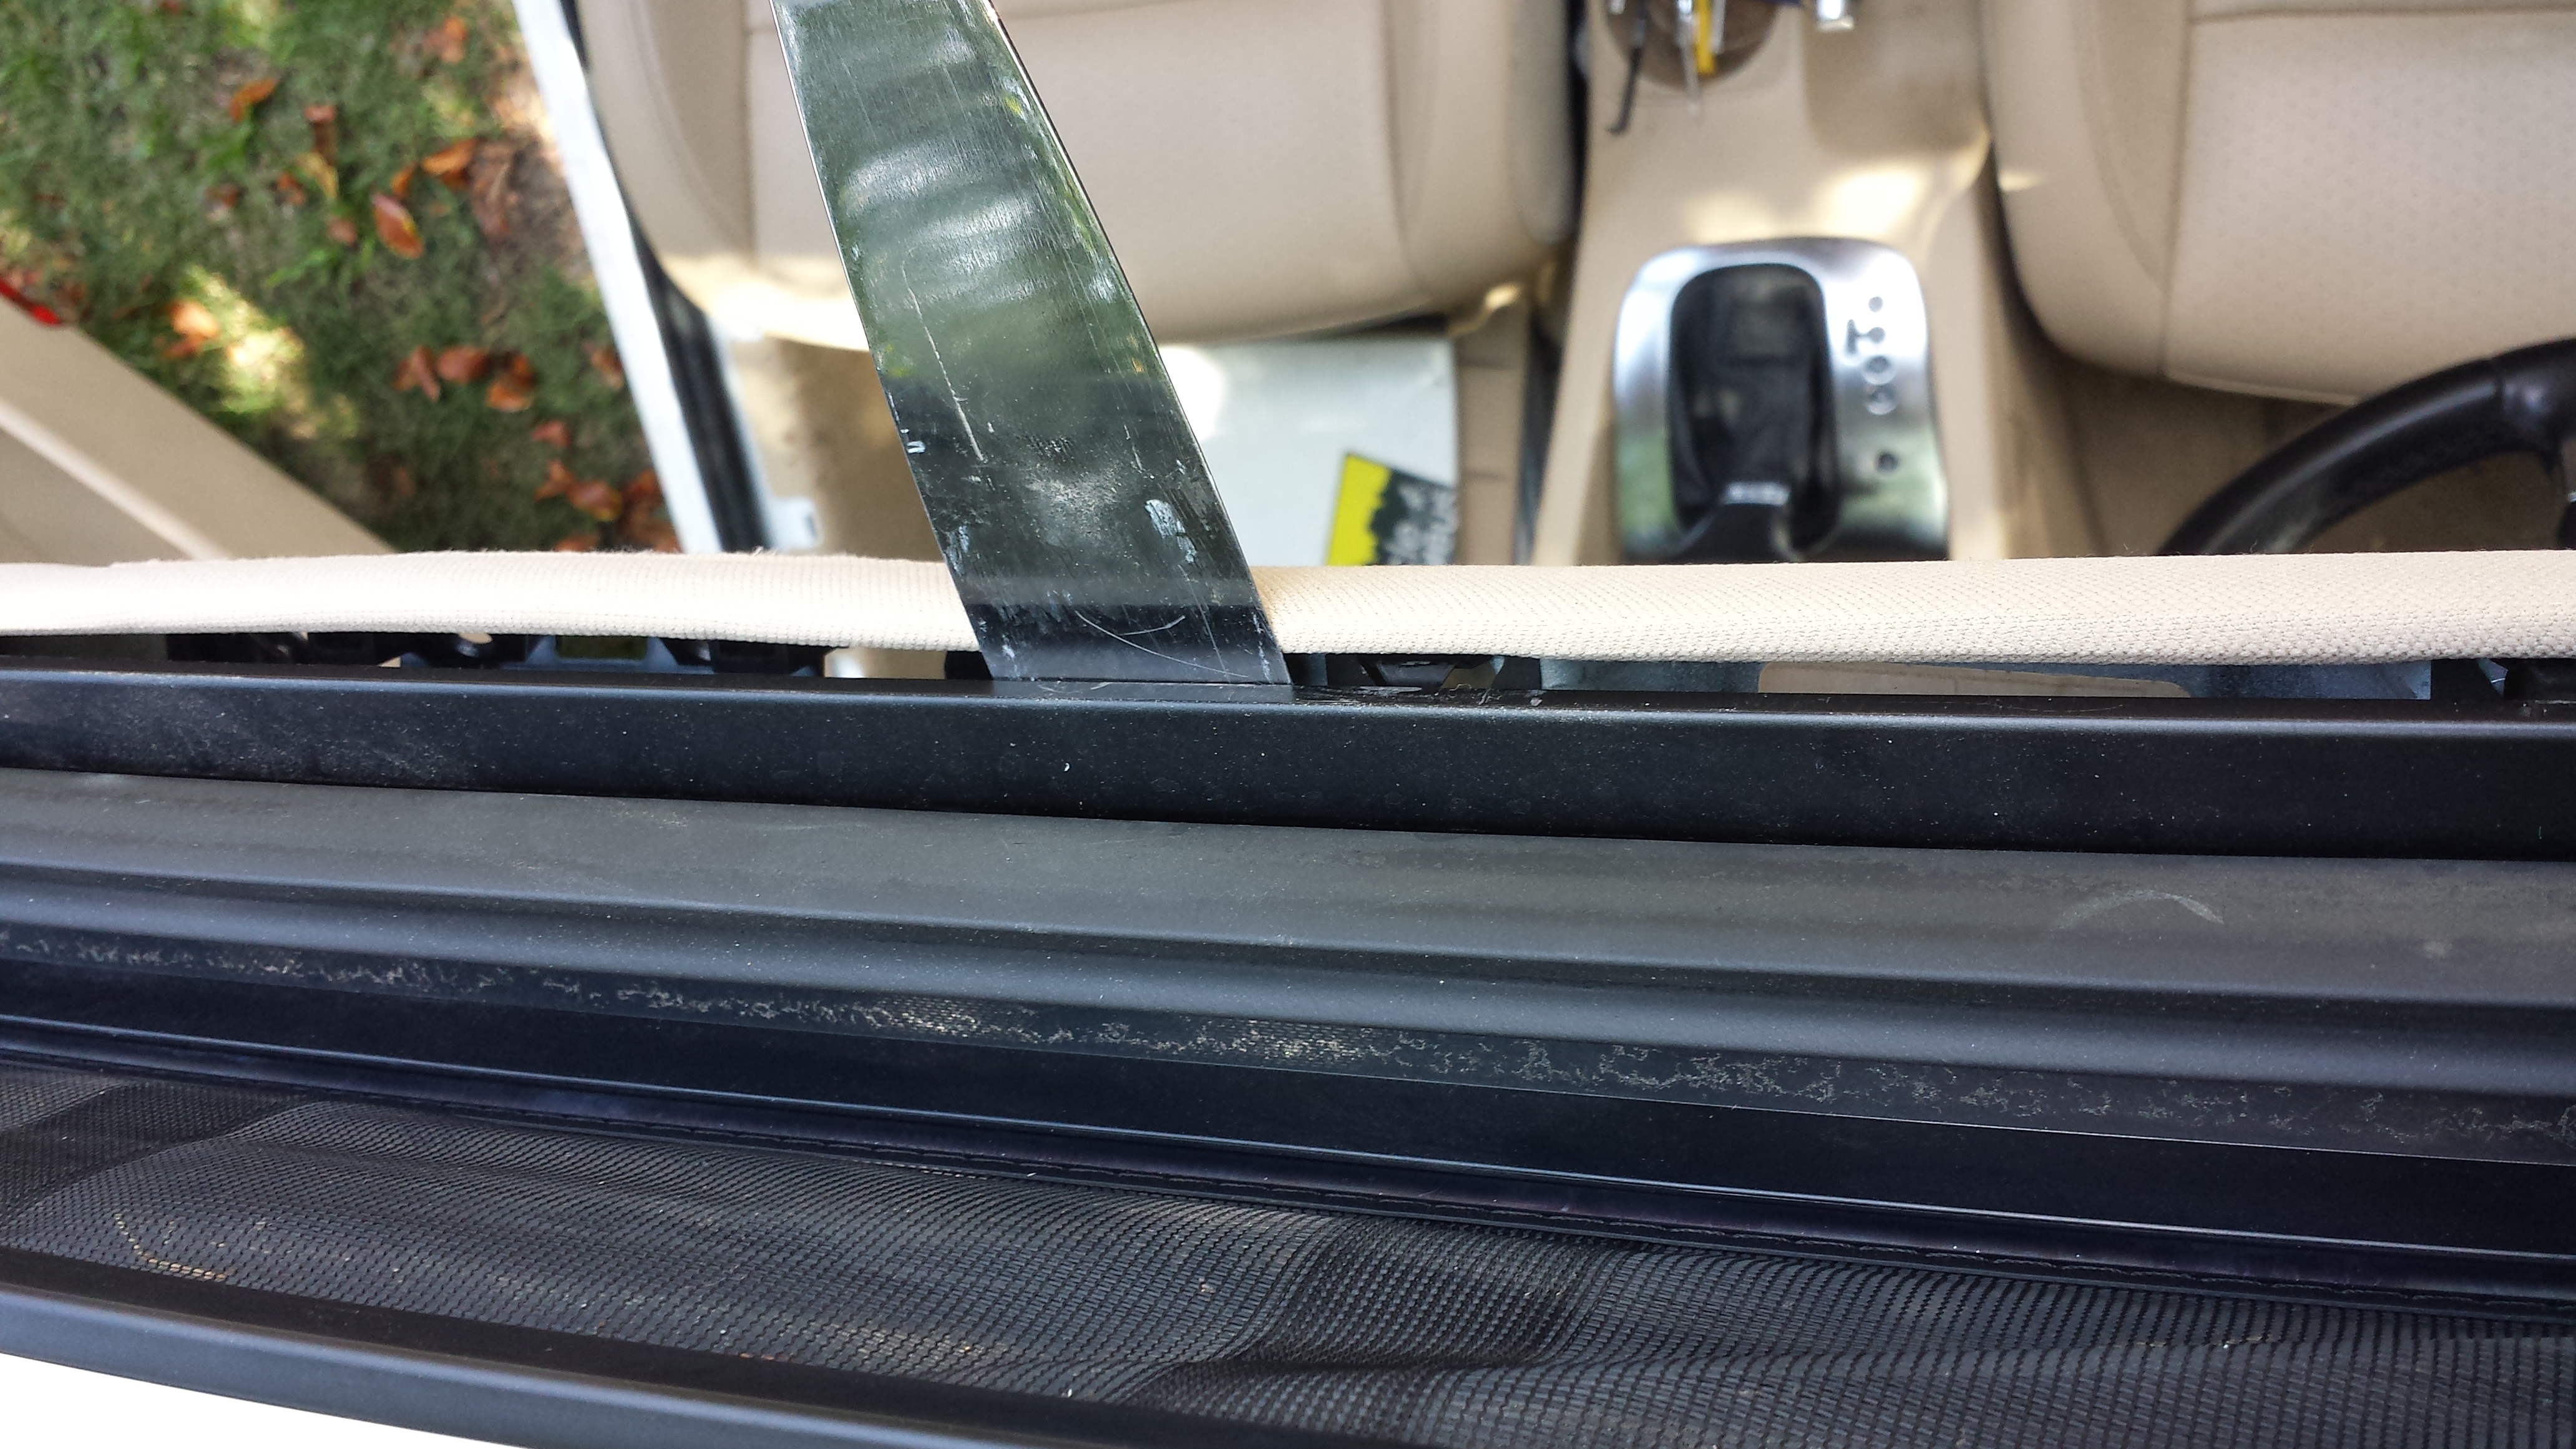
- Headliner partially released from the ring.
- In addition to the two infuriating clips that I could see, there were two more that I couldn't. Eventually wiggled enough to get these free.
- Text
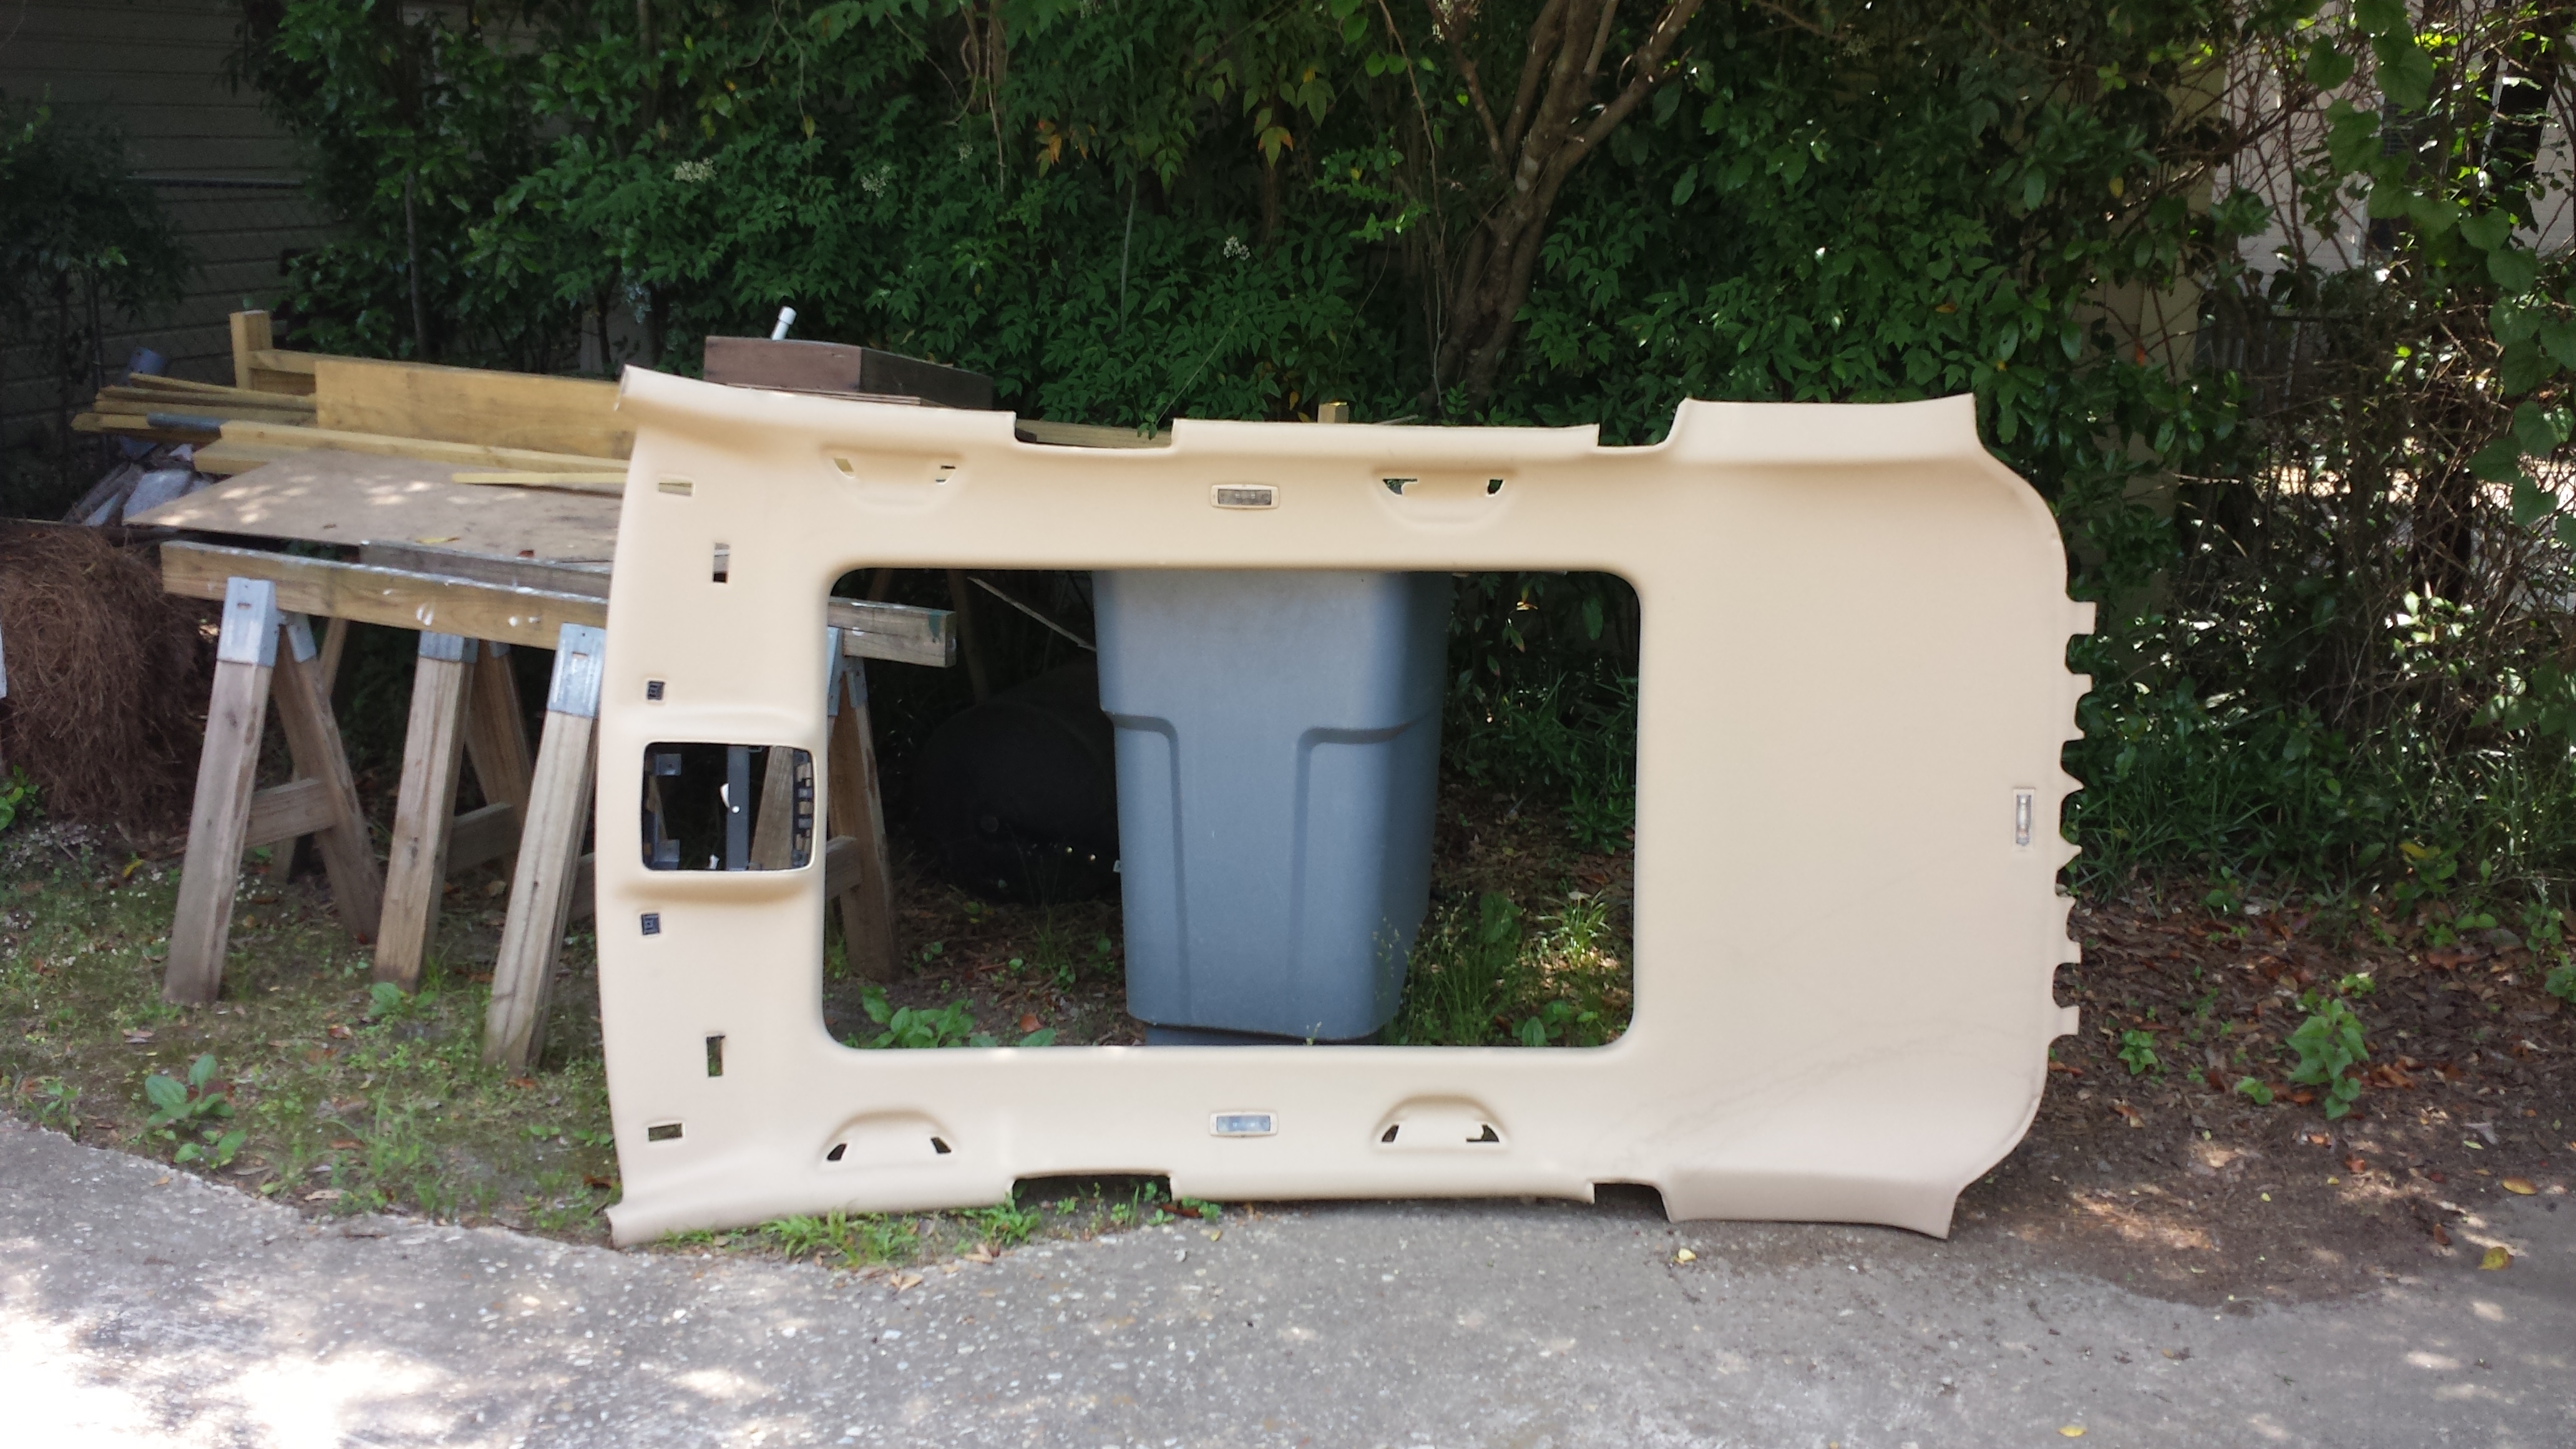
- Finally Free!
- Pulling headliner out from the rear hatch (tight fit).
- It's out. Finally.
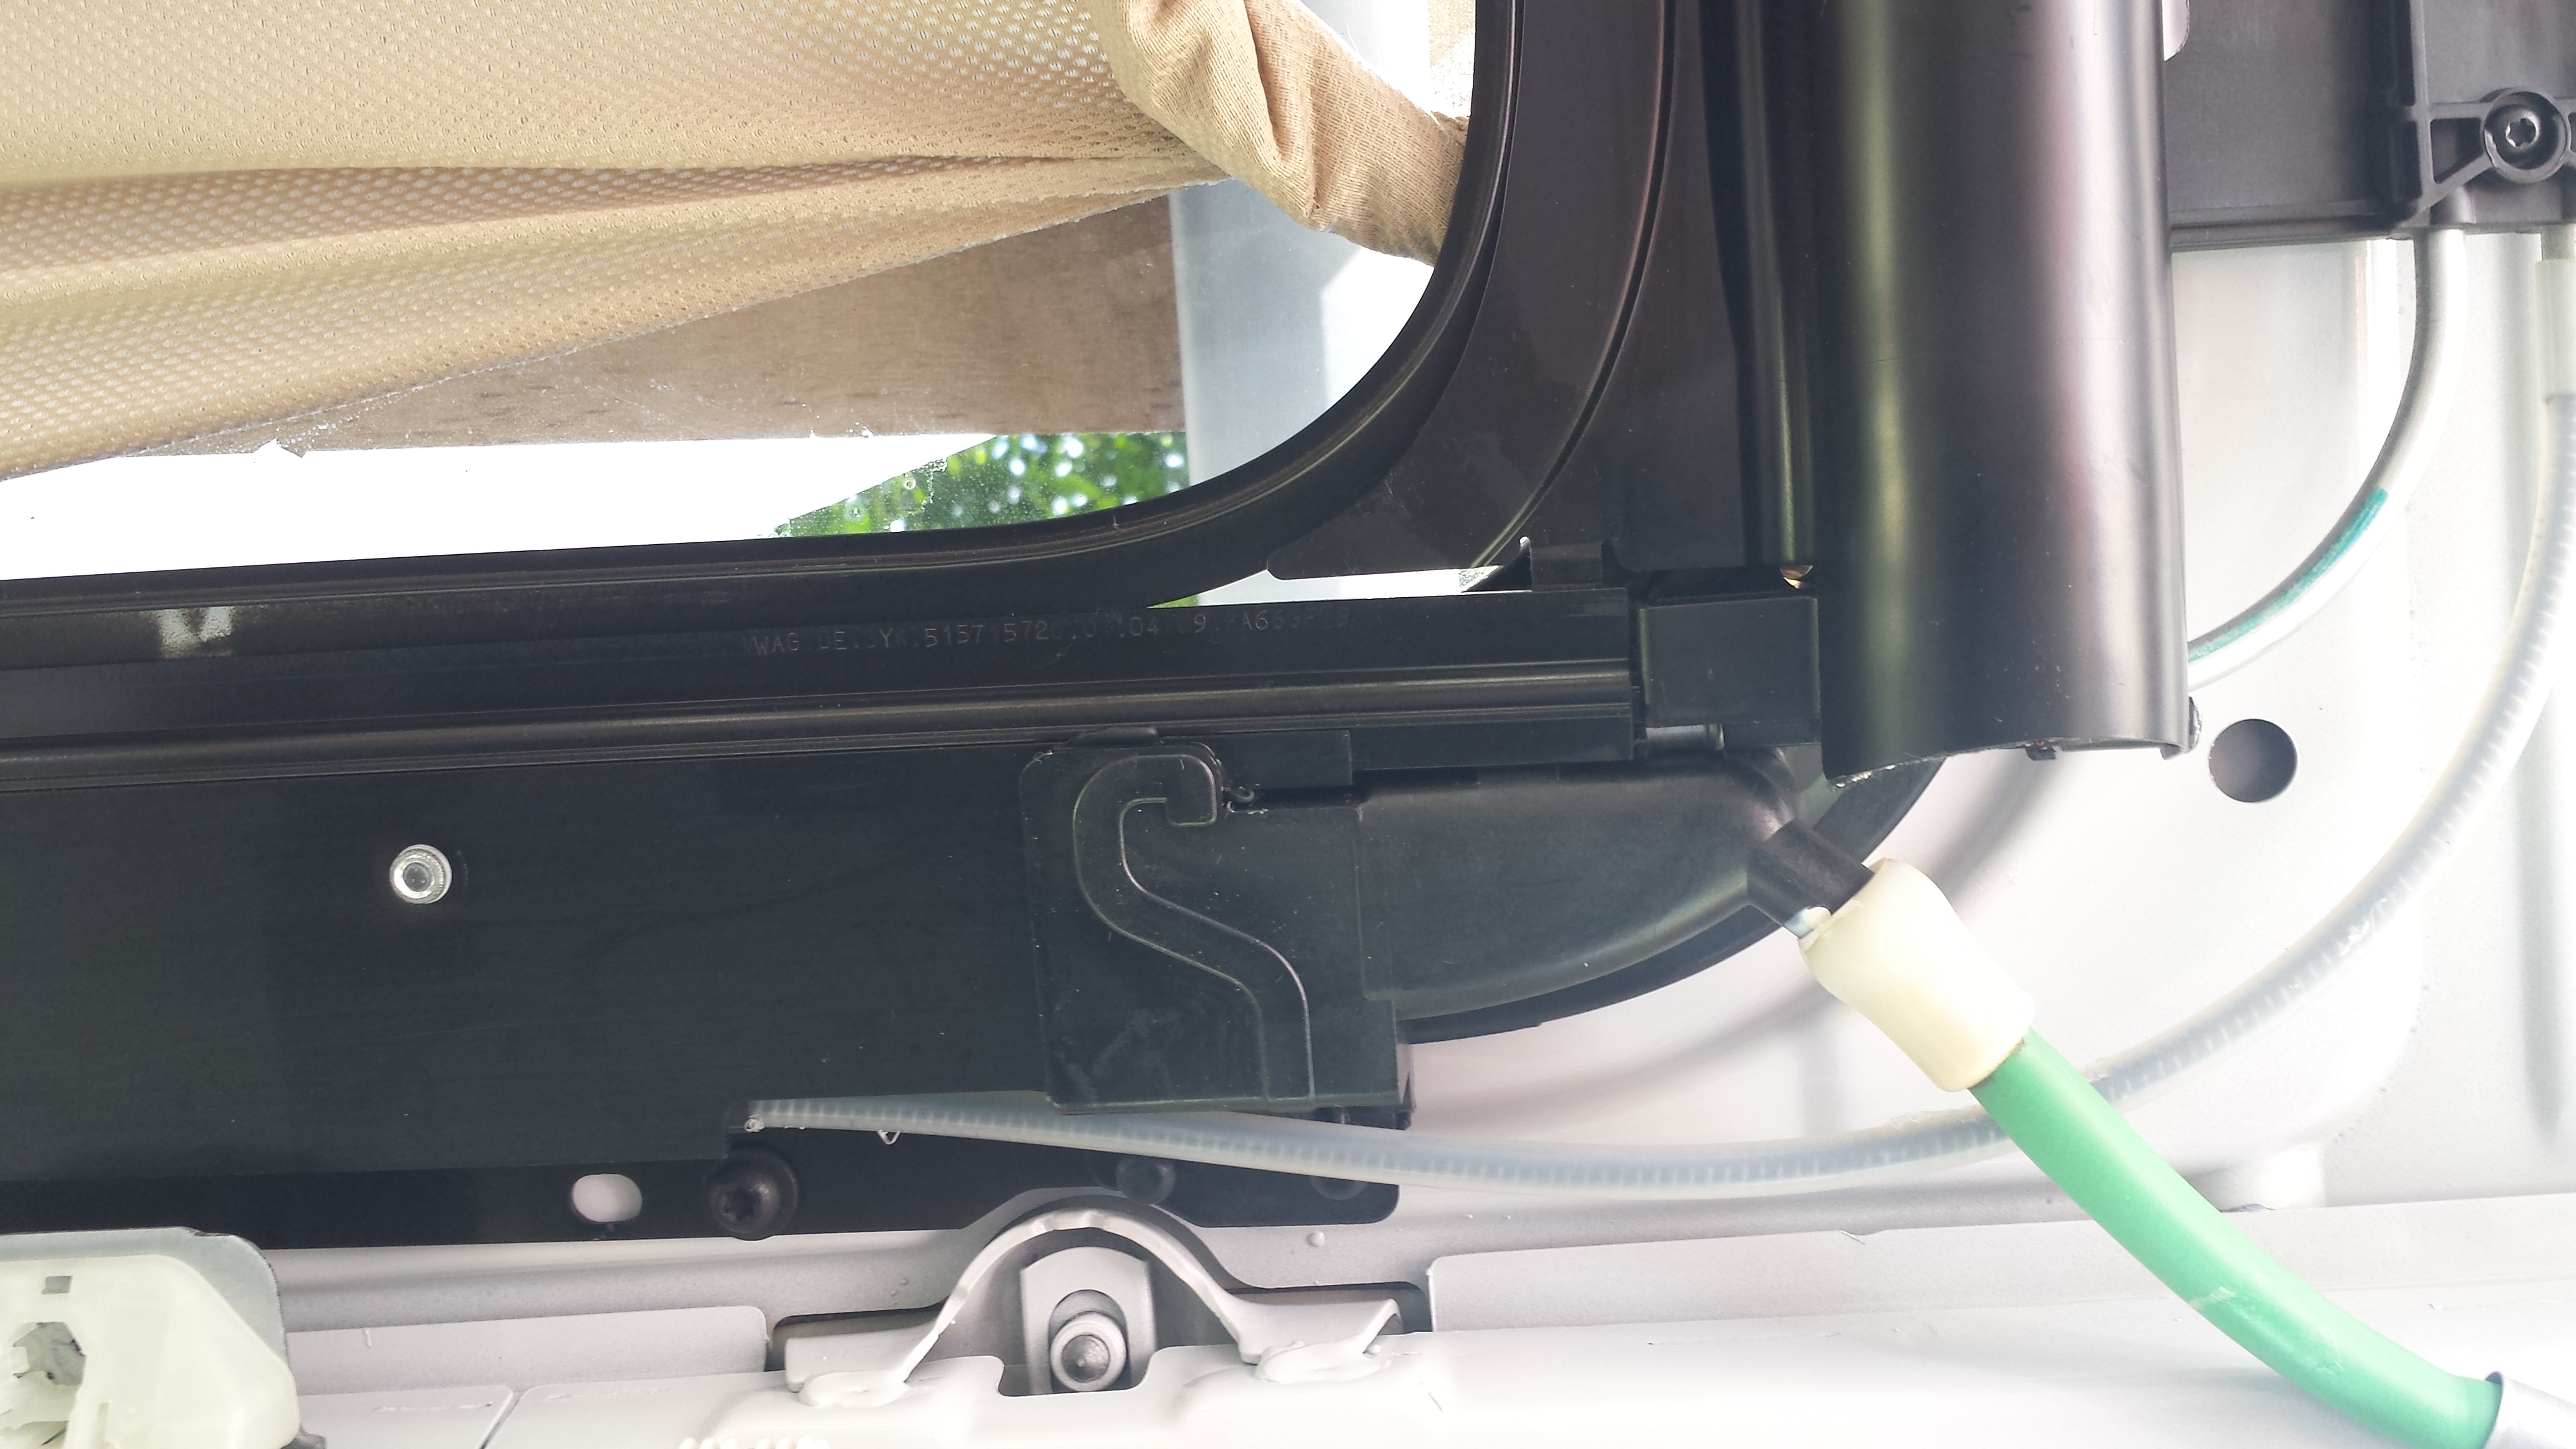
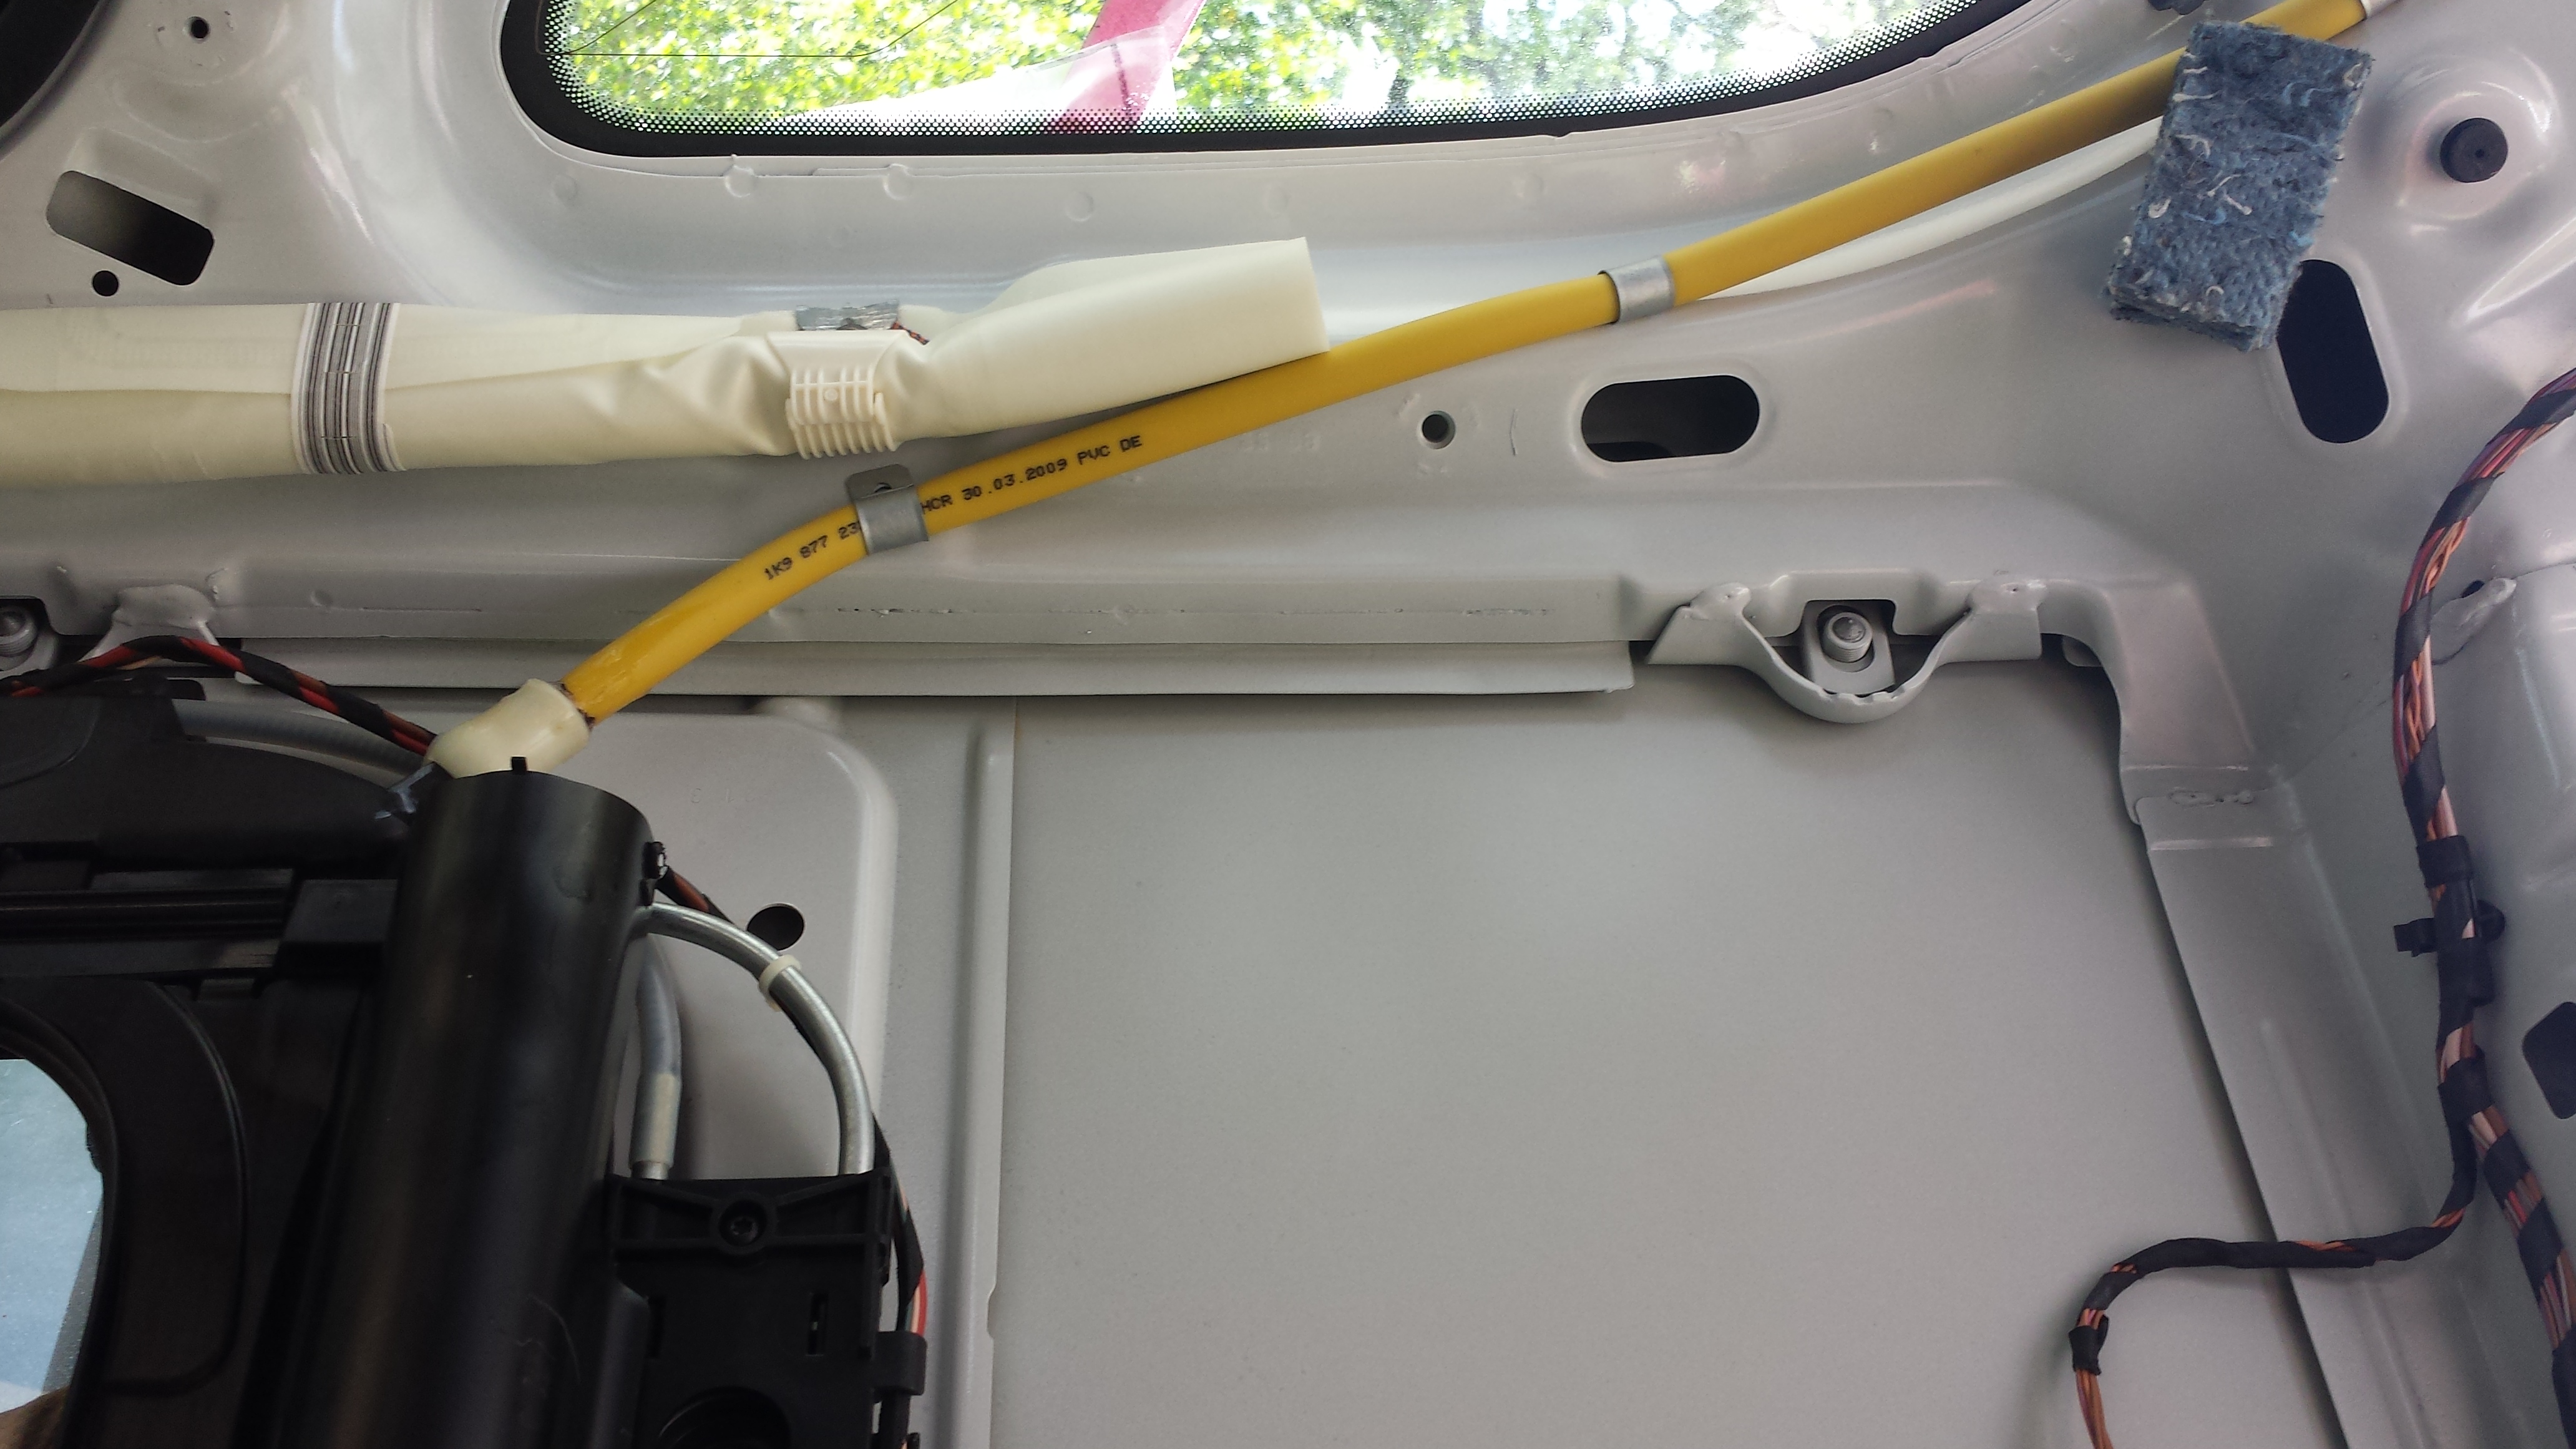
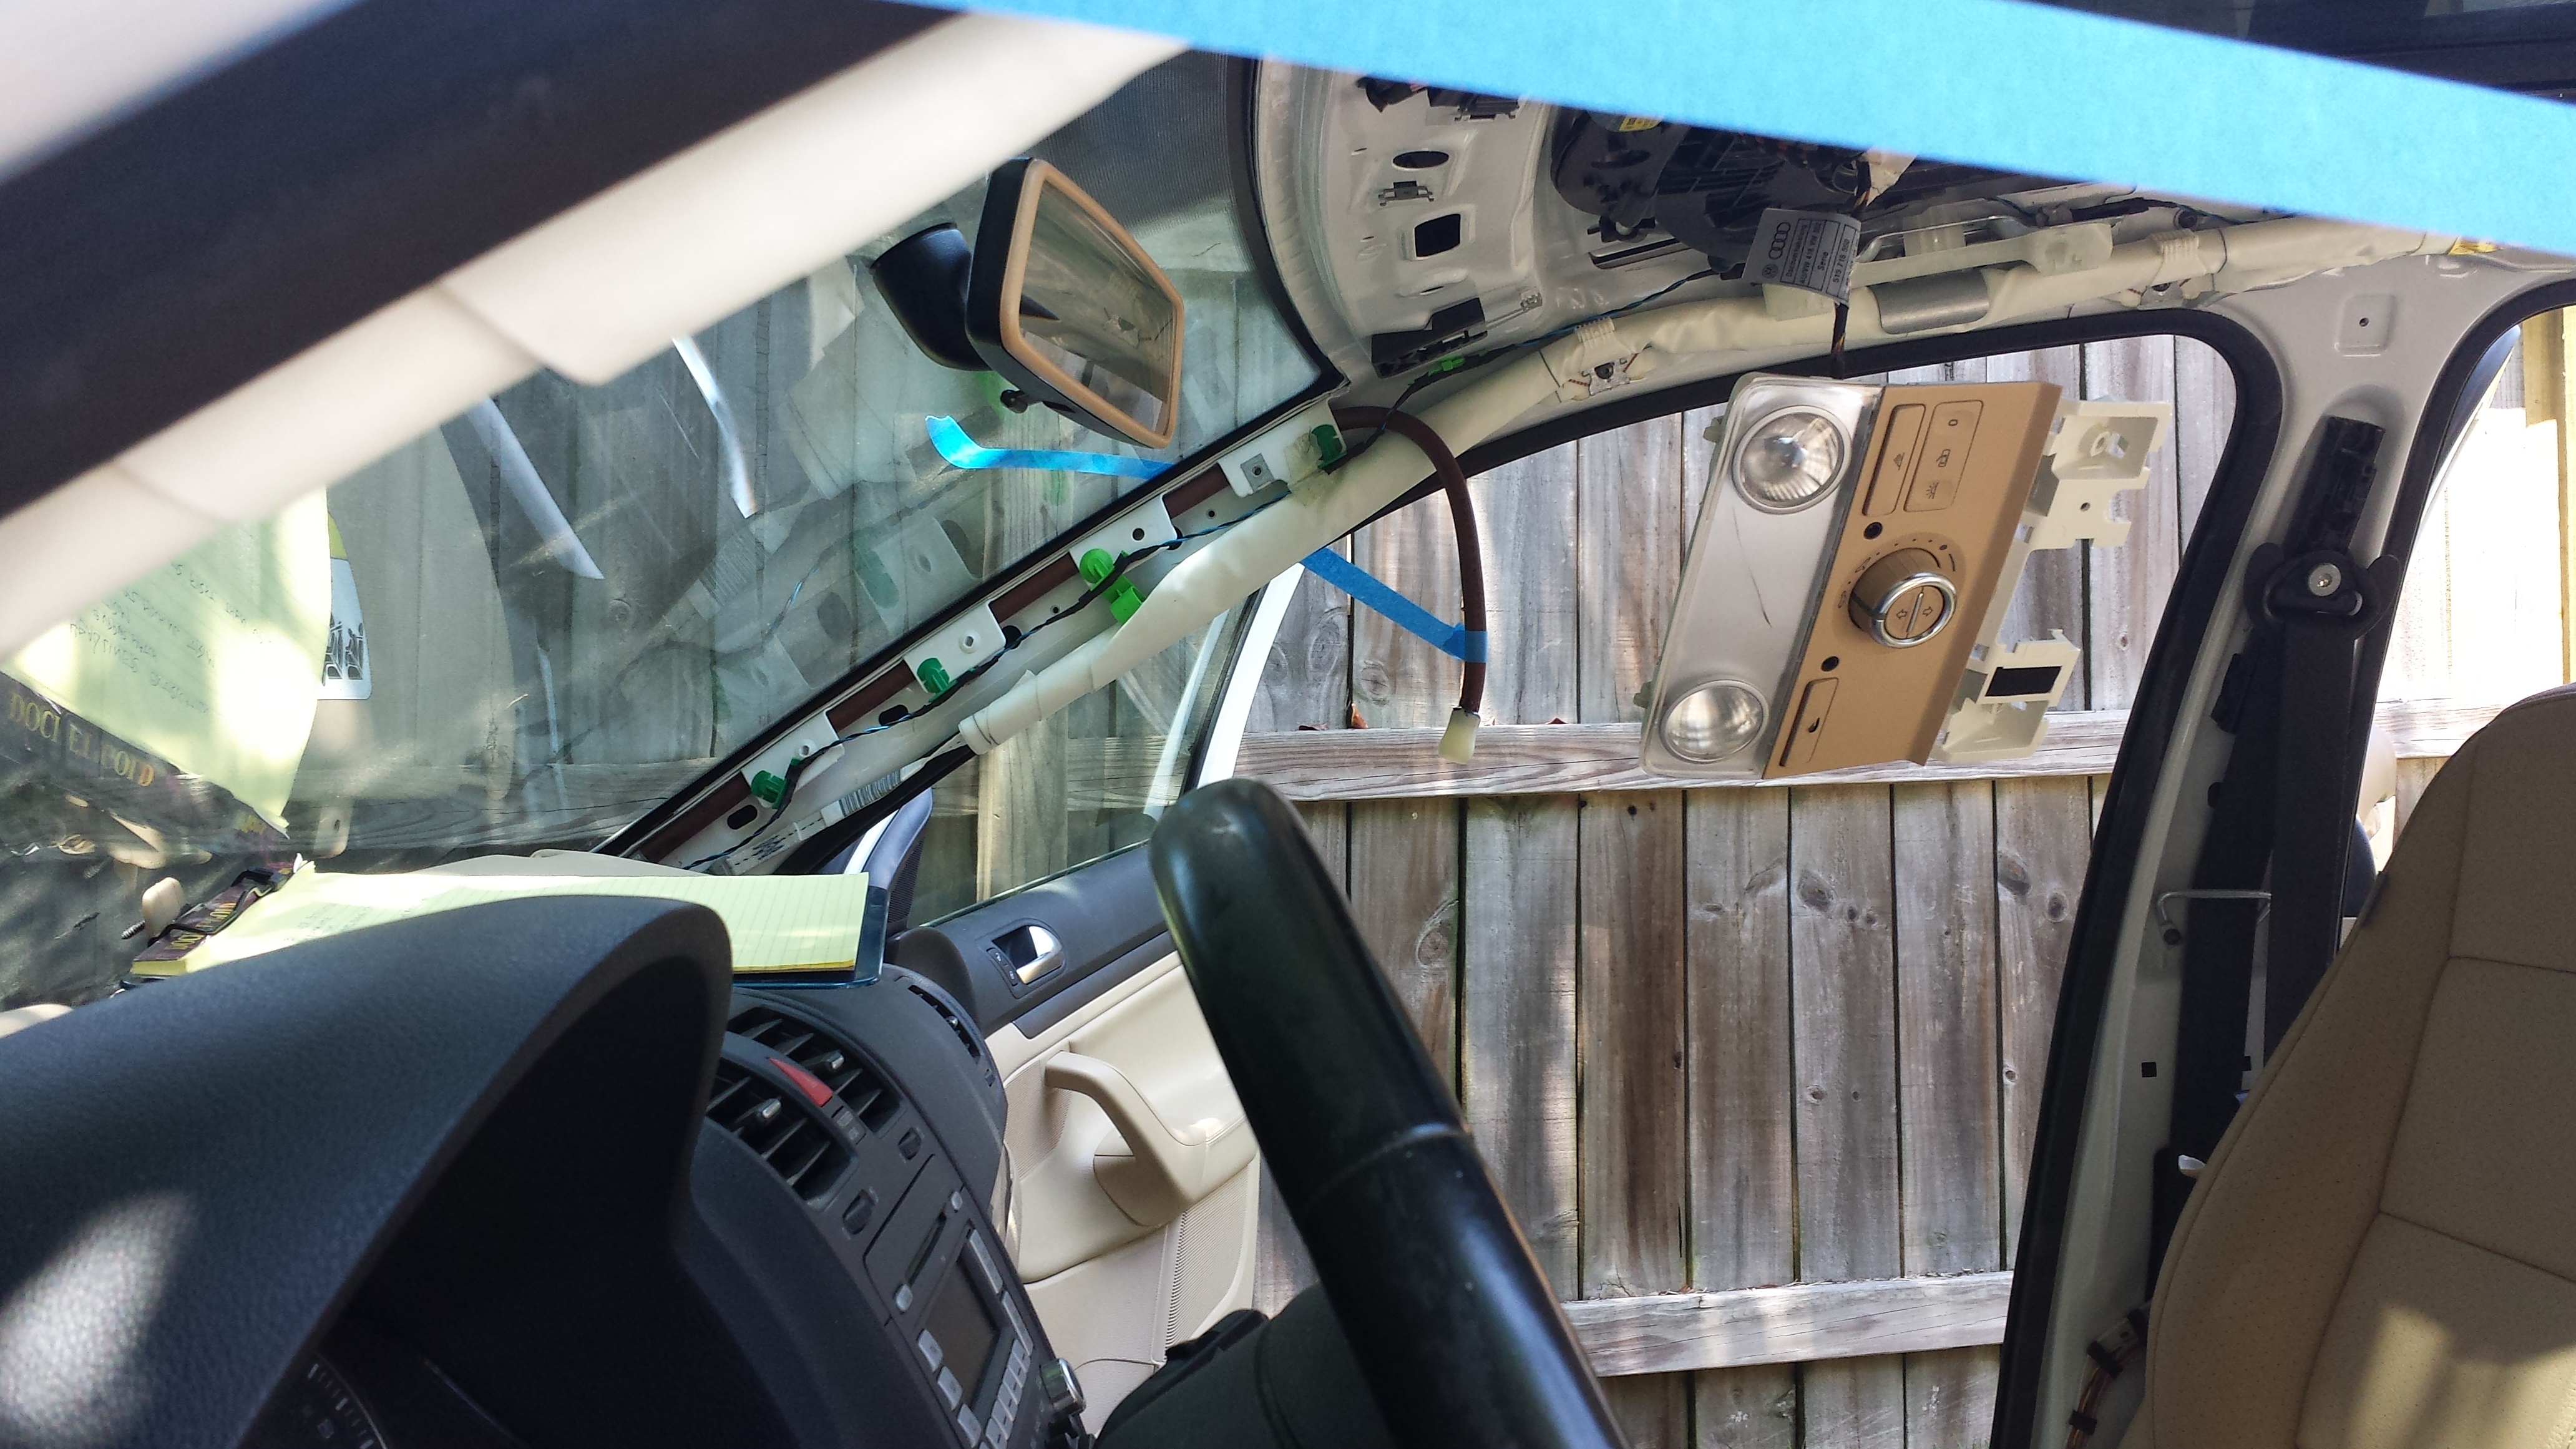
- The exposed roof interior, clearly showing the left rear drain hose (yellow) and the right rear drain hose (green).
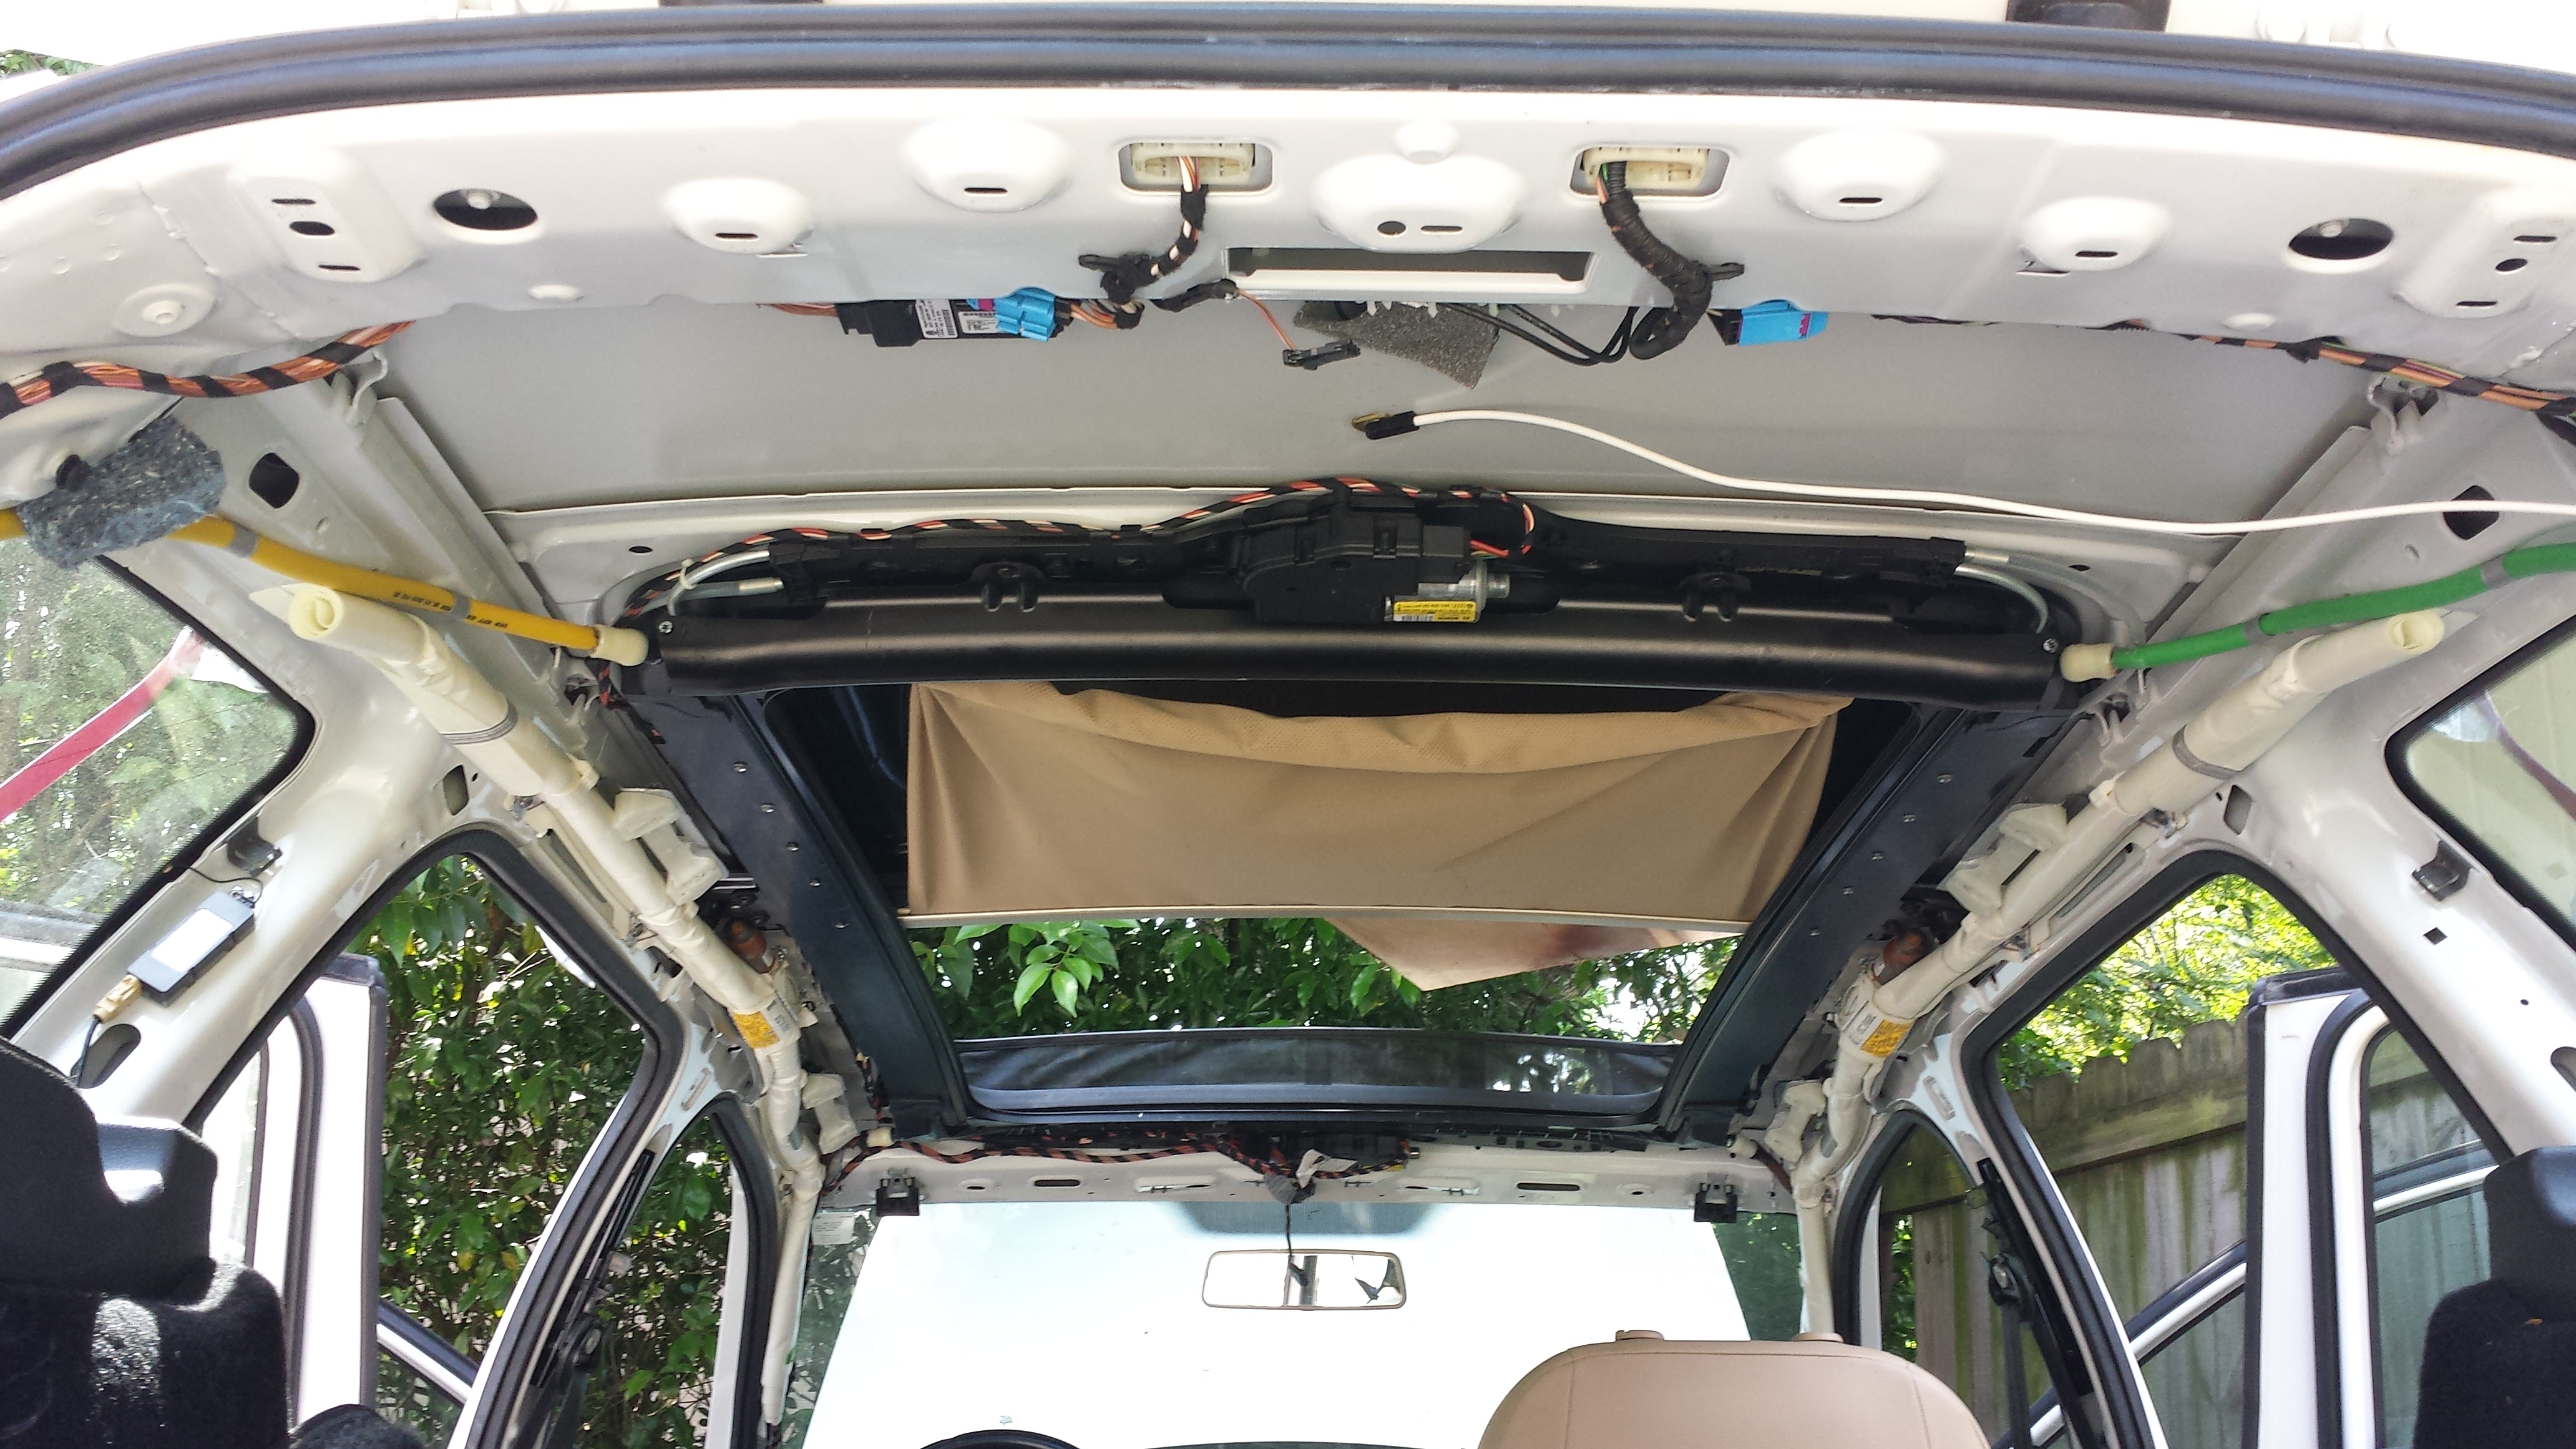
- The four H-shaped clips that had me stumped for quite some time stayed in the roof.

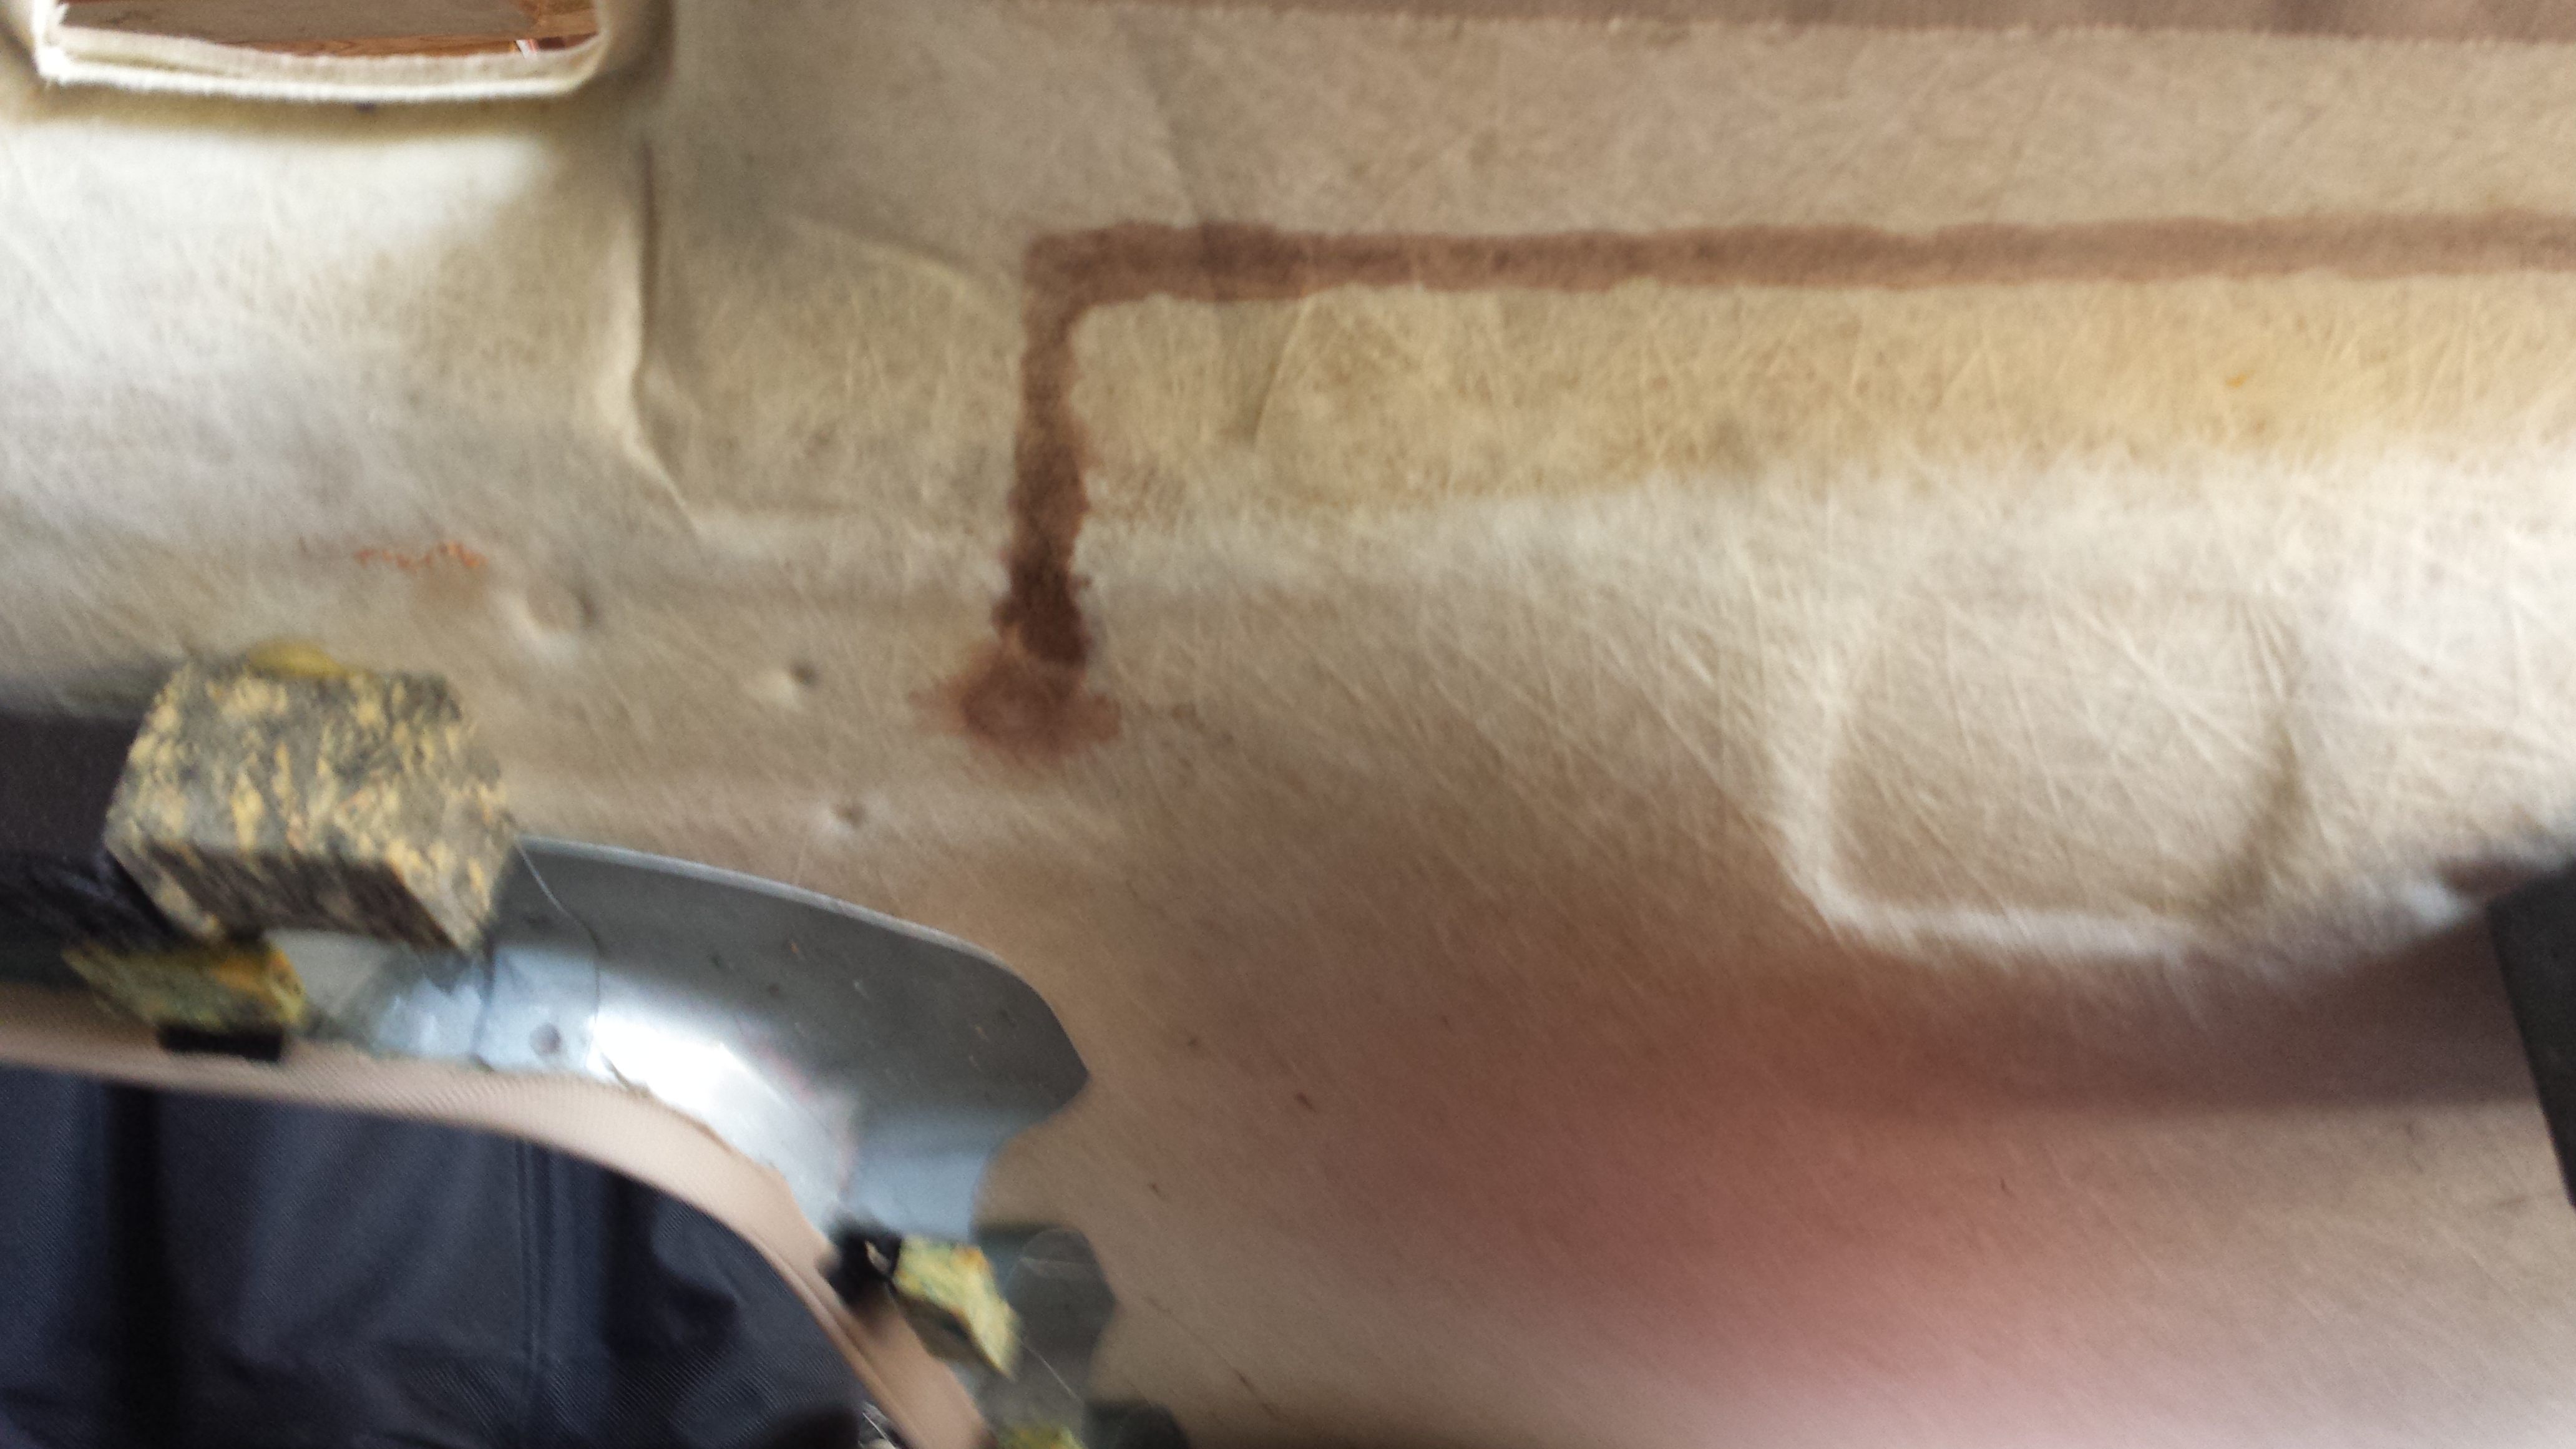
- In good light I could see water stains in the headliner over the right rear..
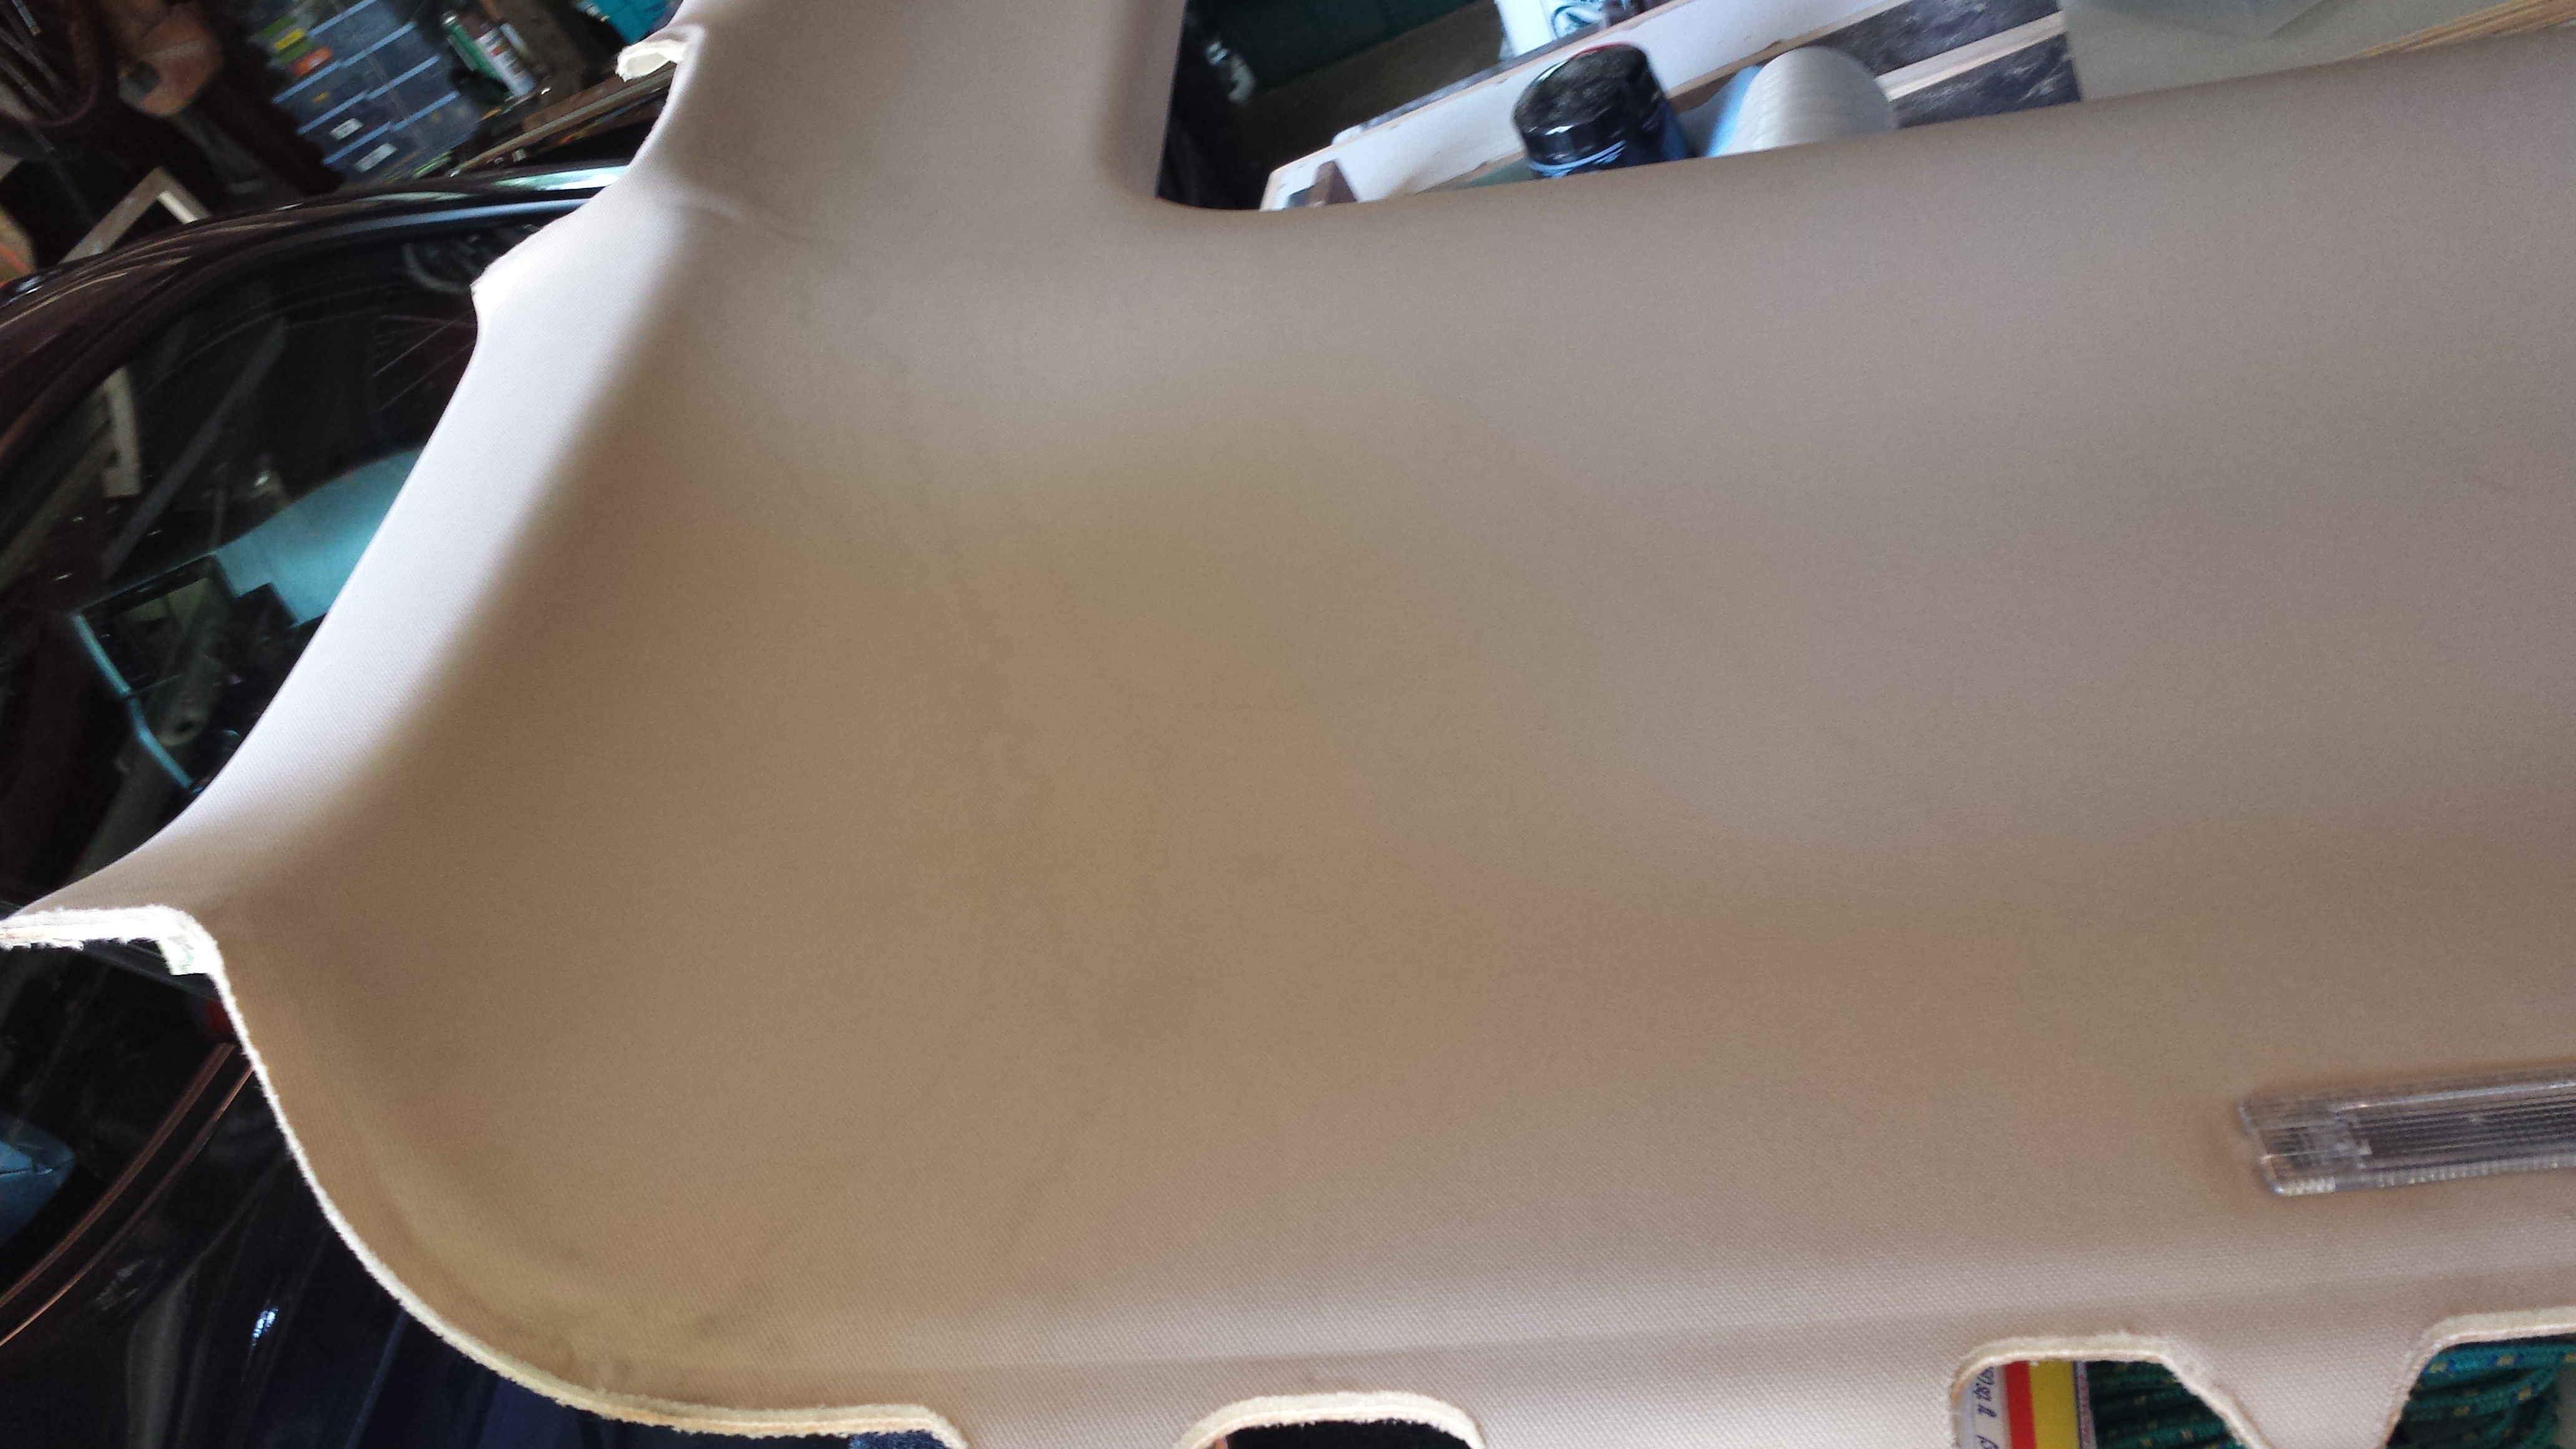
- Top side of the headliner (upside down) showing where water had dripped from the green hose/coupling onto the headliner.
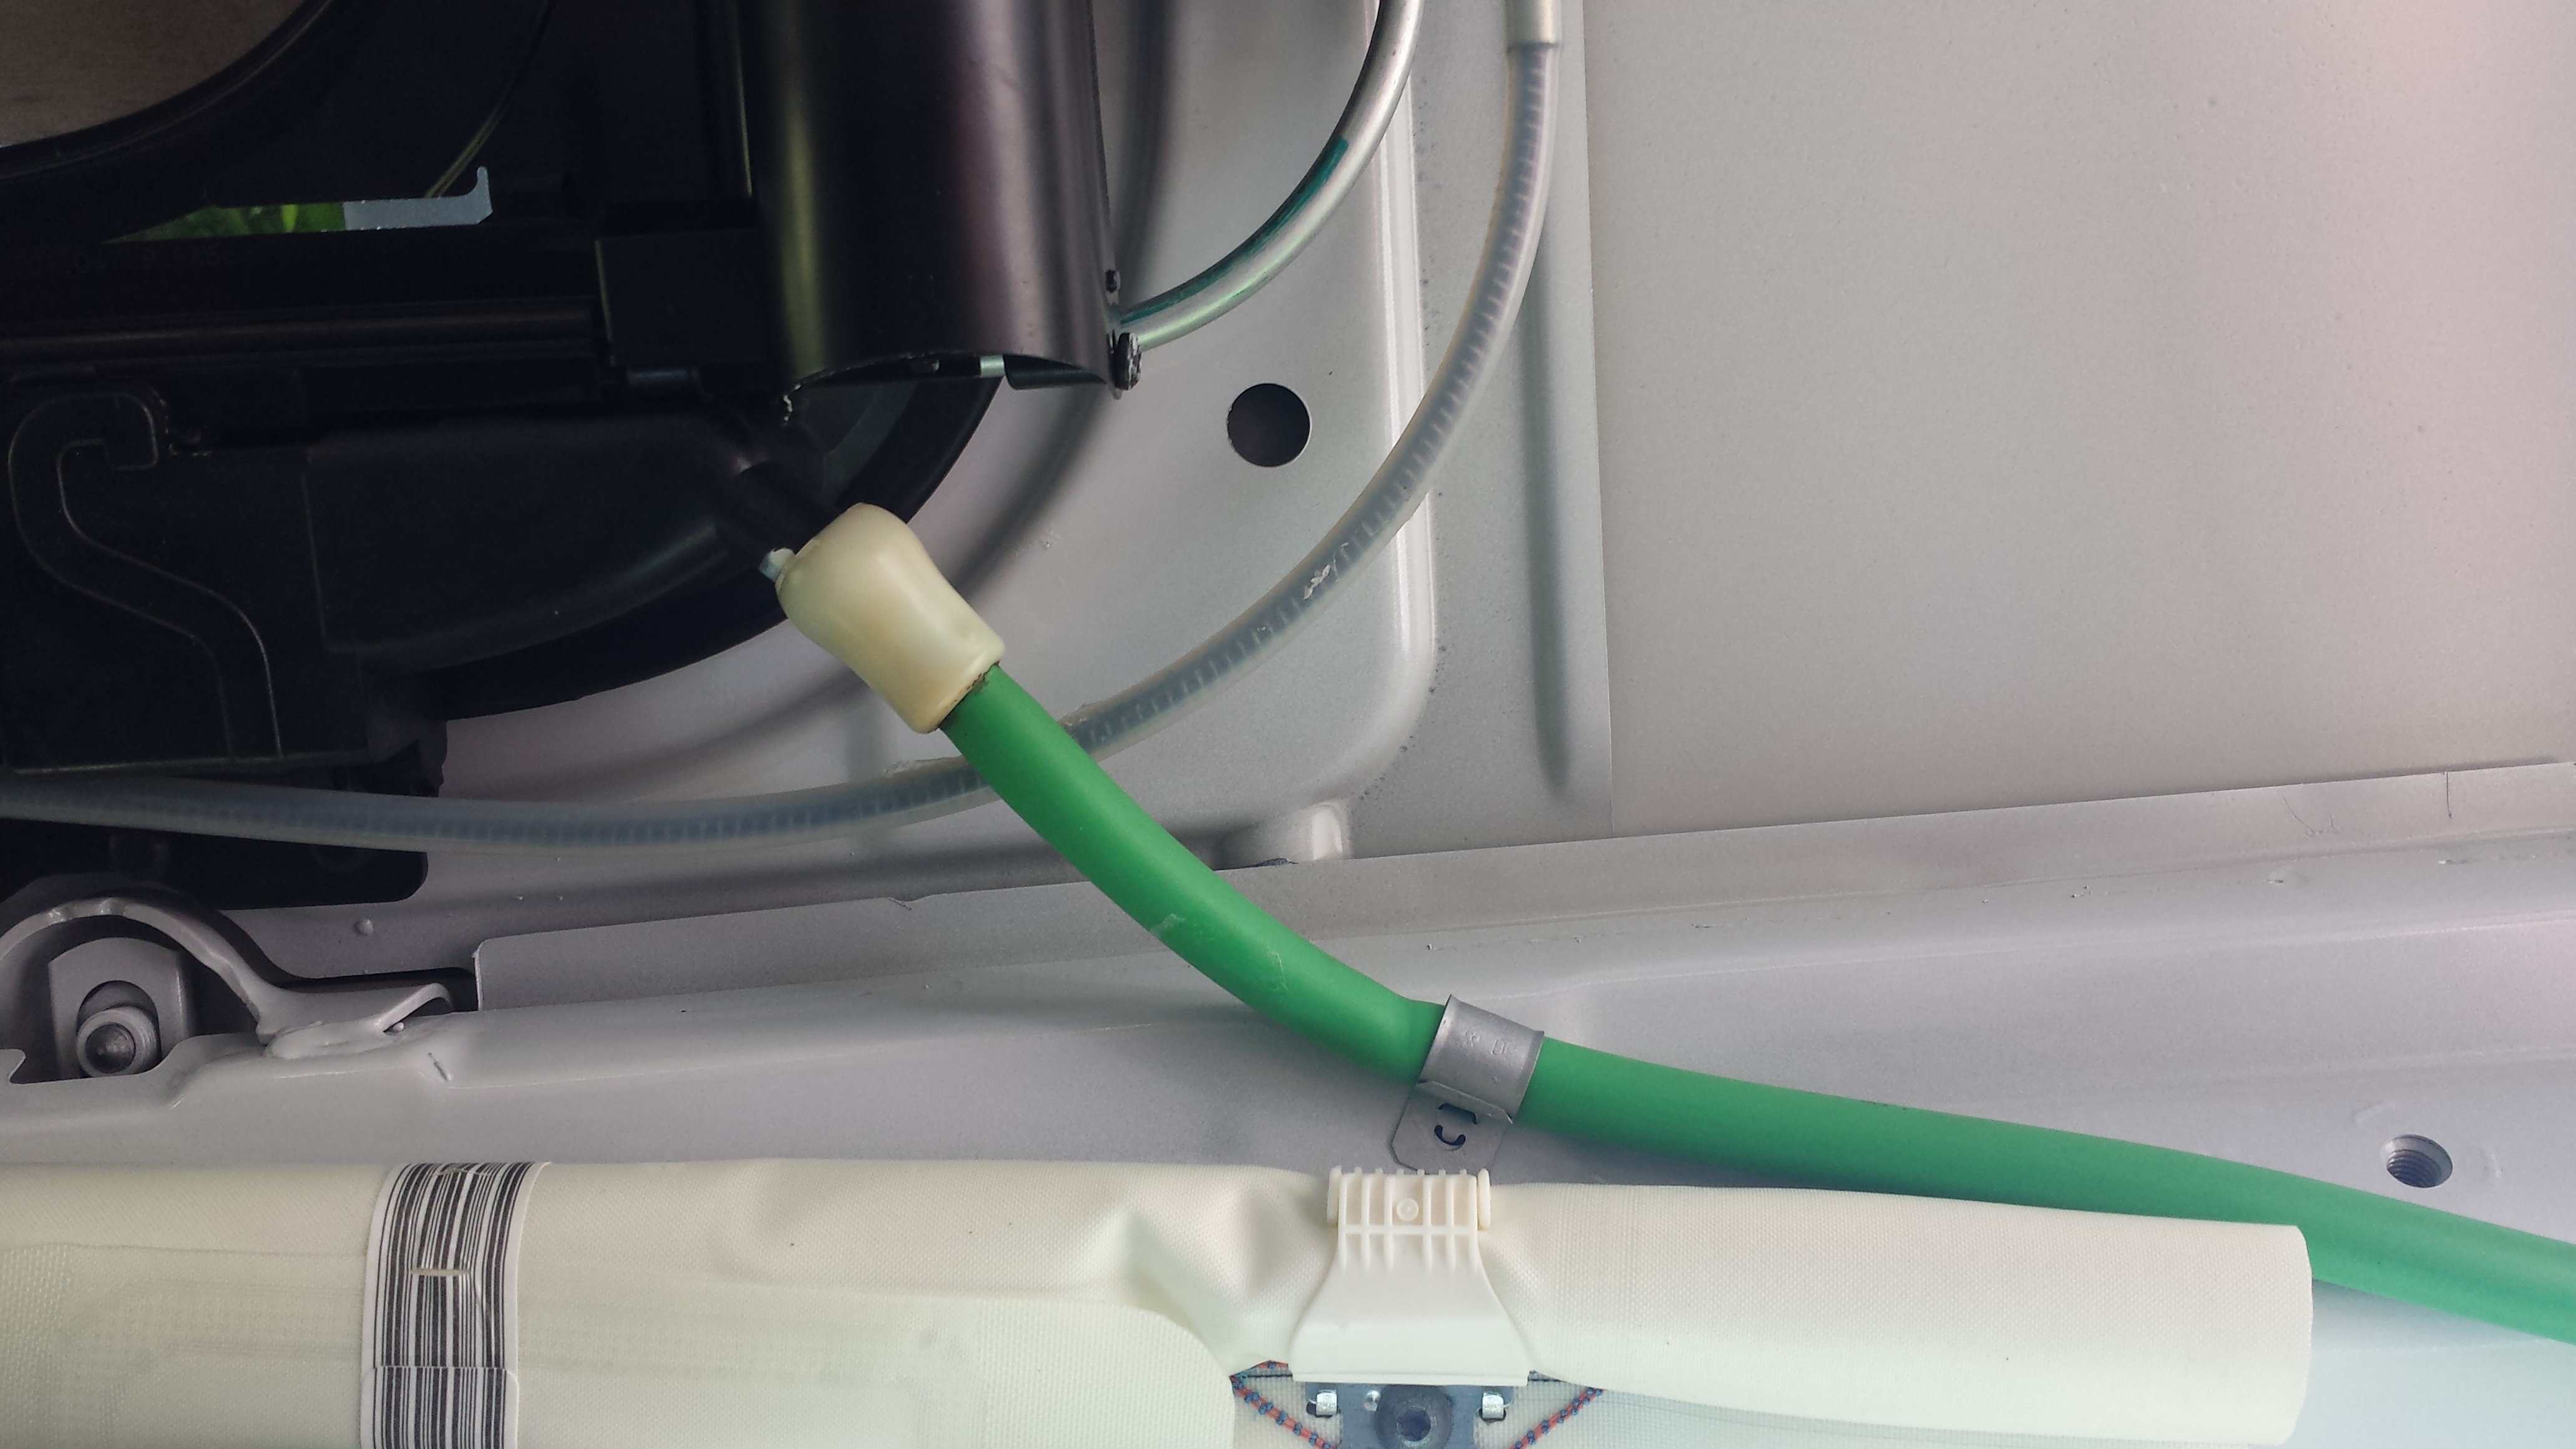
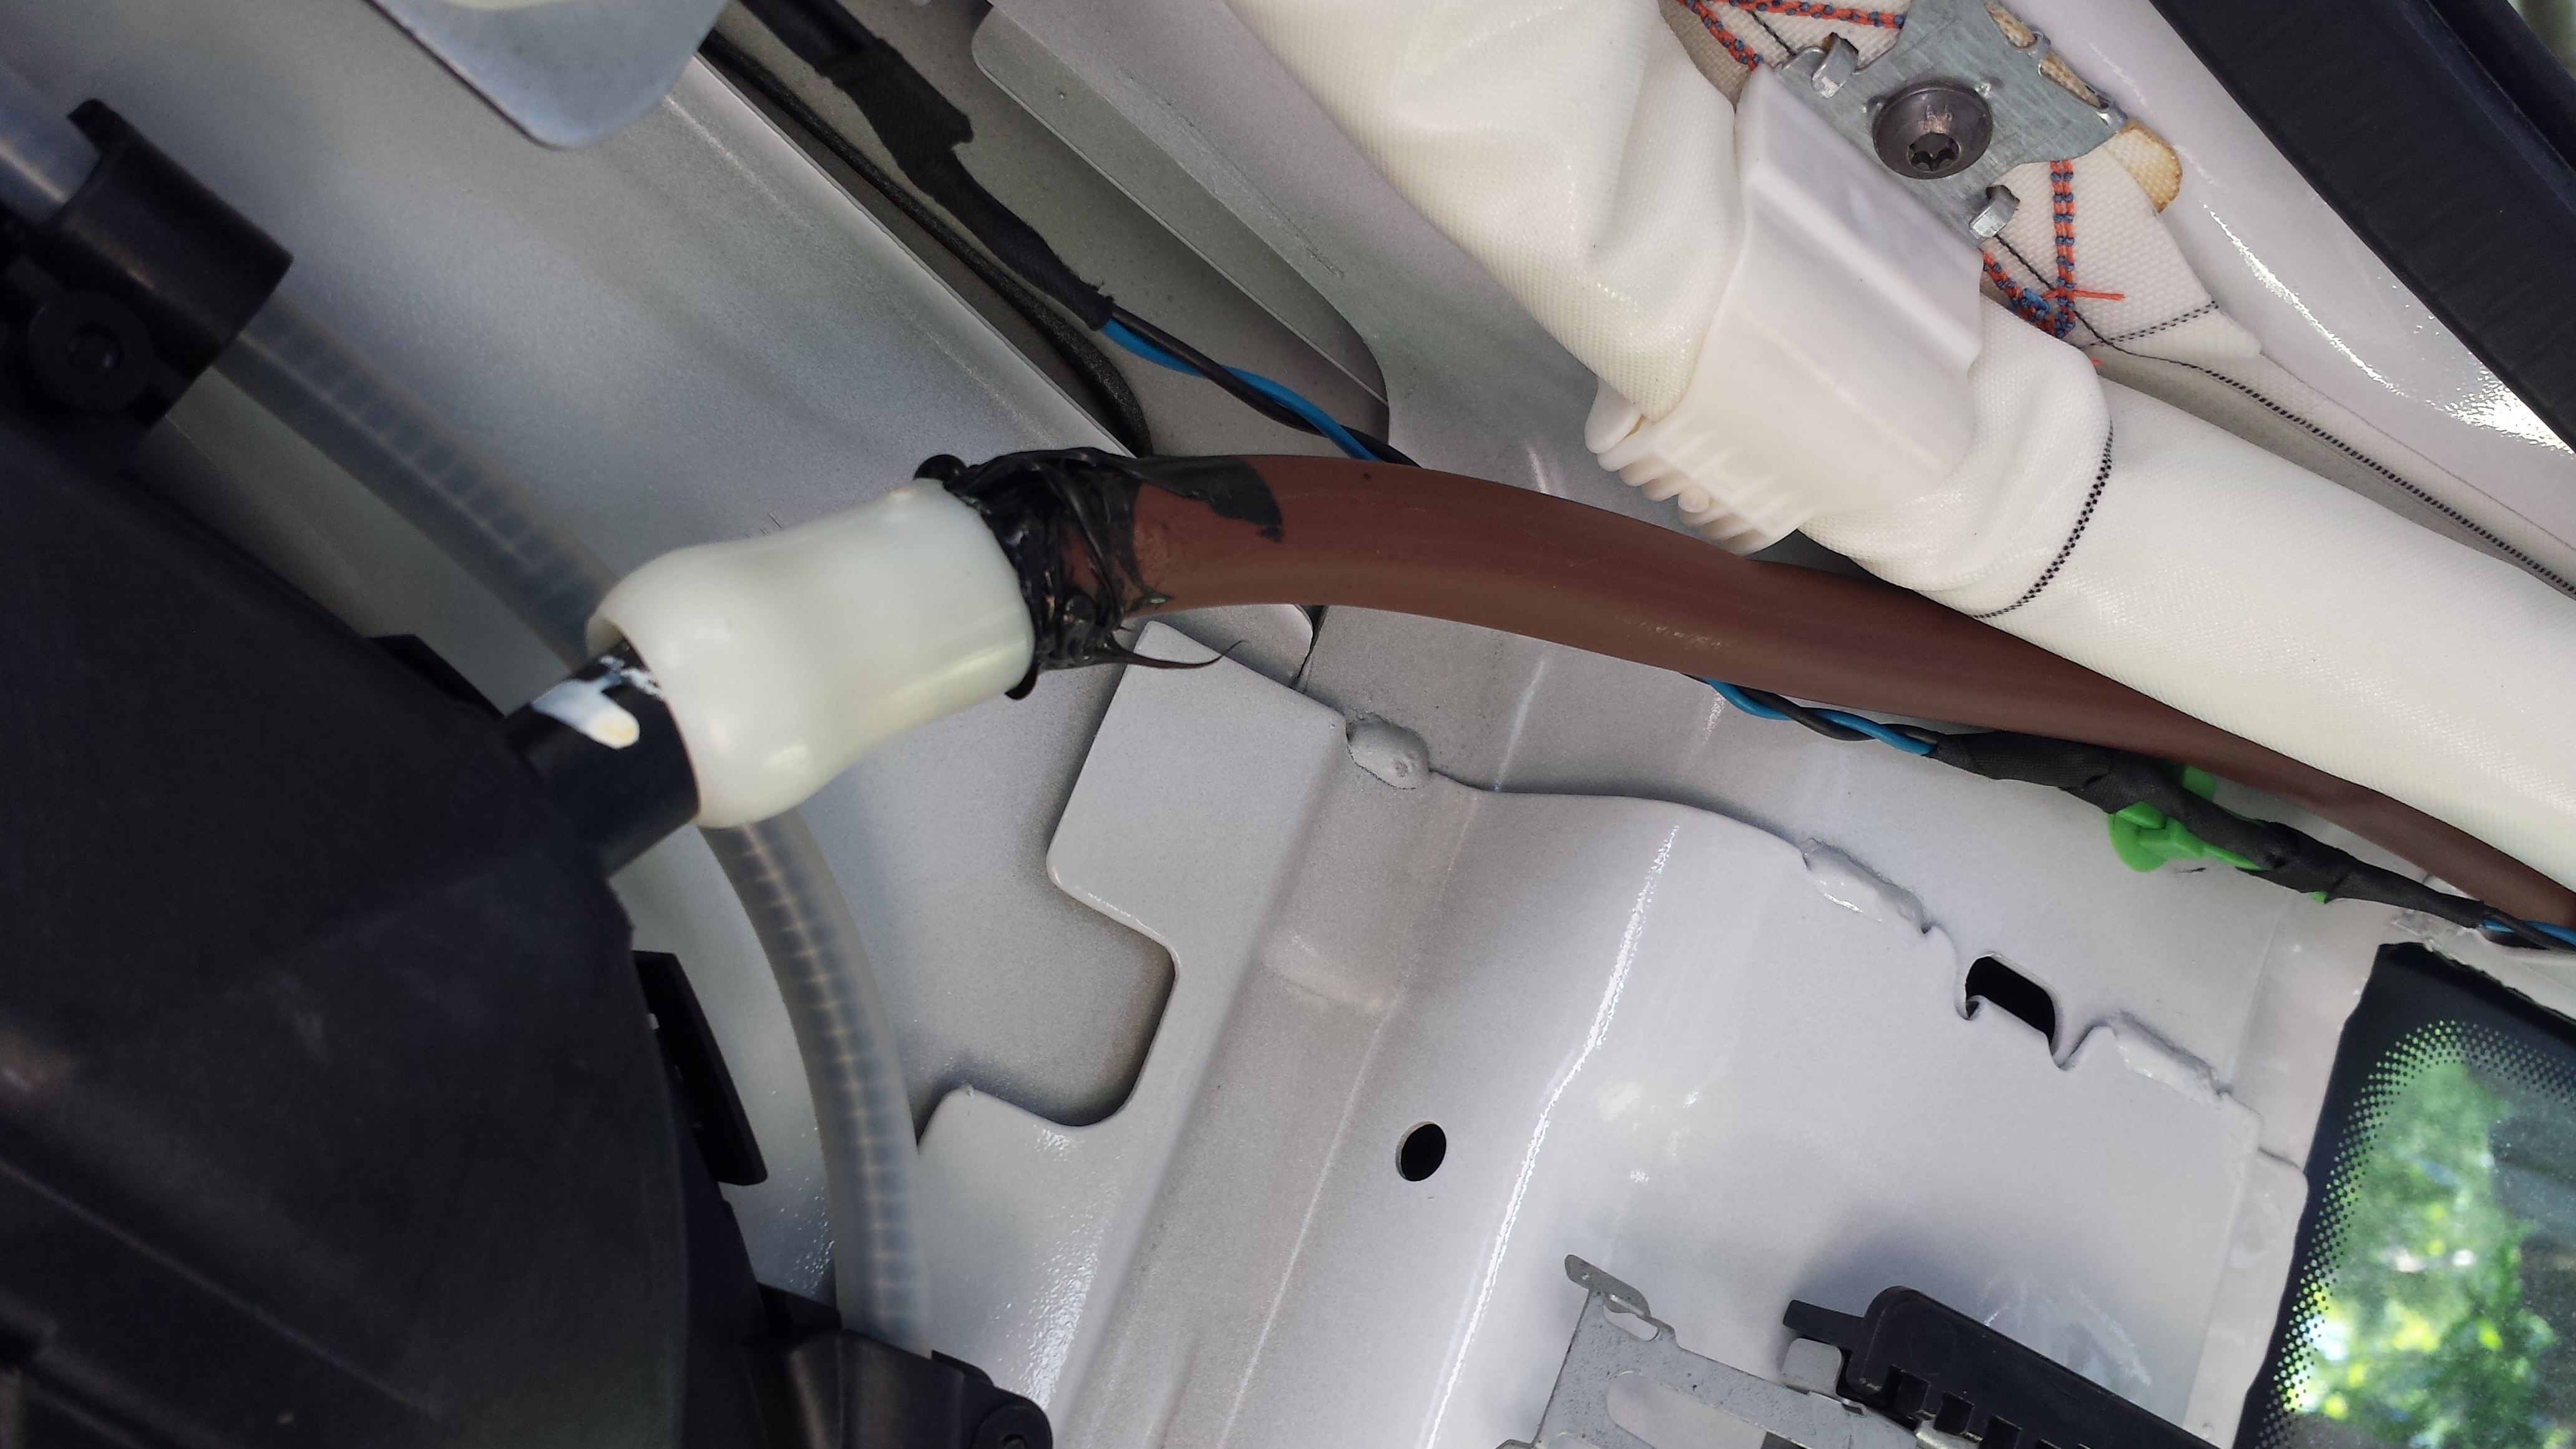
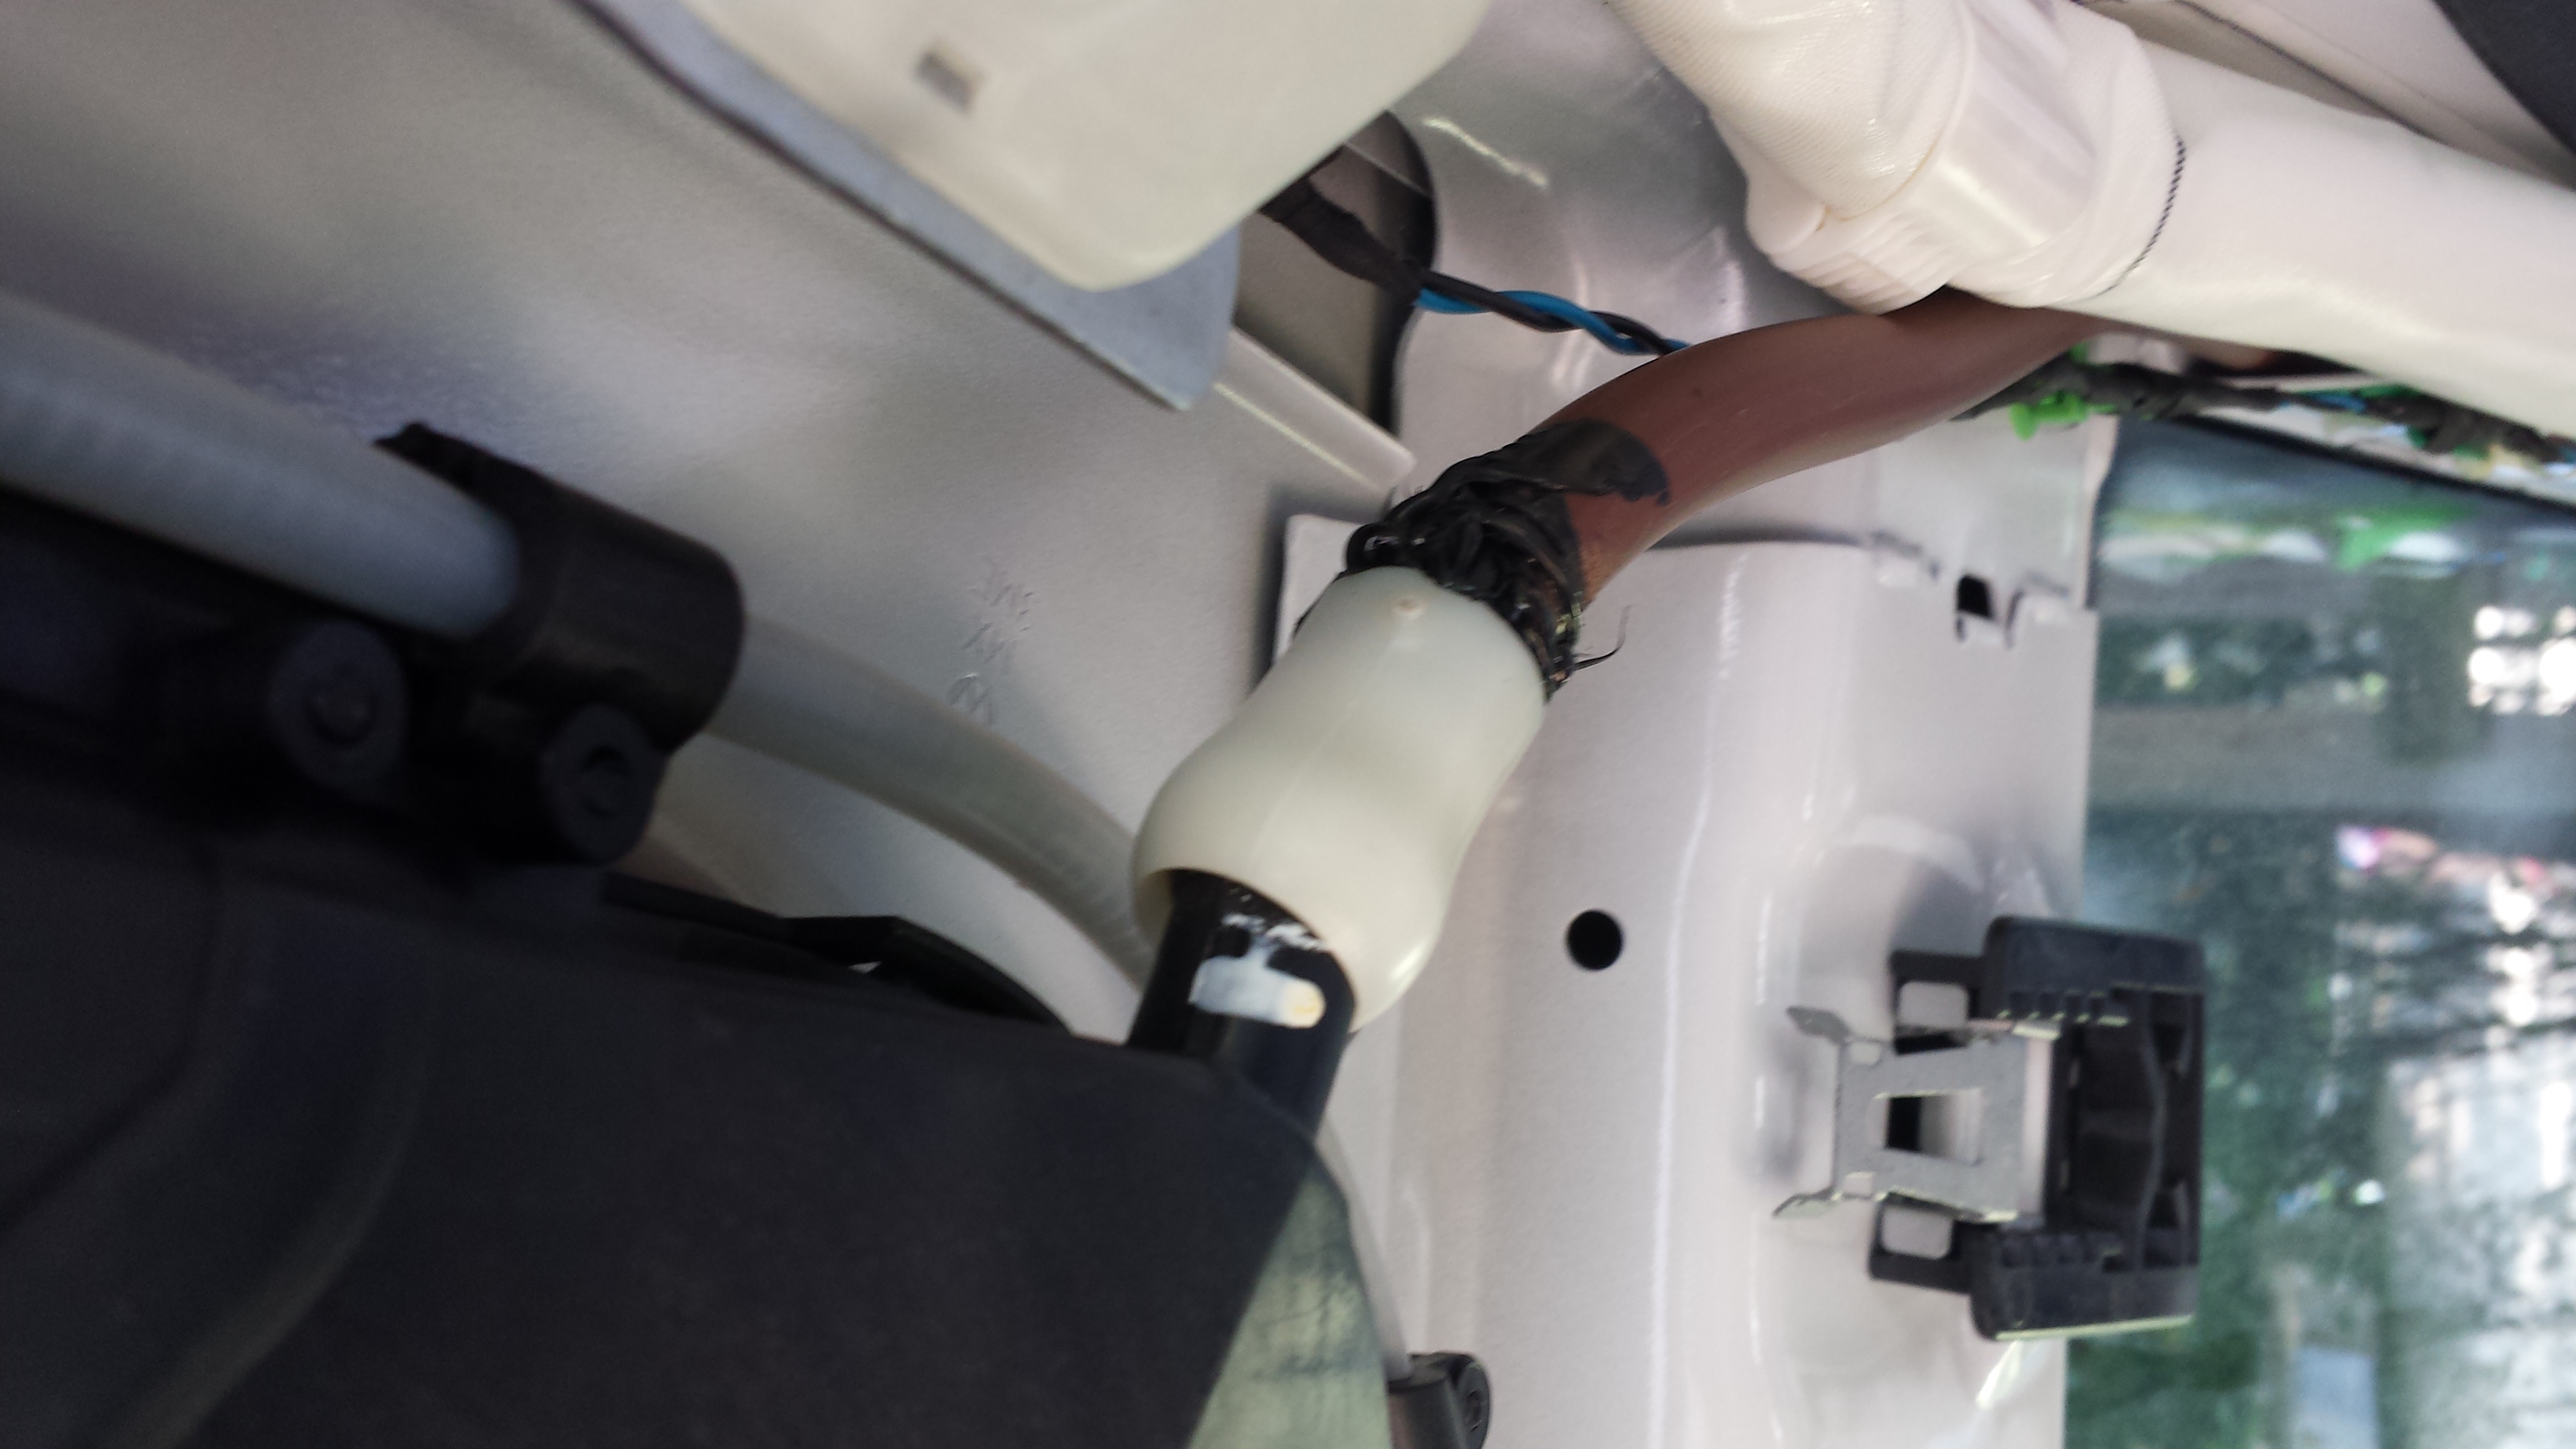
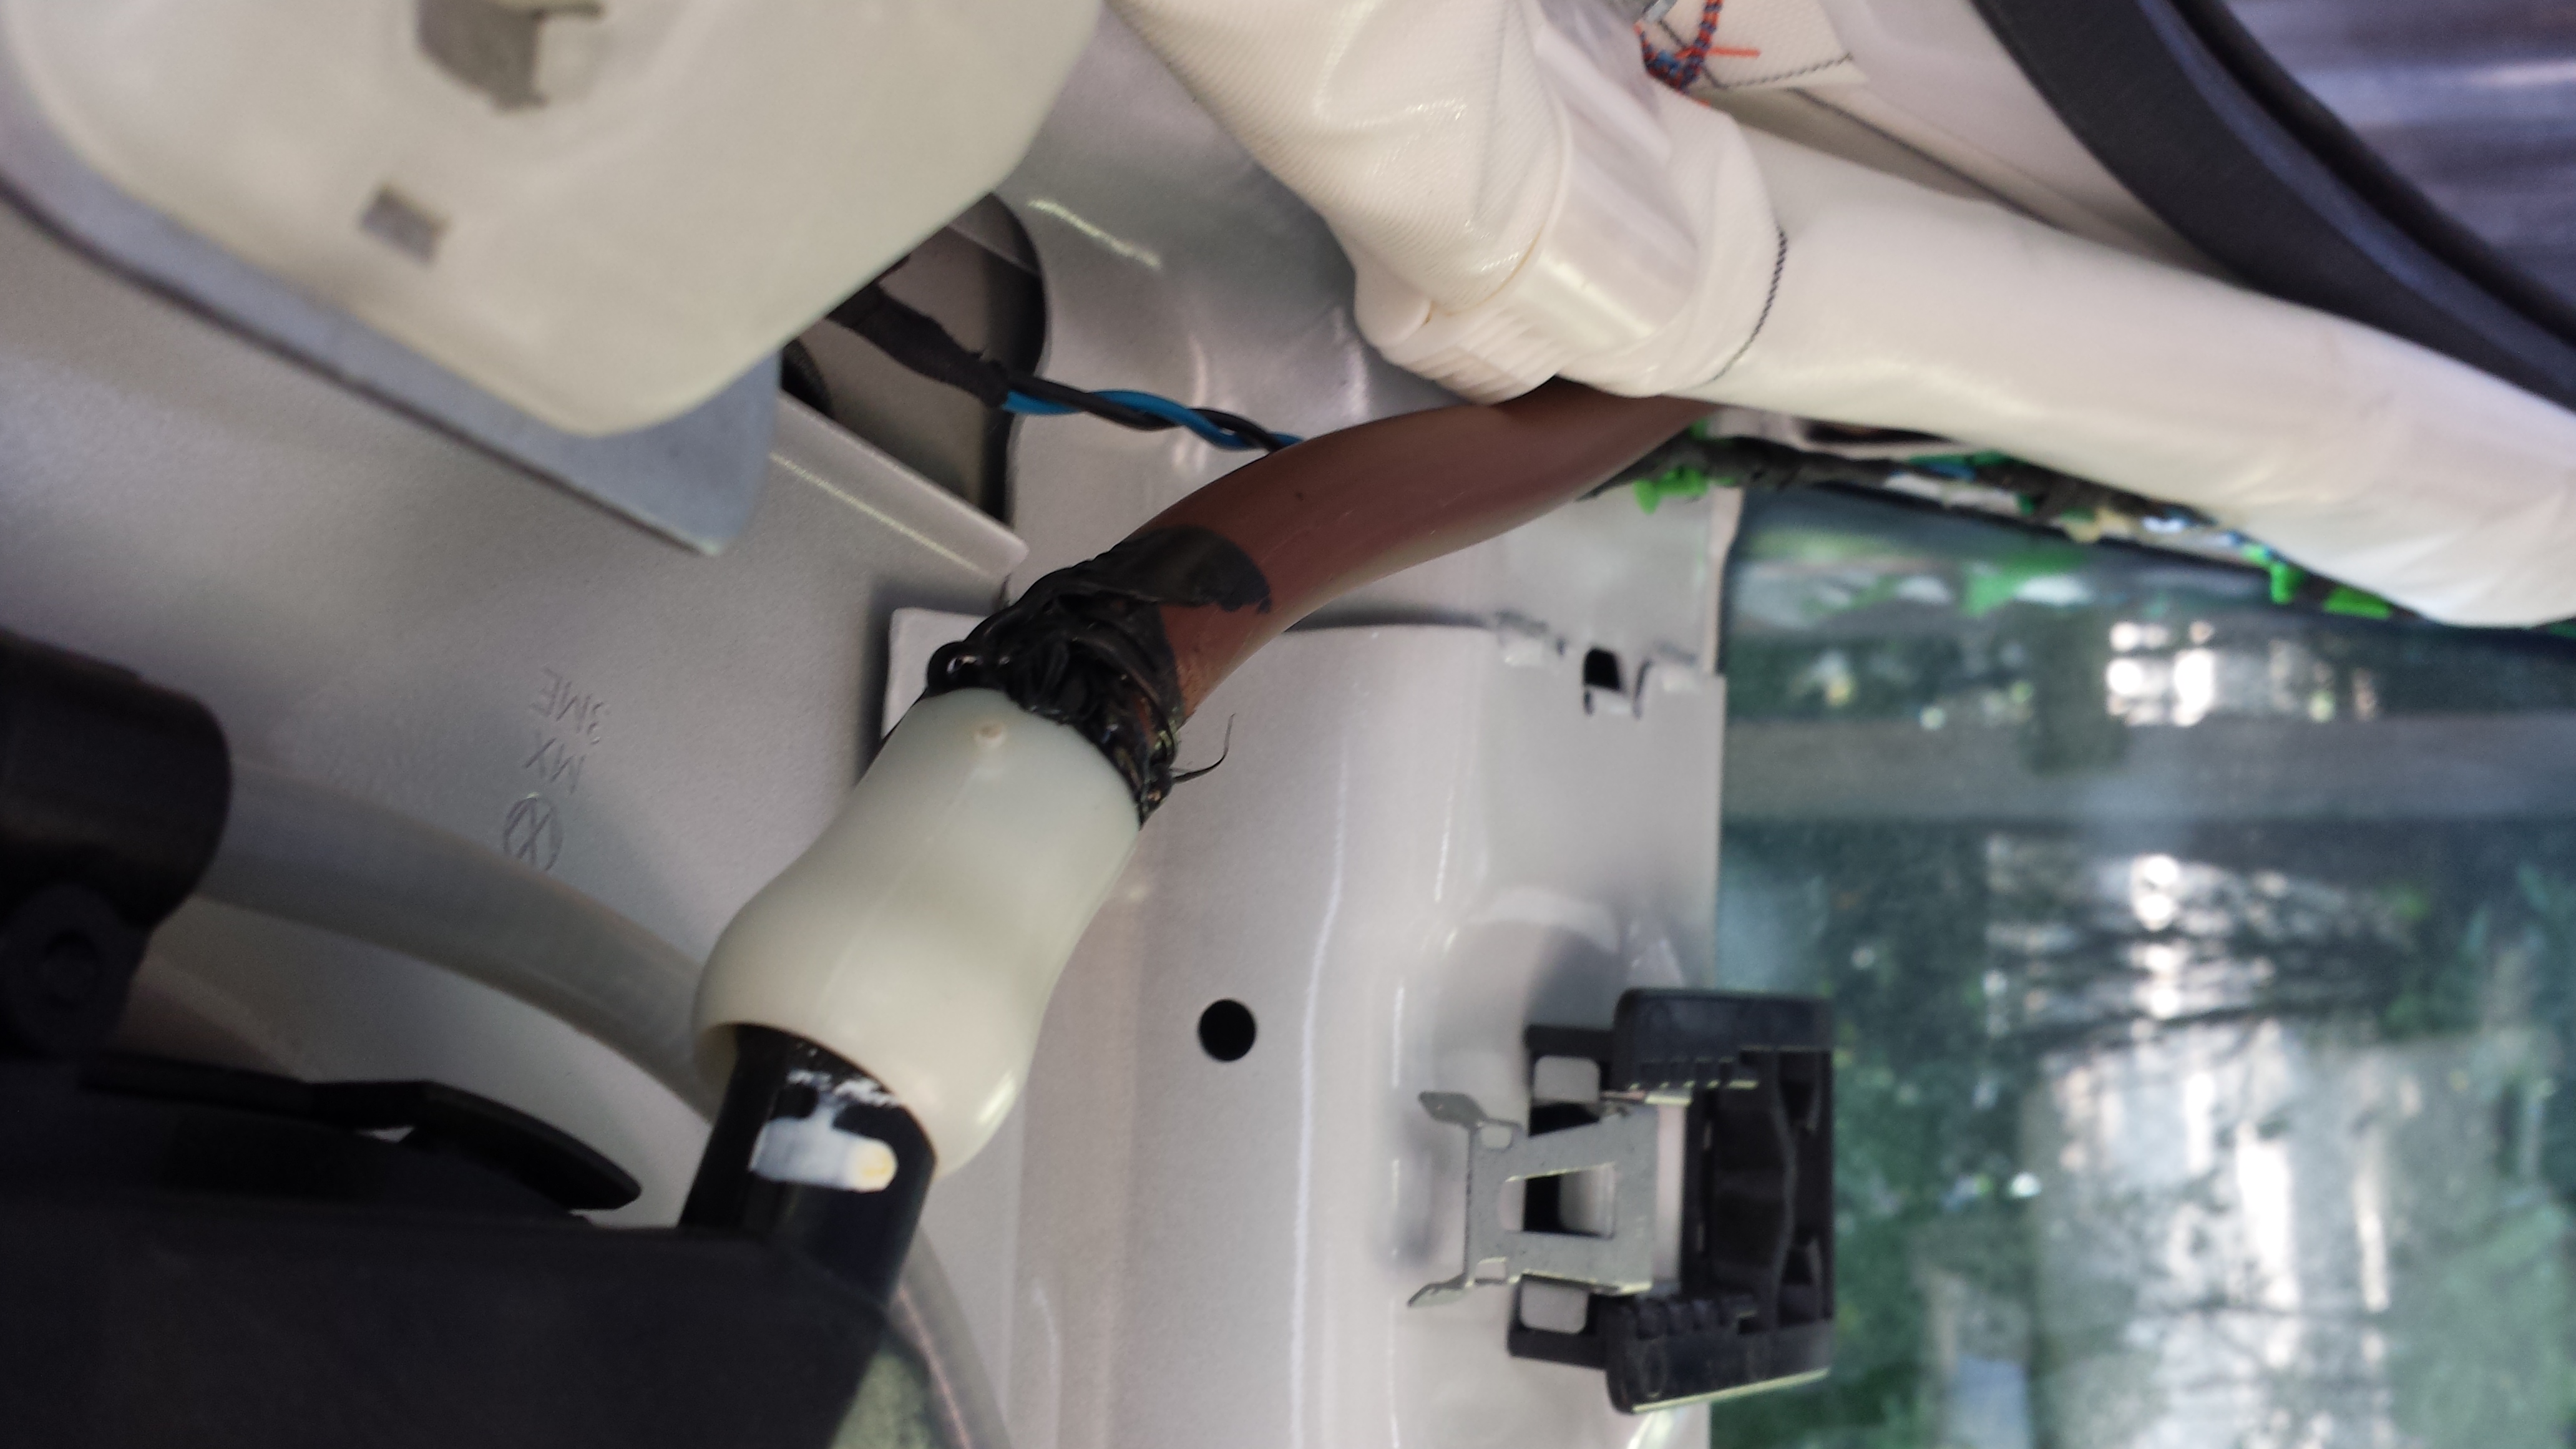
- Green hose and ivory-colored coupling.
- Text
- Yellow hose on the left side rear (pic is upside down).
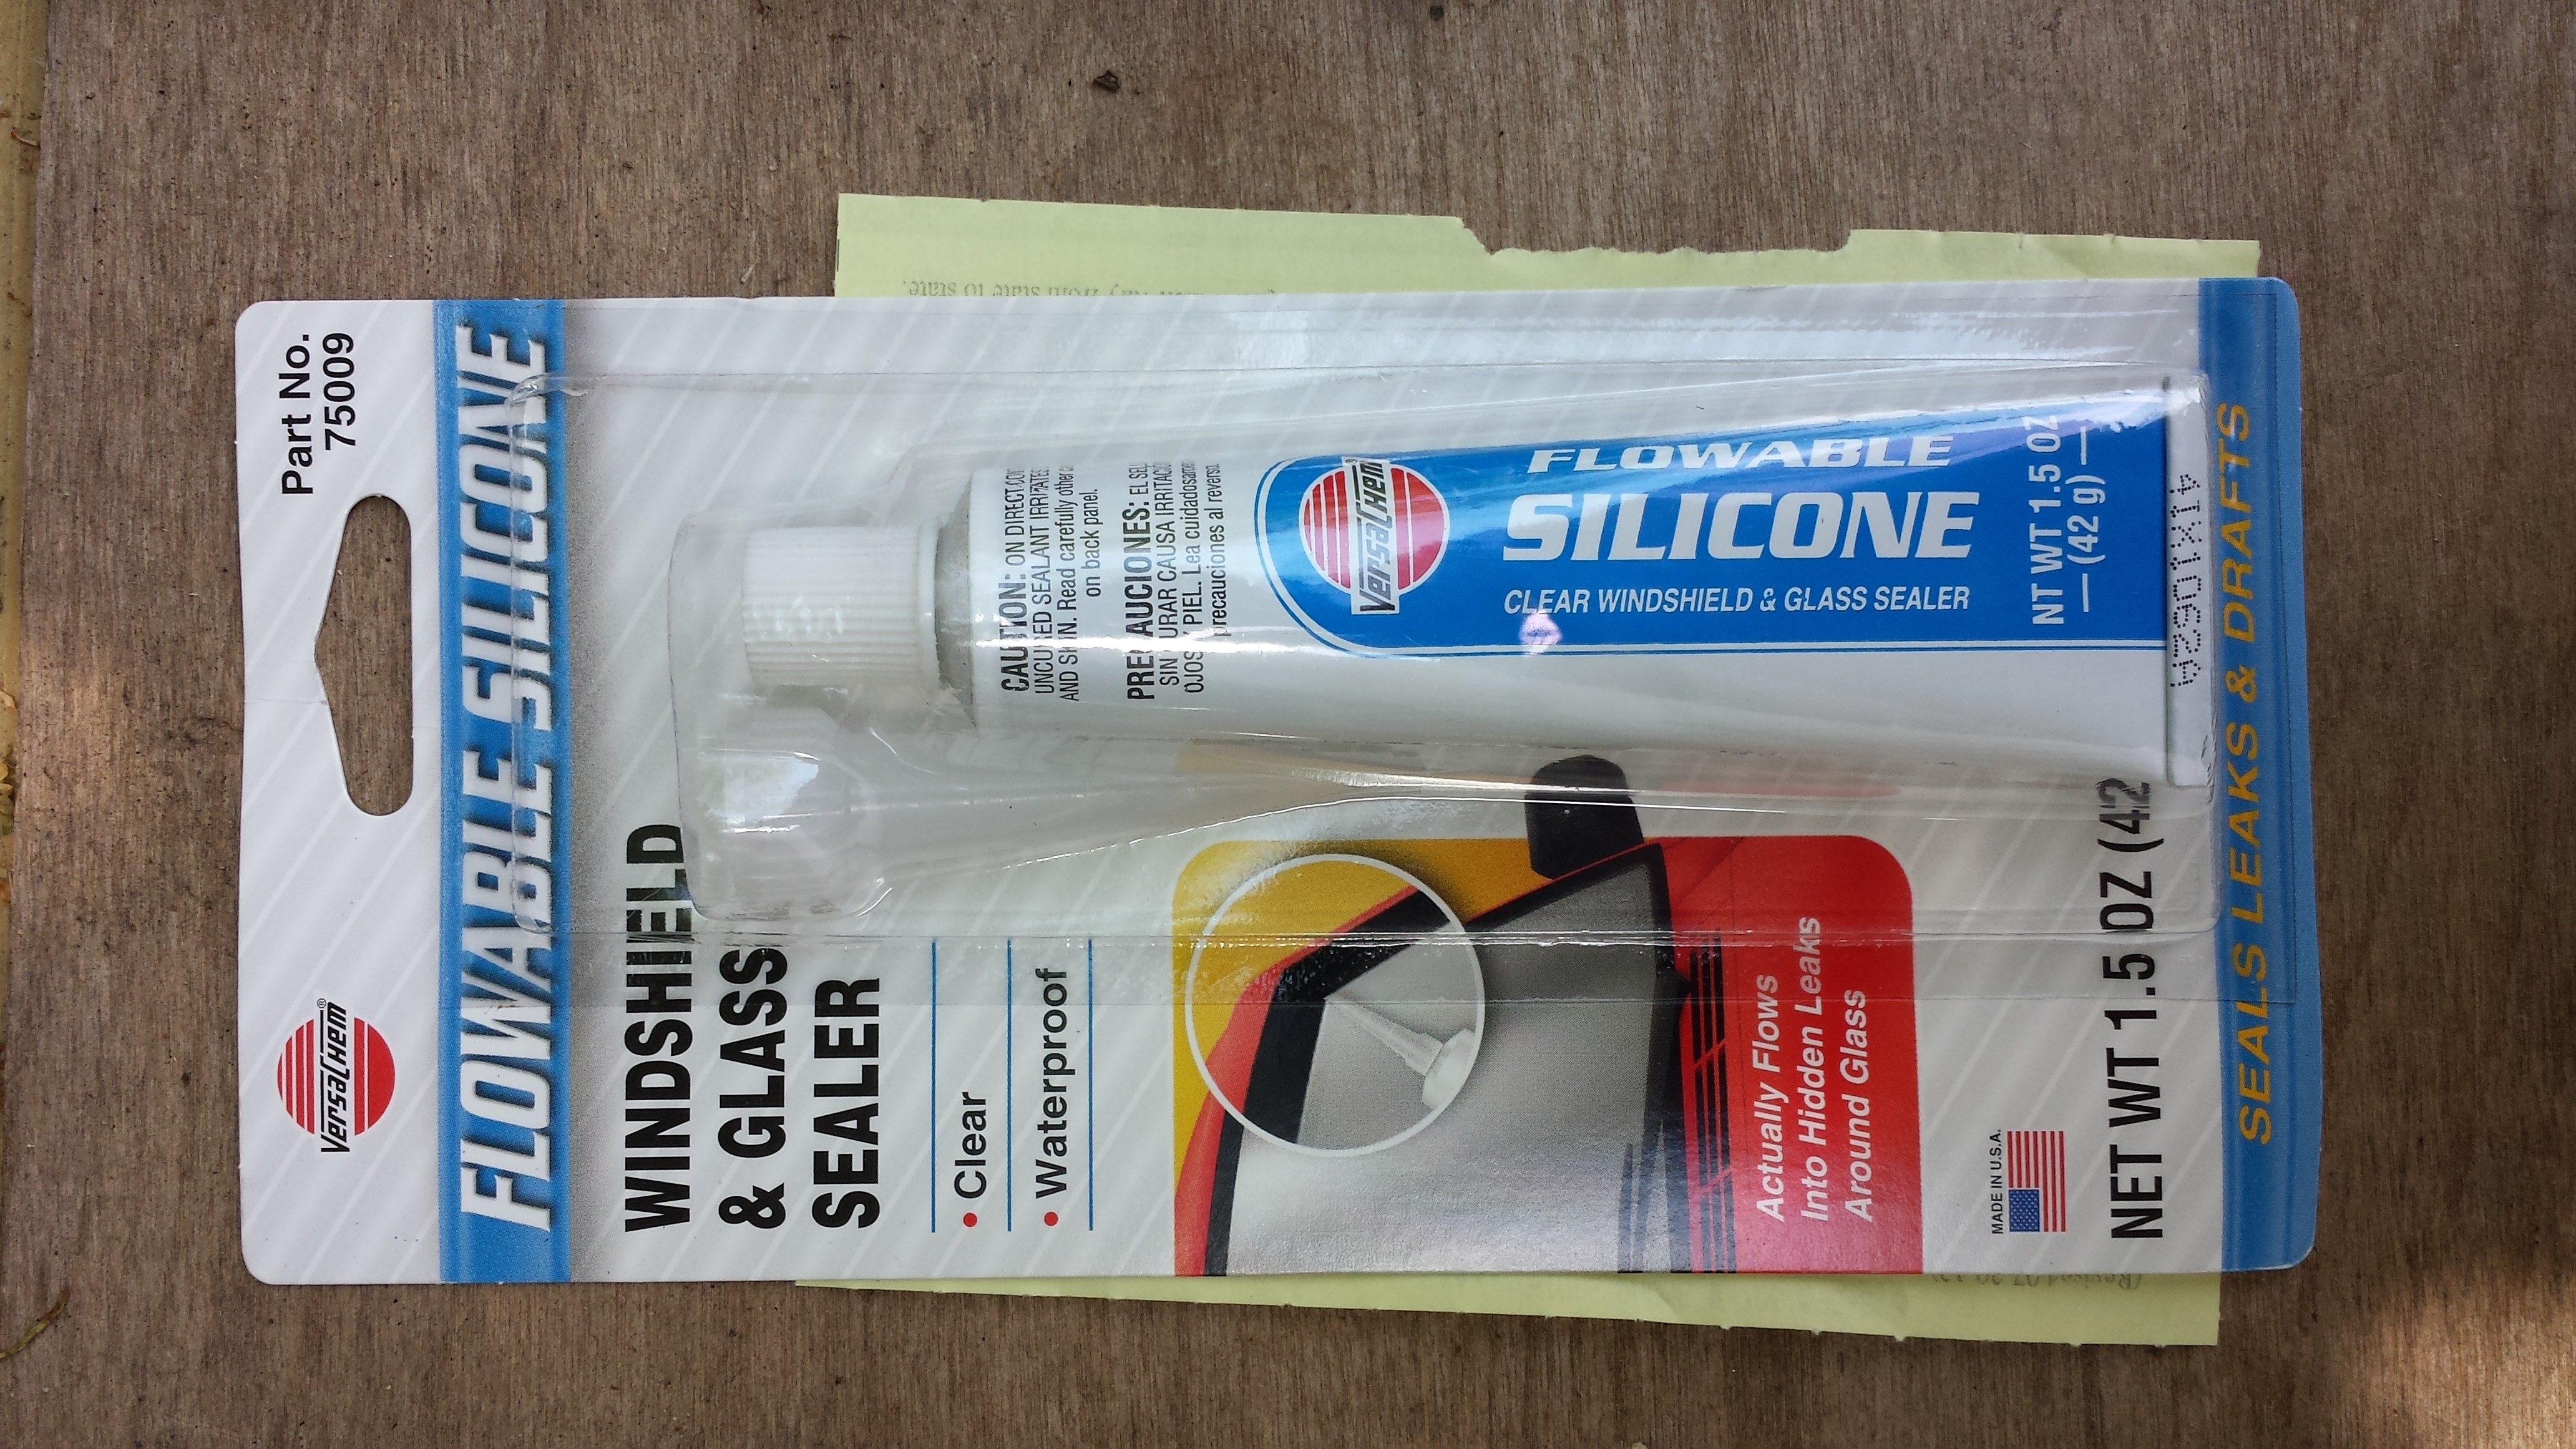
- Picked up some "flowable" silicone to seal the drain hoses.
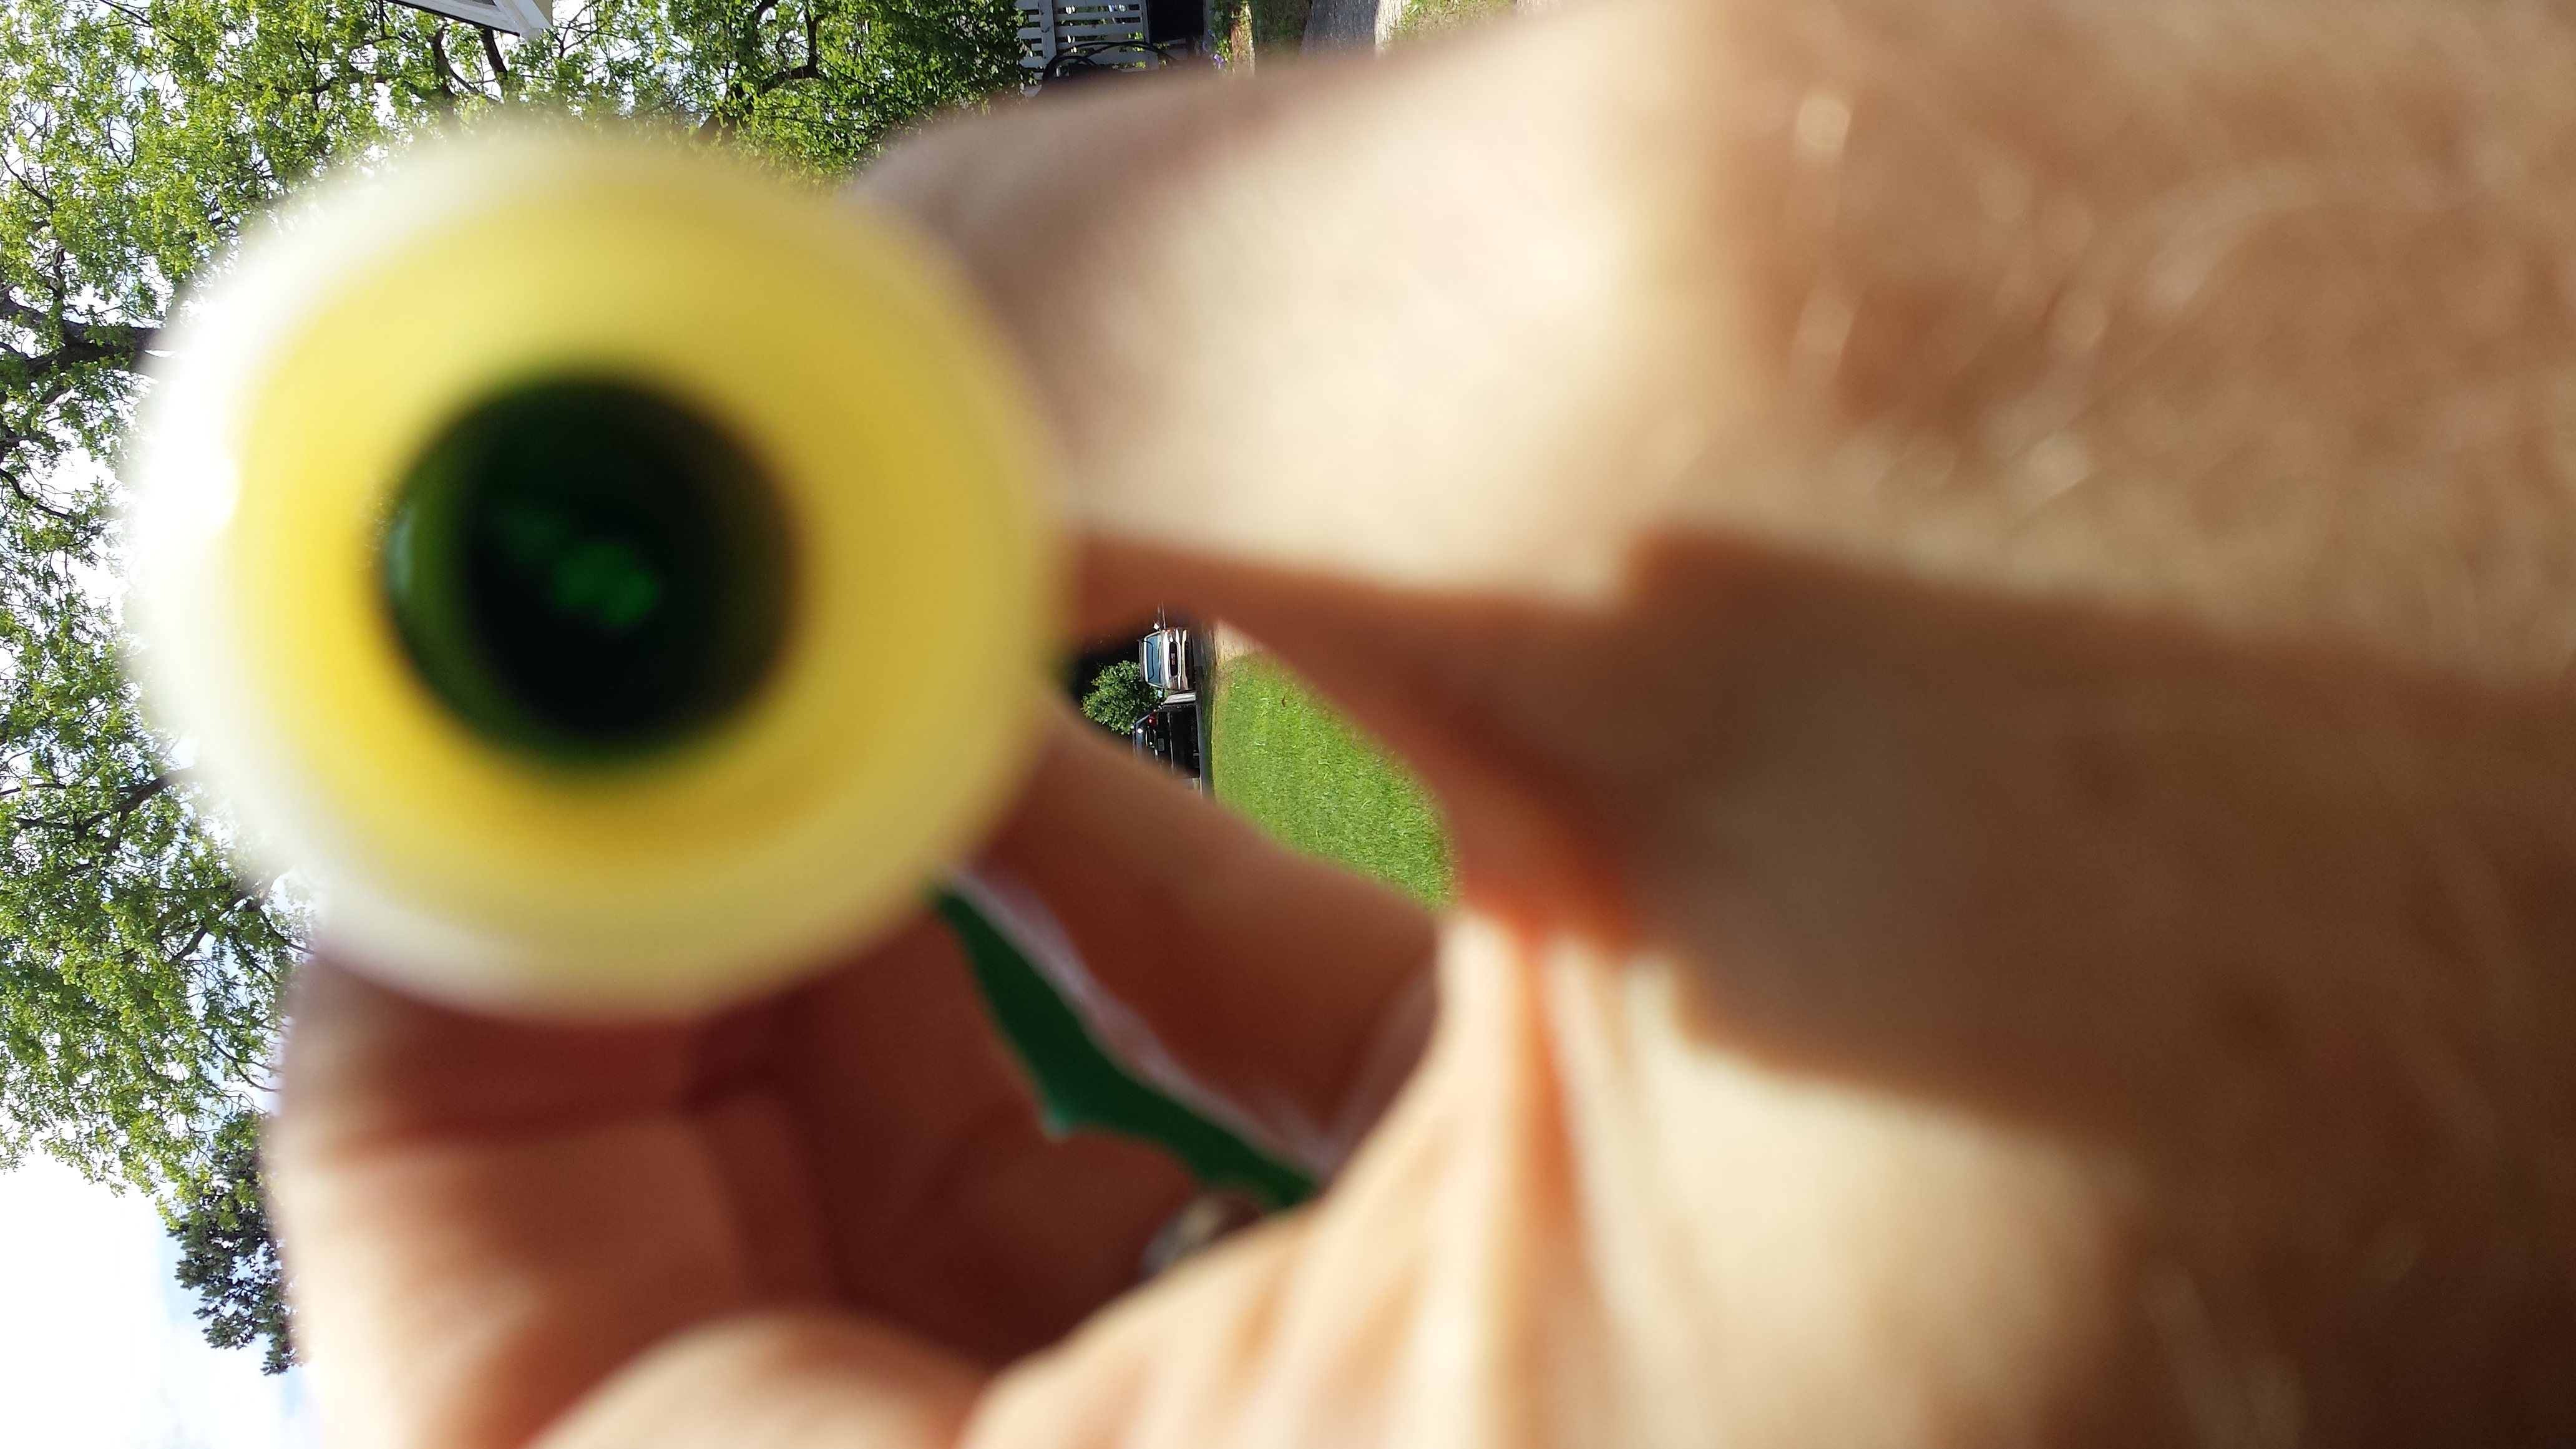
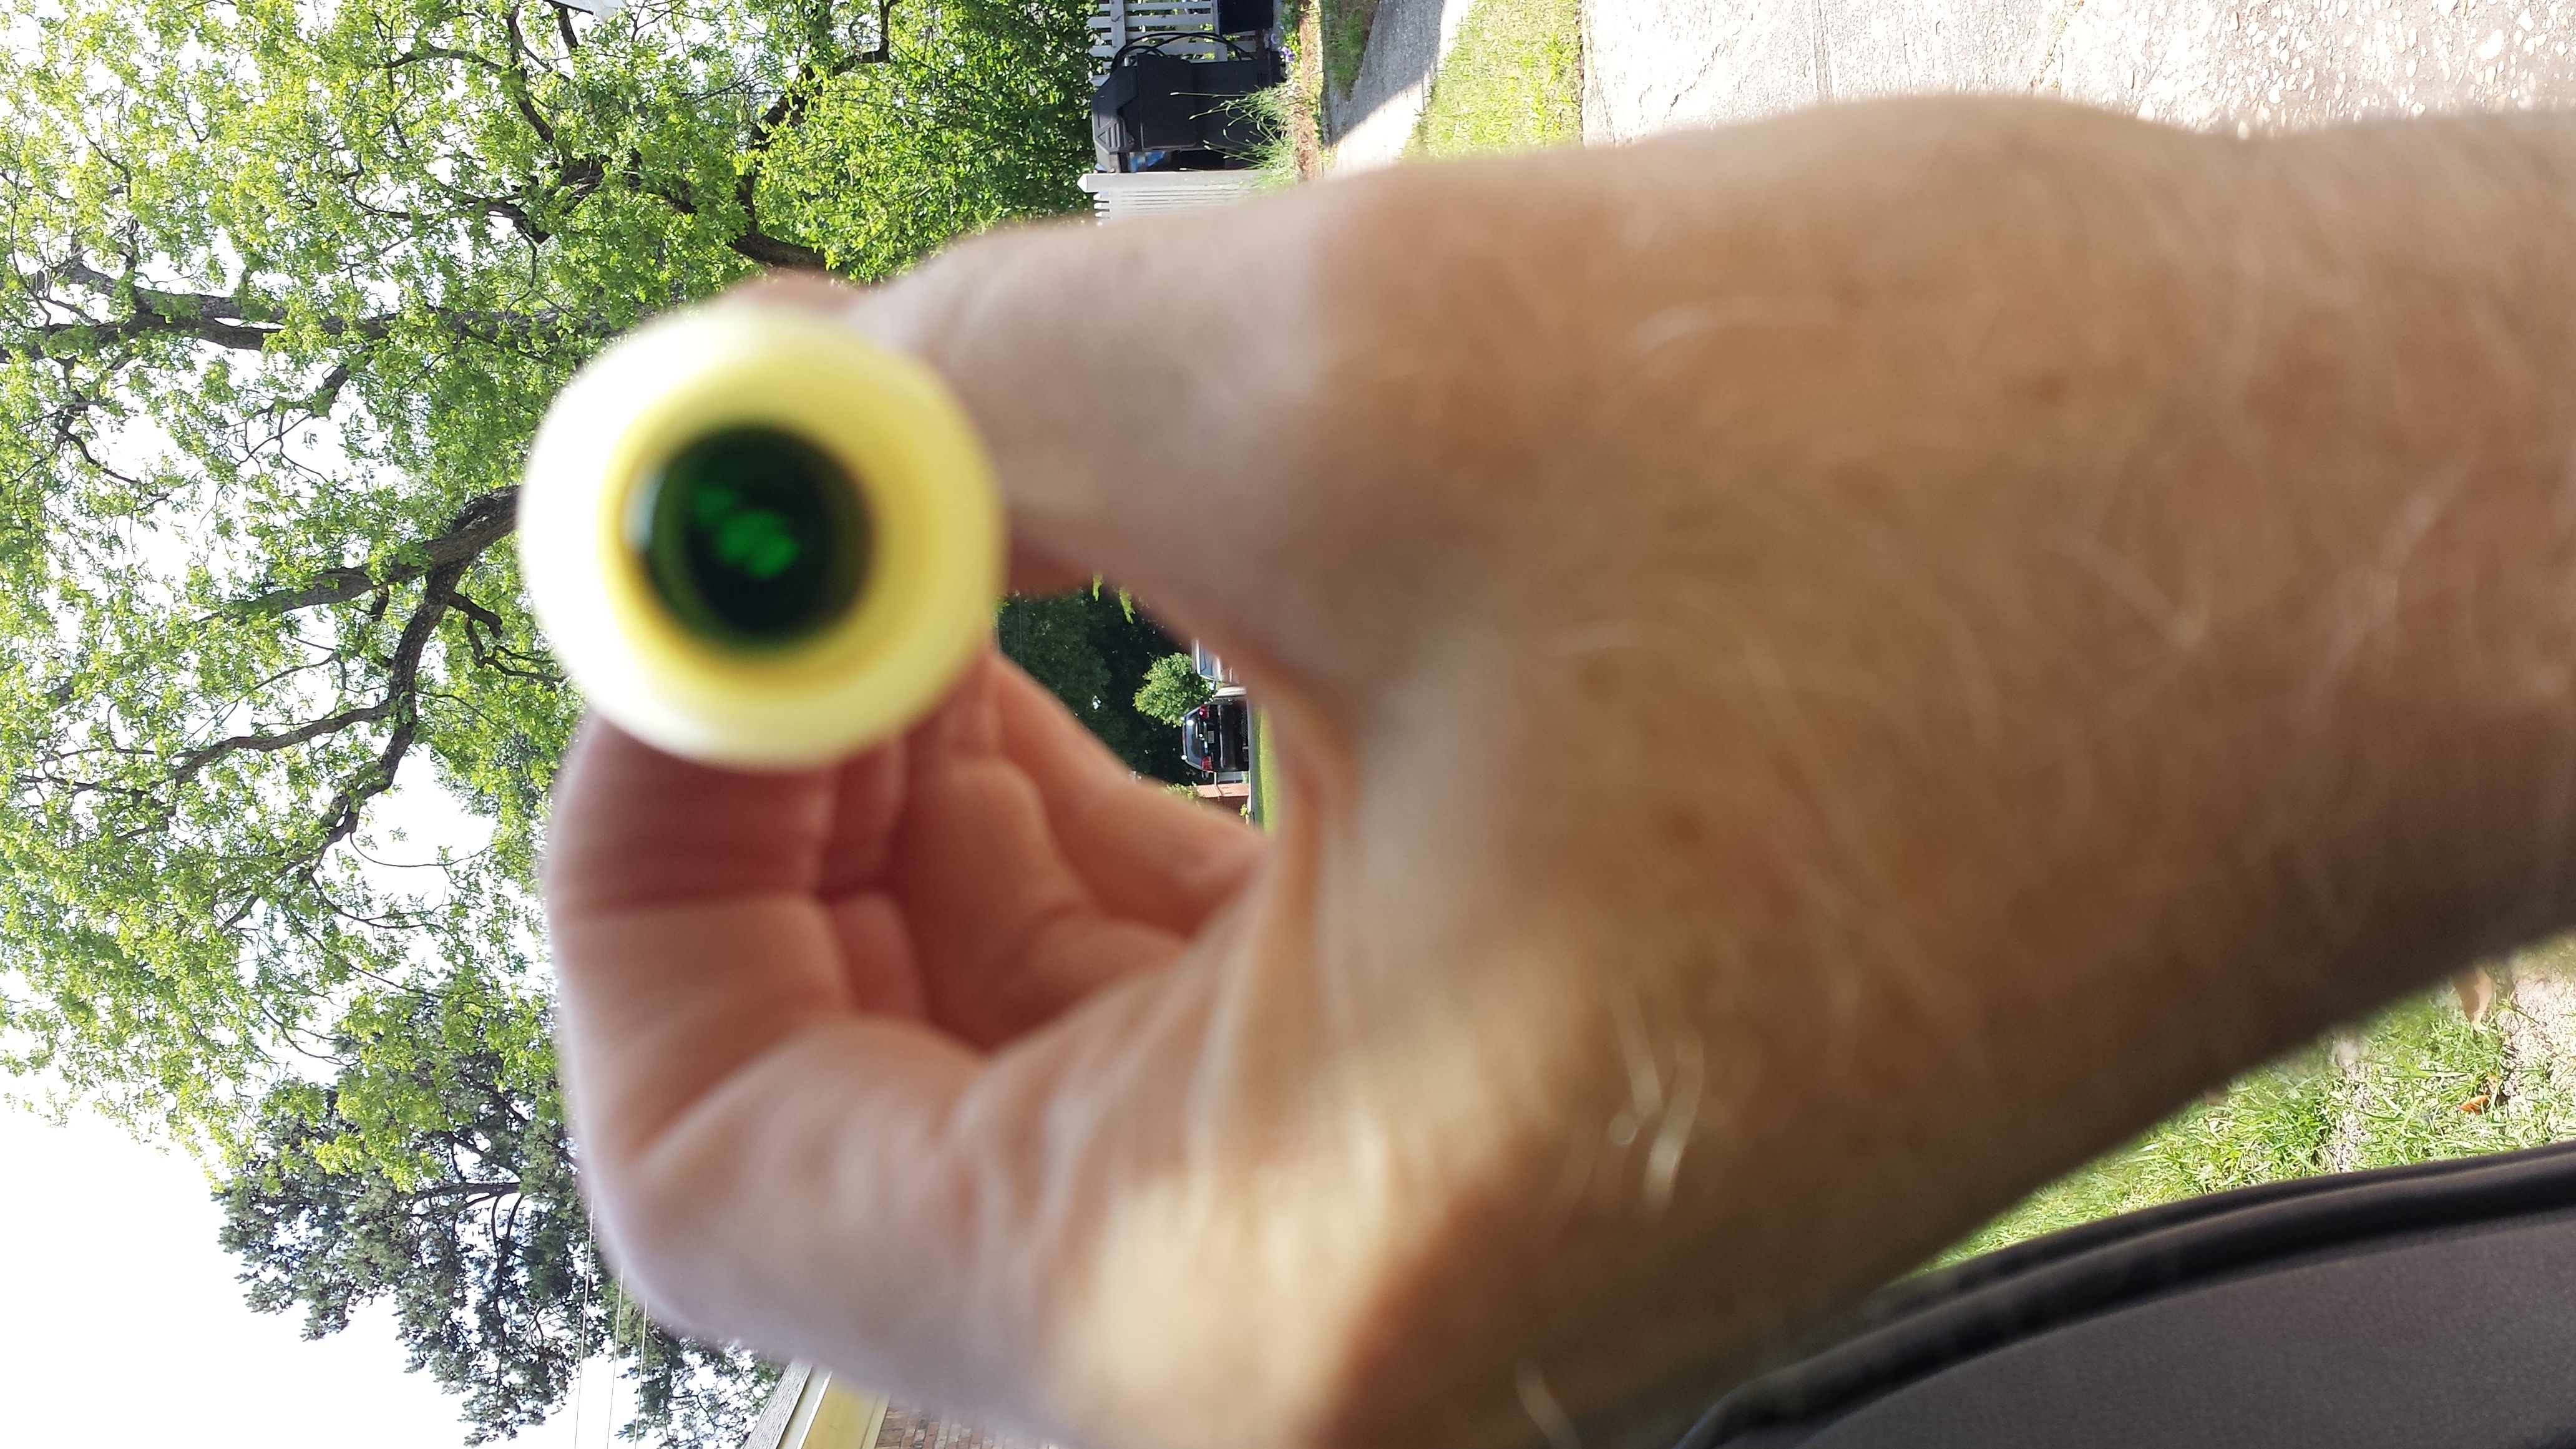
- Blurry pic looking into the coupler, where you can see daylight (on the left) between the inside of the coupler and the outside of the green hose. There's your problem.

- Text
- Text
- Text

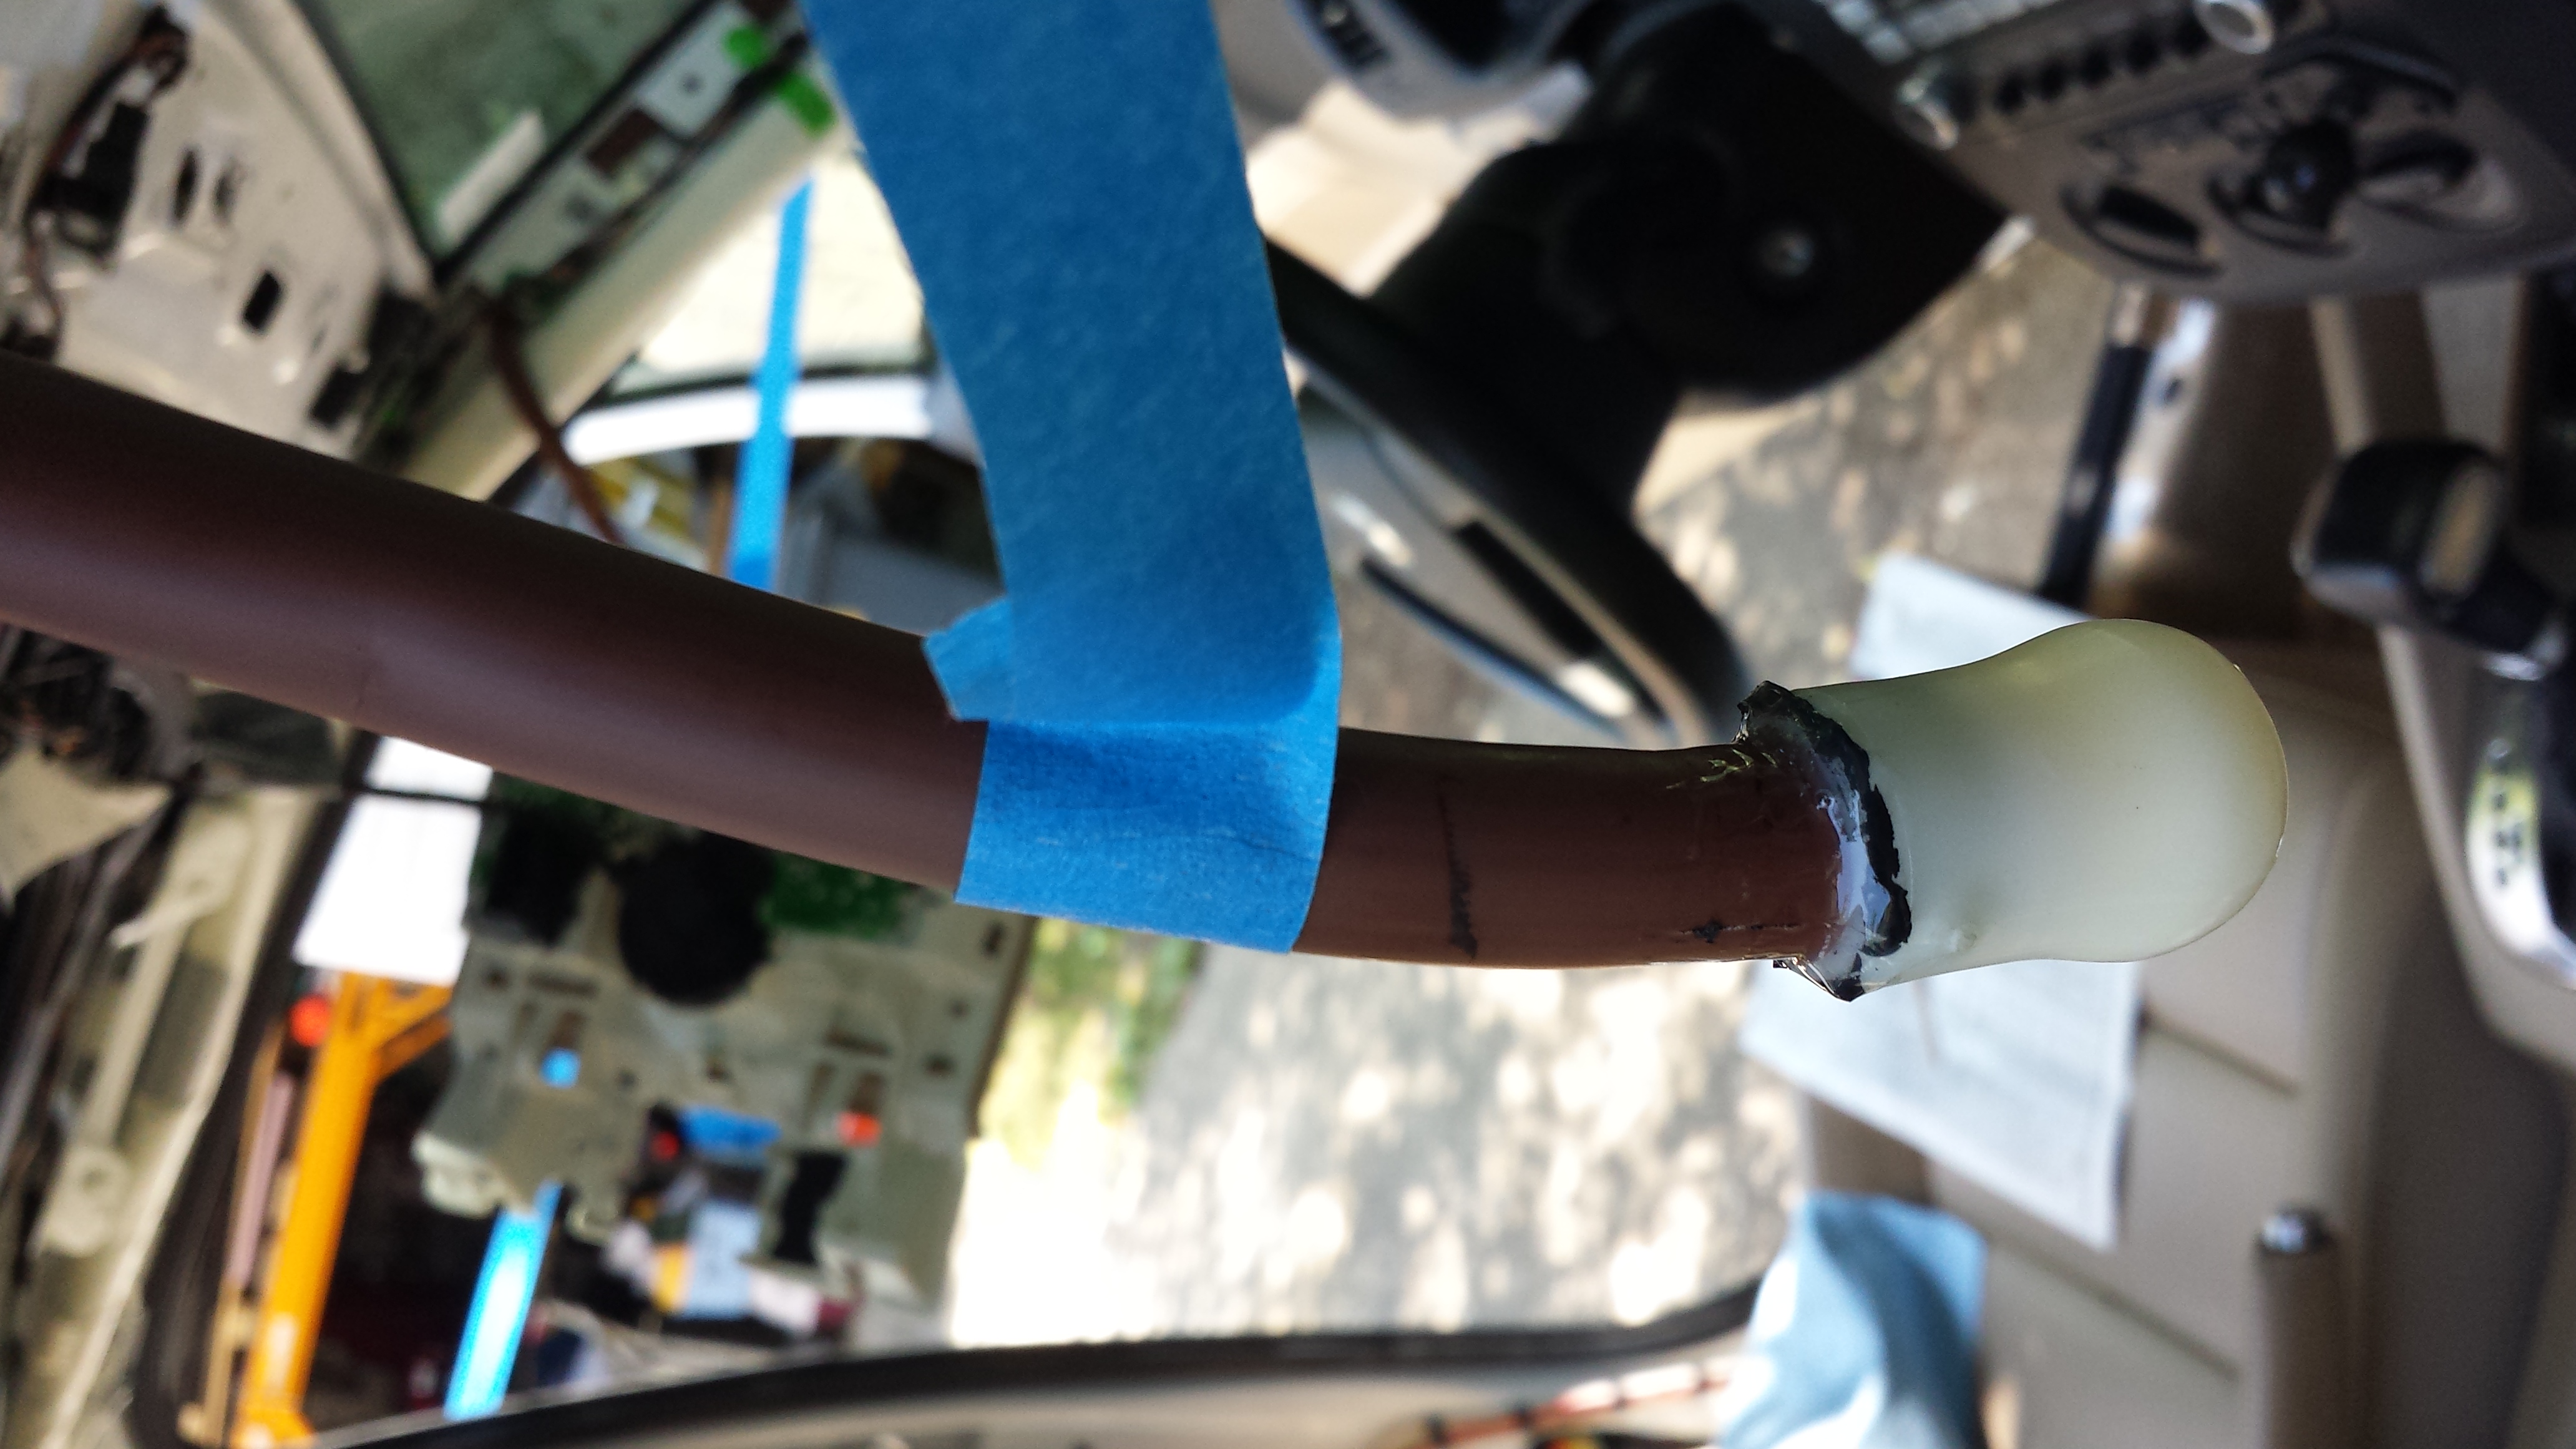
- Brown hose on right-side front, showing some black goop that I presume the dealer used to seal the hoses 5 years ago. Sloppy, but was more or less effective.
- Text
- Text
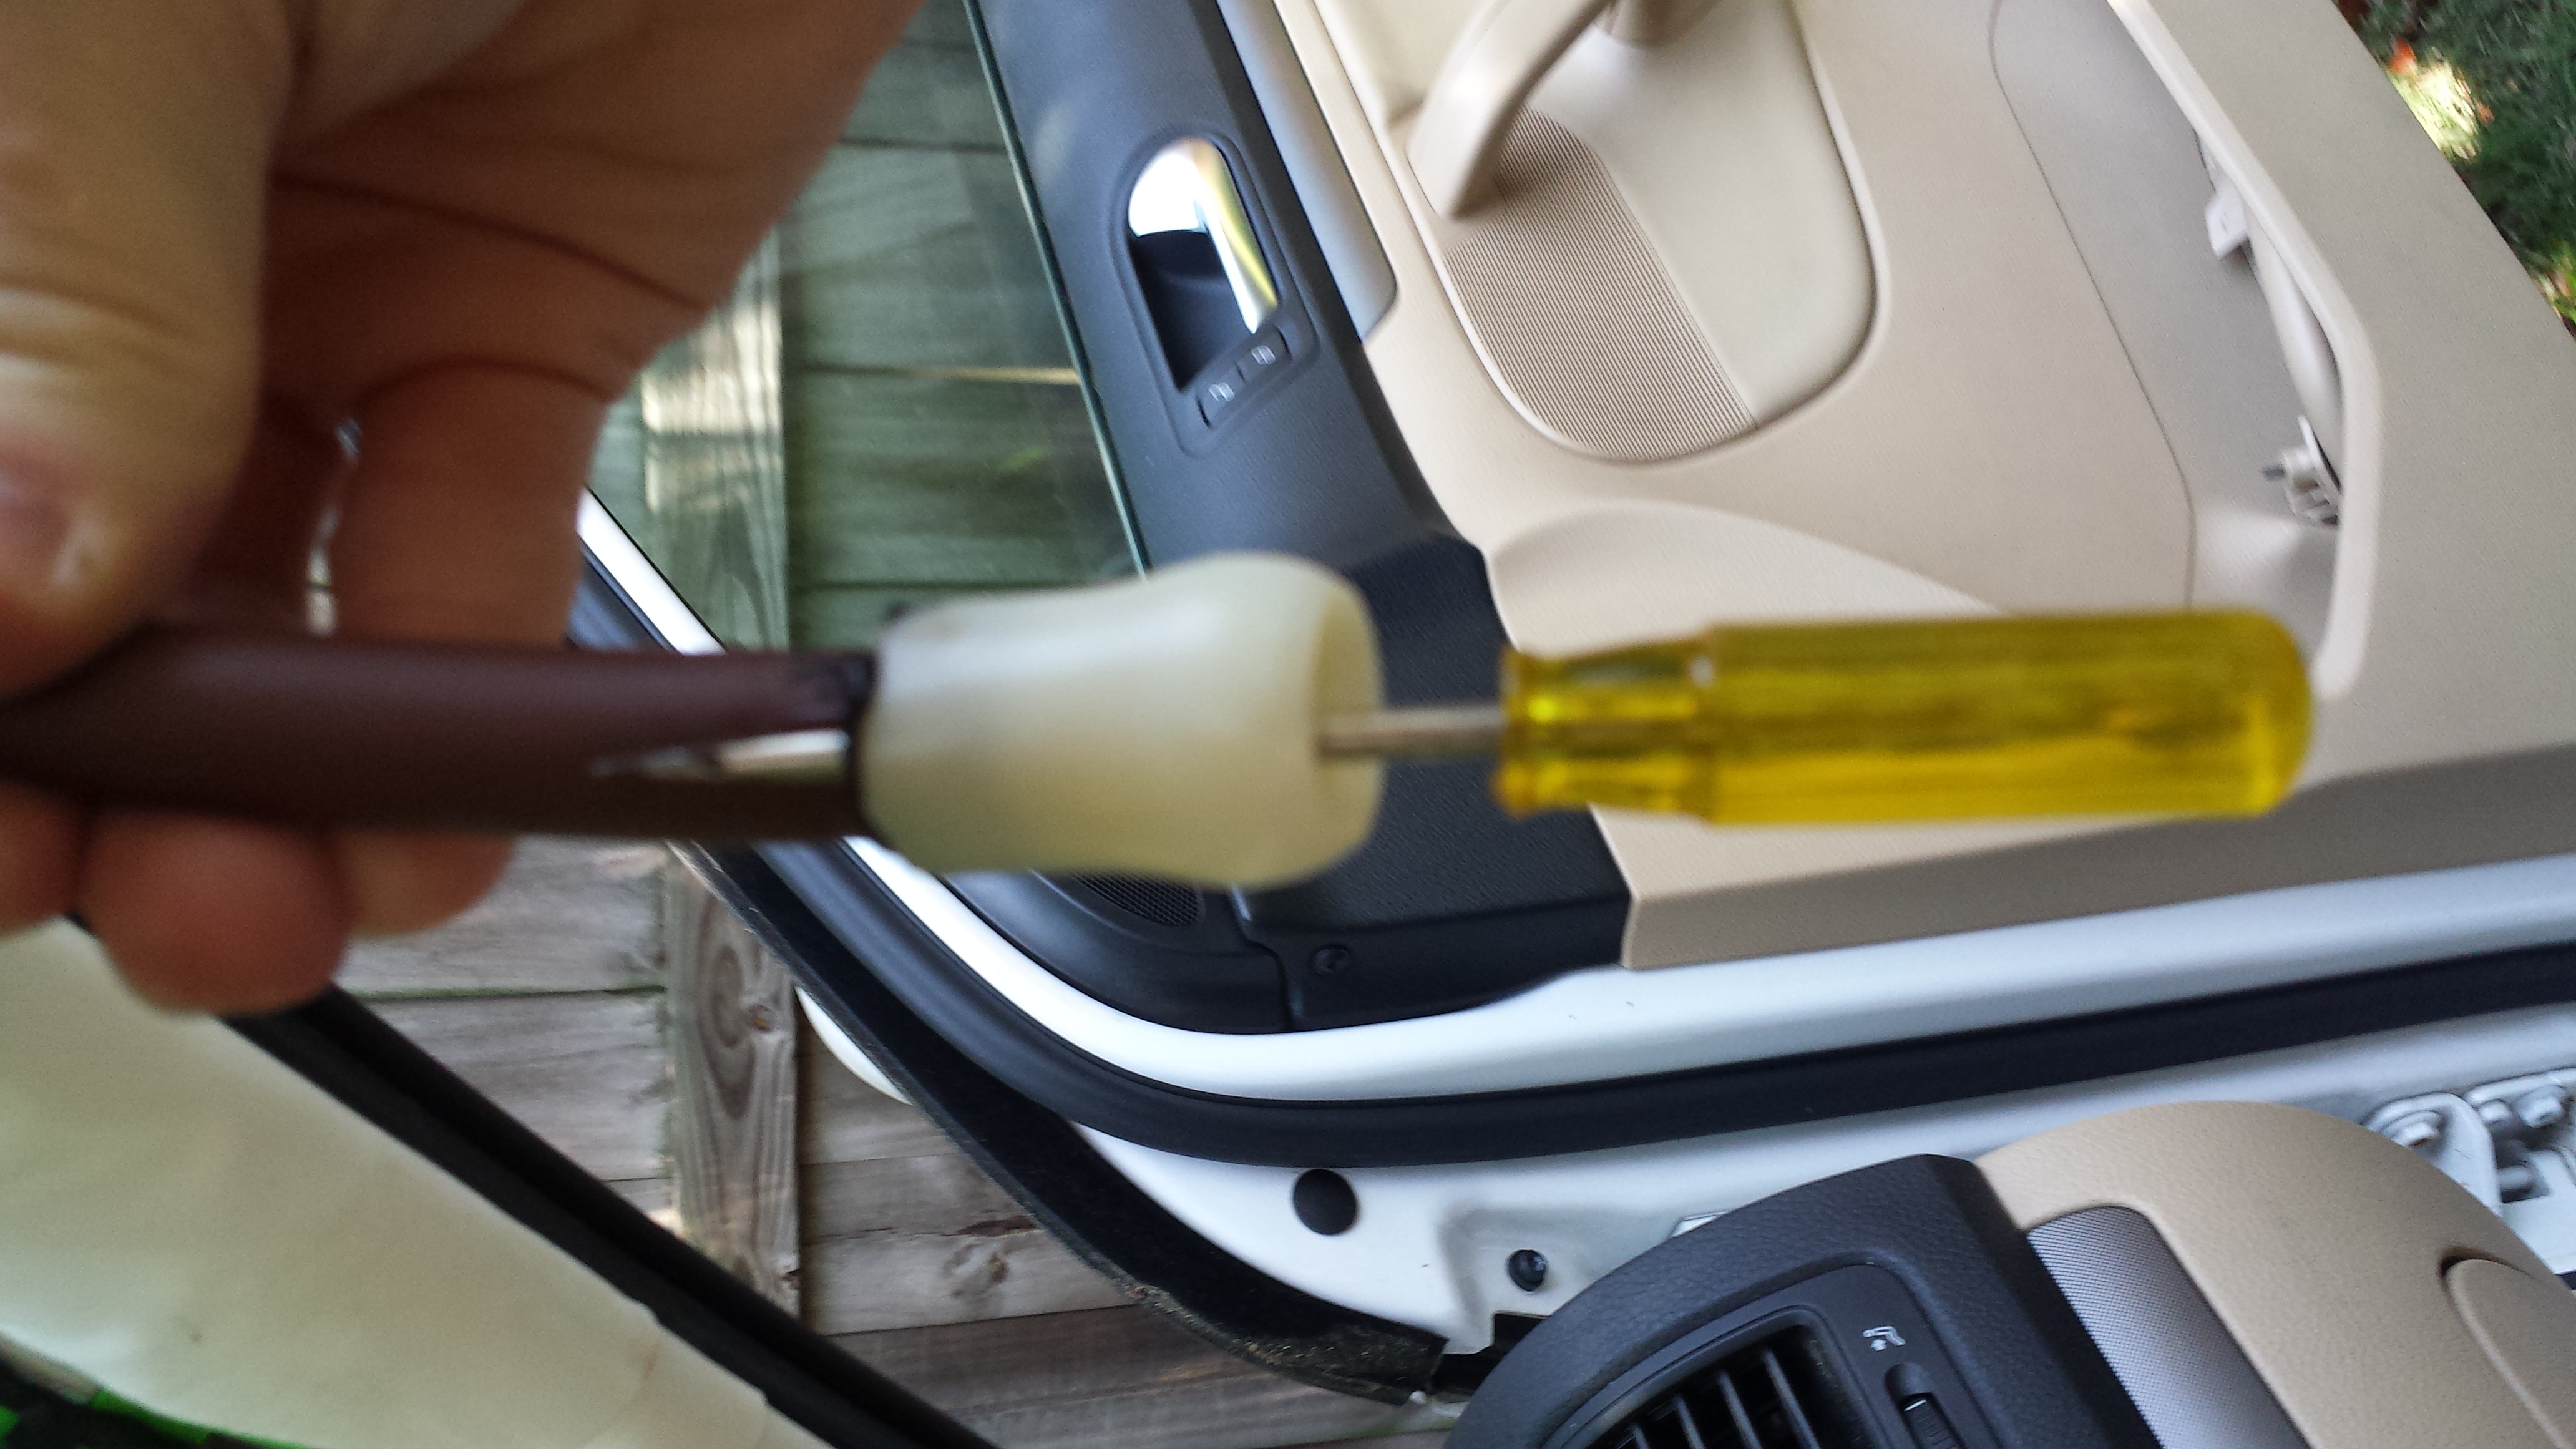
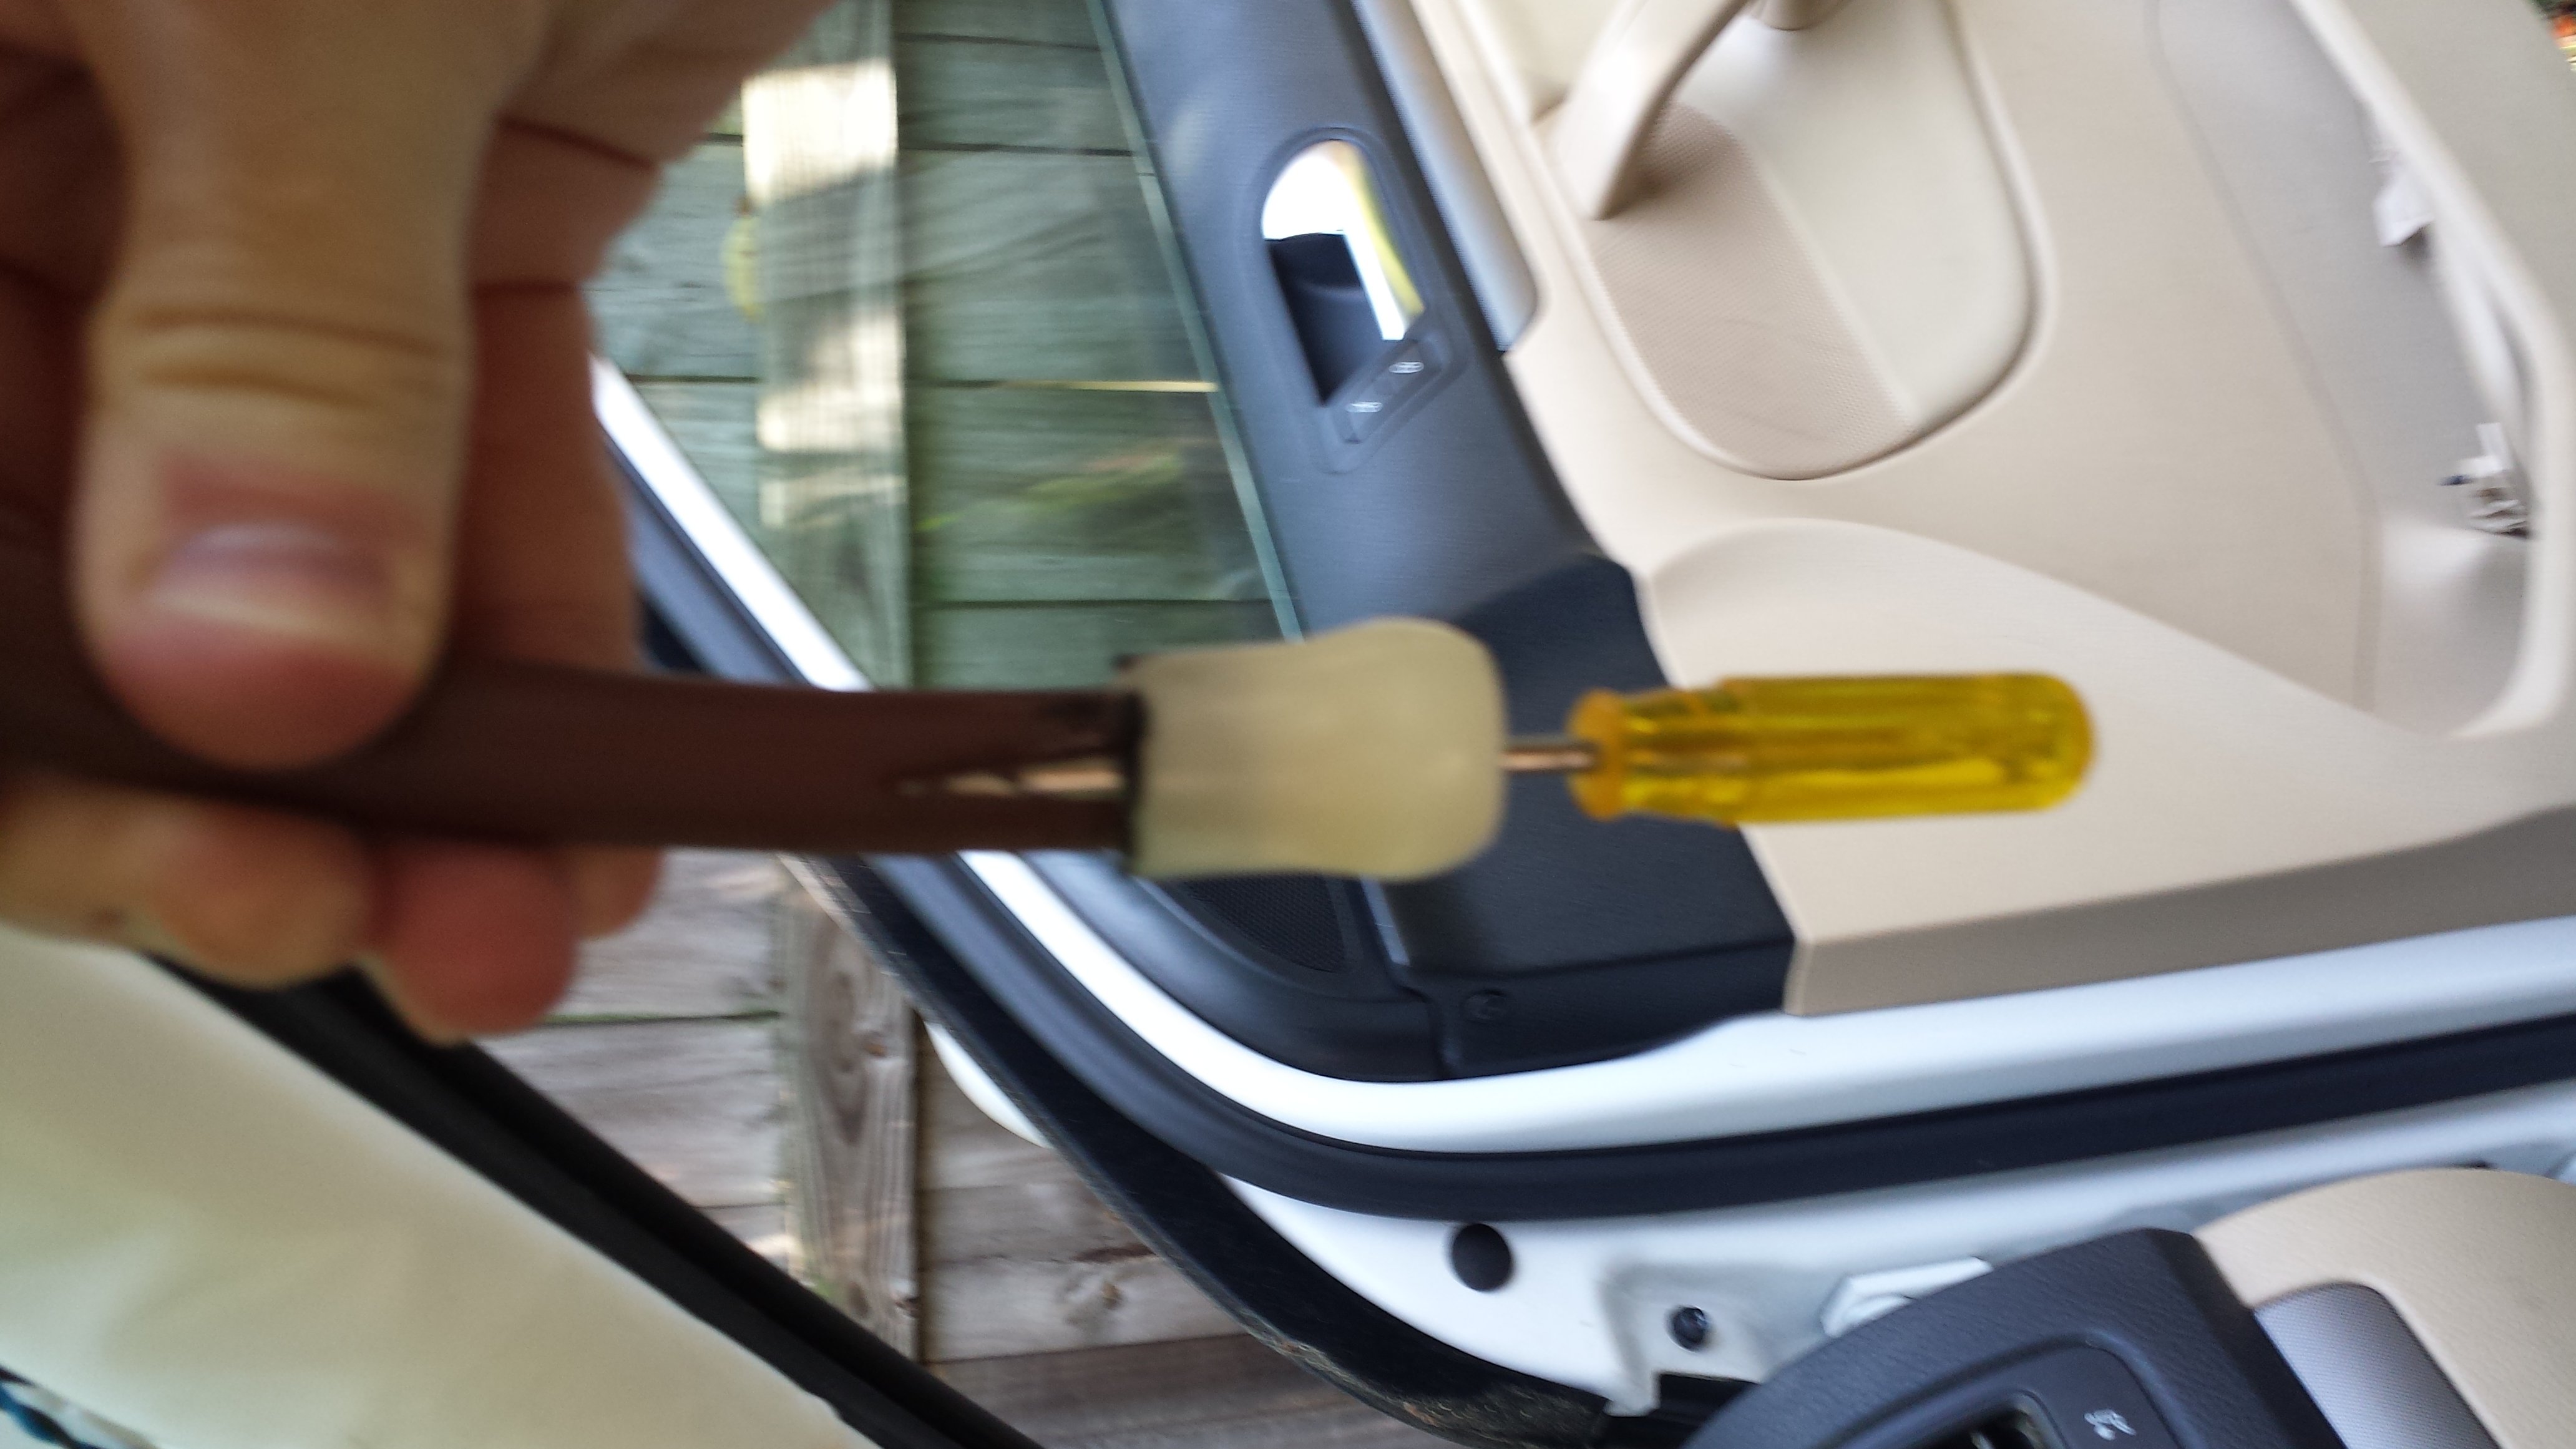
- Small screwdriver that slid easily between the inside of the coupler and the outside of the hose, once I removed the black goop.
- Text
- I worked the flowable silicone into the gaps between hose and coupling from both the inside and the outside, and anchored them facing down to cure so that any extra flow would would not go into the hoses.
- Front left held in downward position.
- And front right.
- Close-up showing the clear flowable silicone on the outside (and remnants of the black goop, most of which I peeled off).
- Text
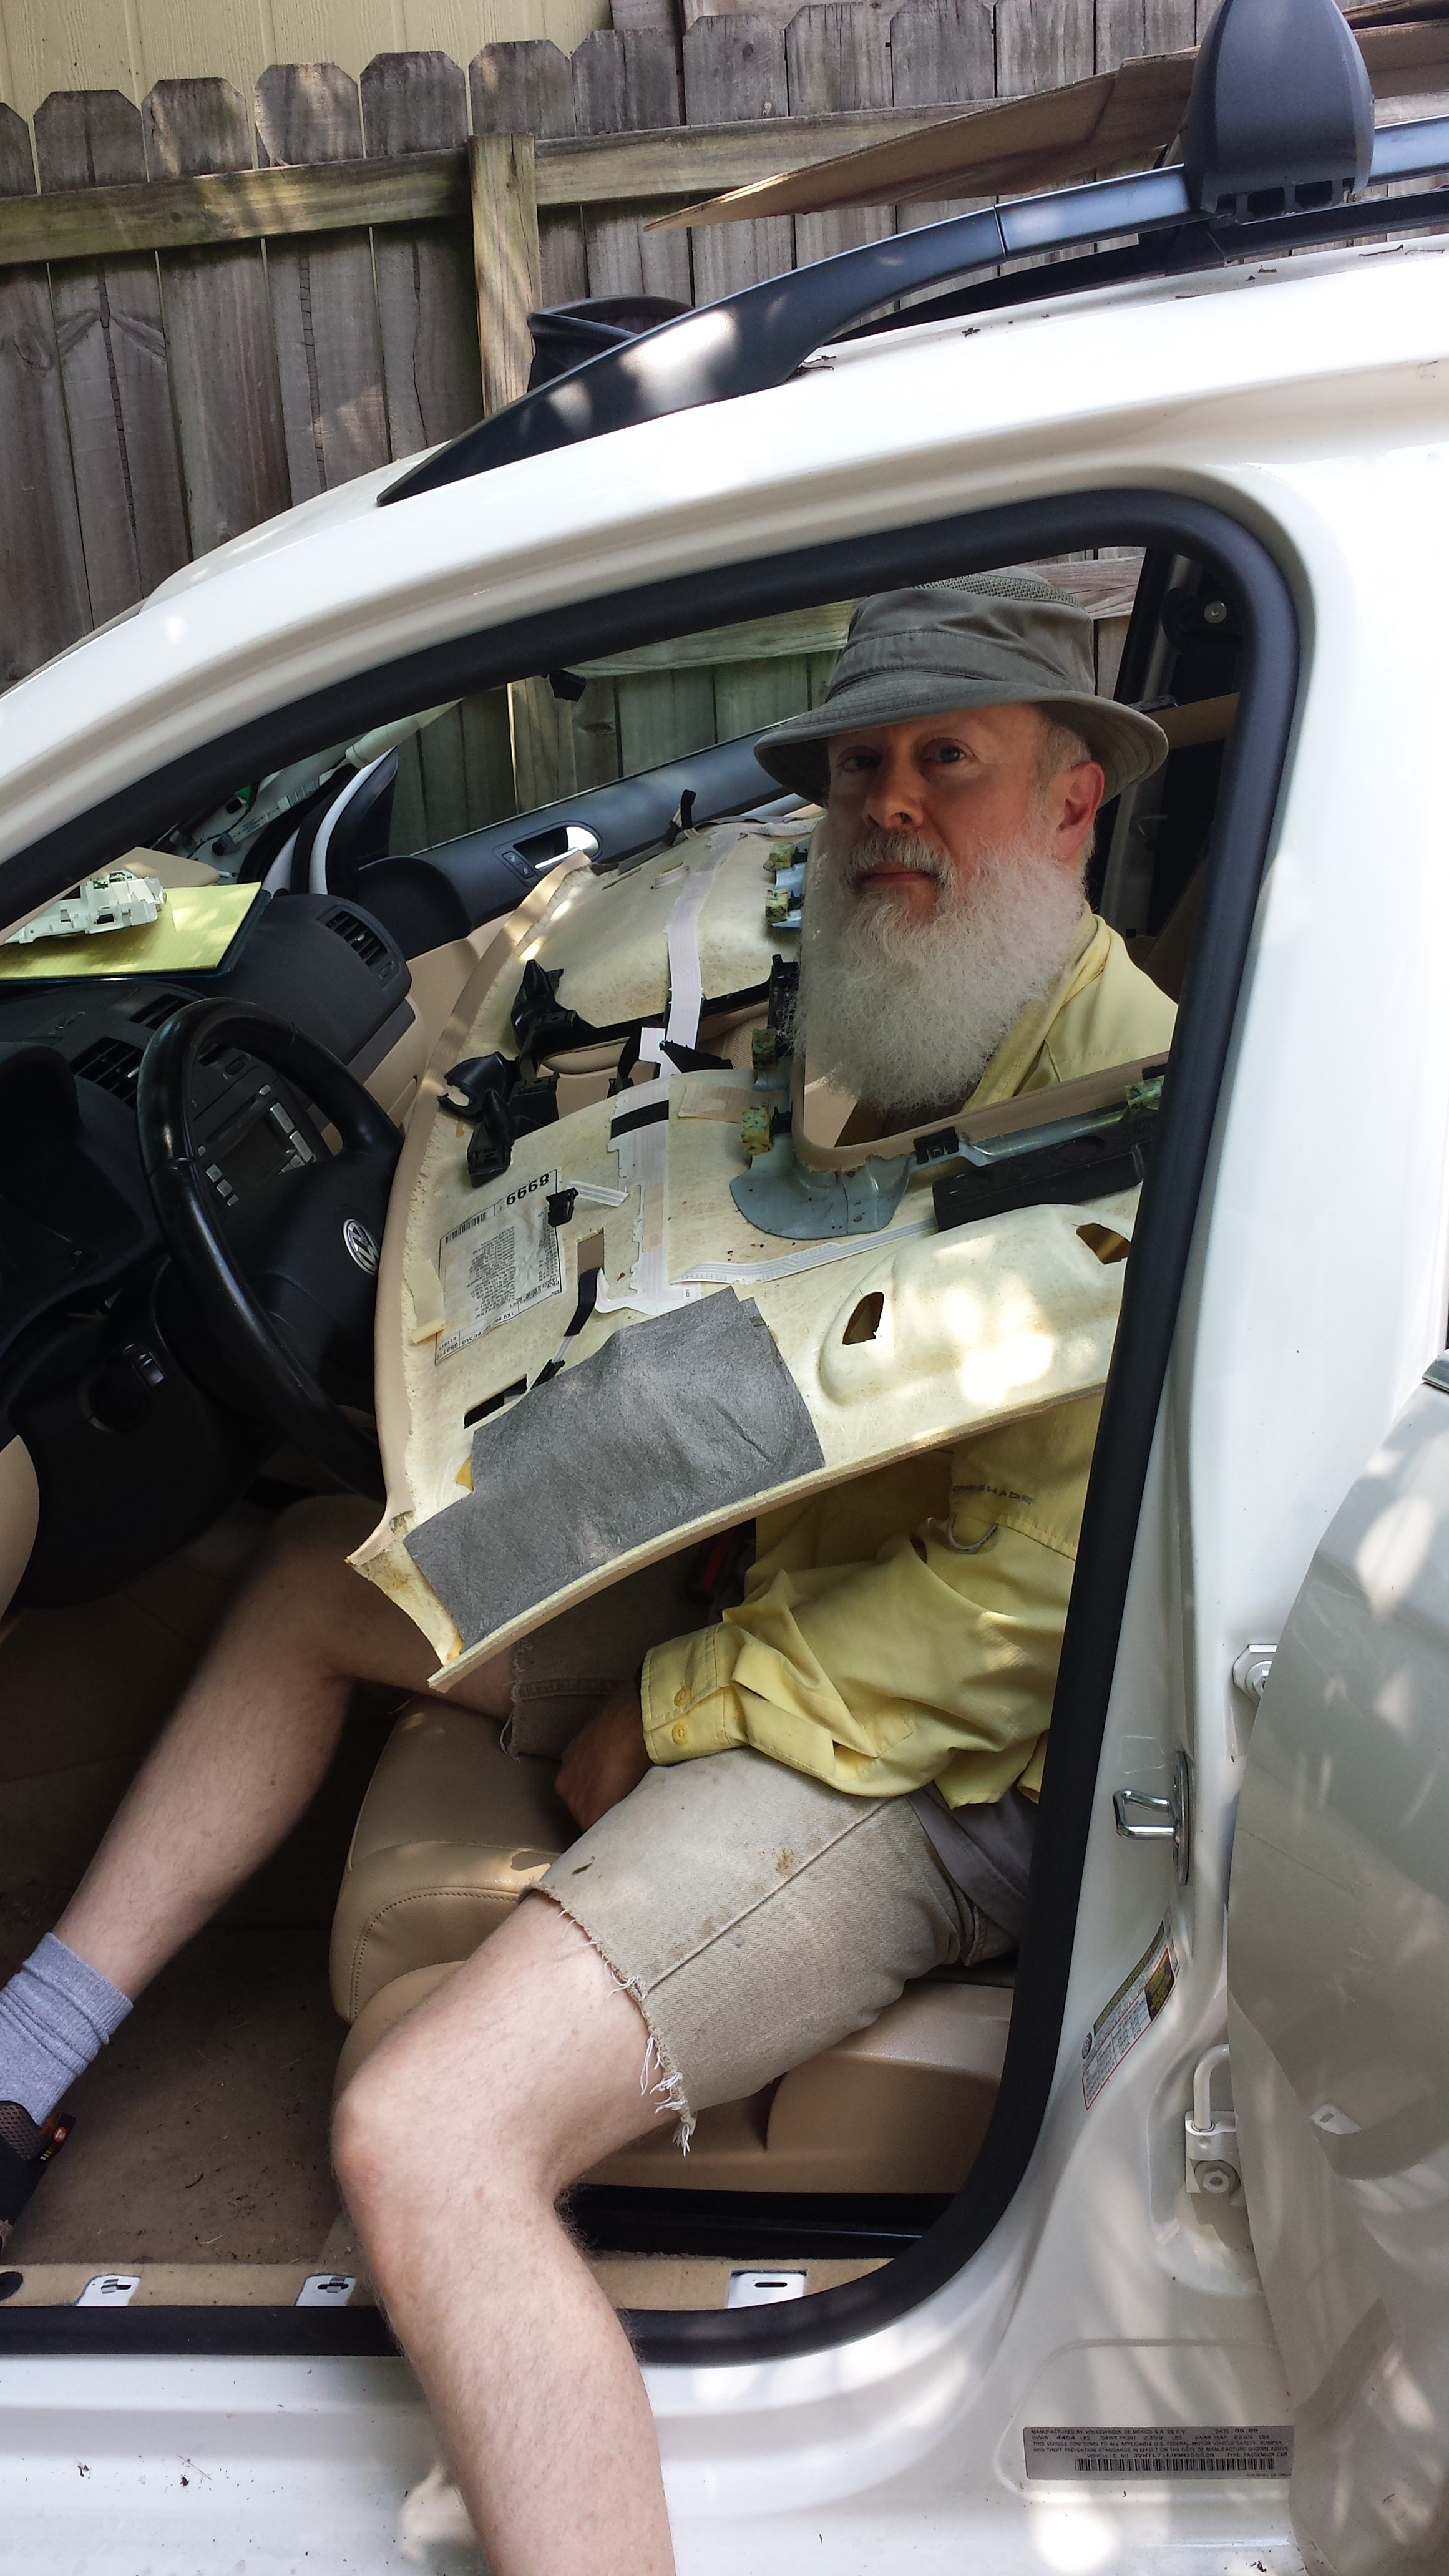
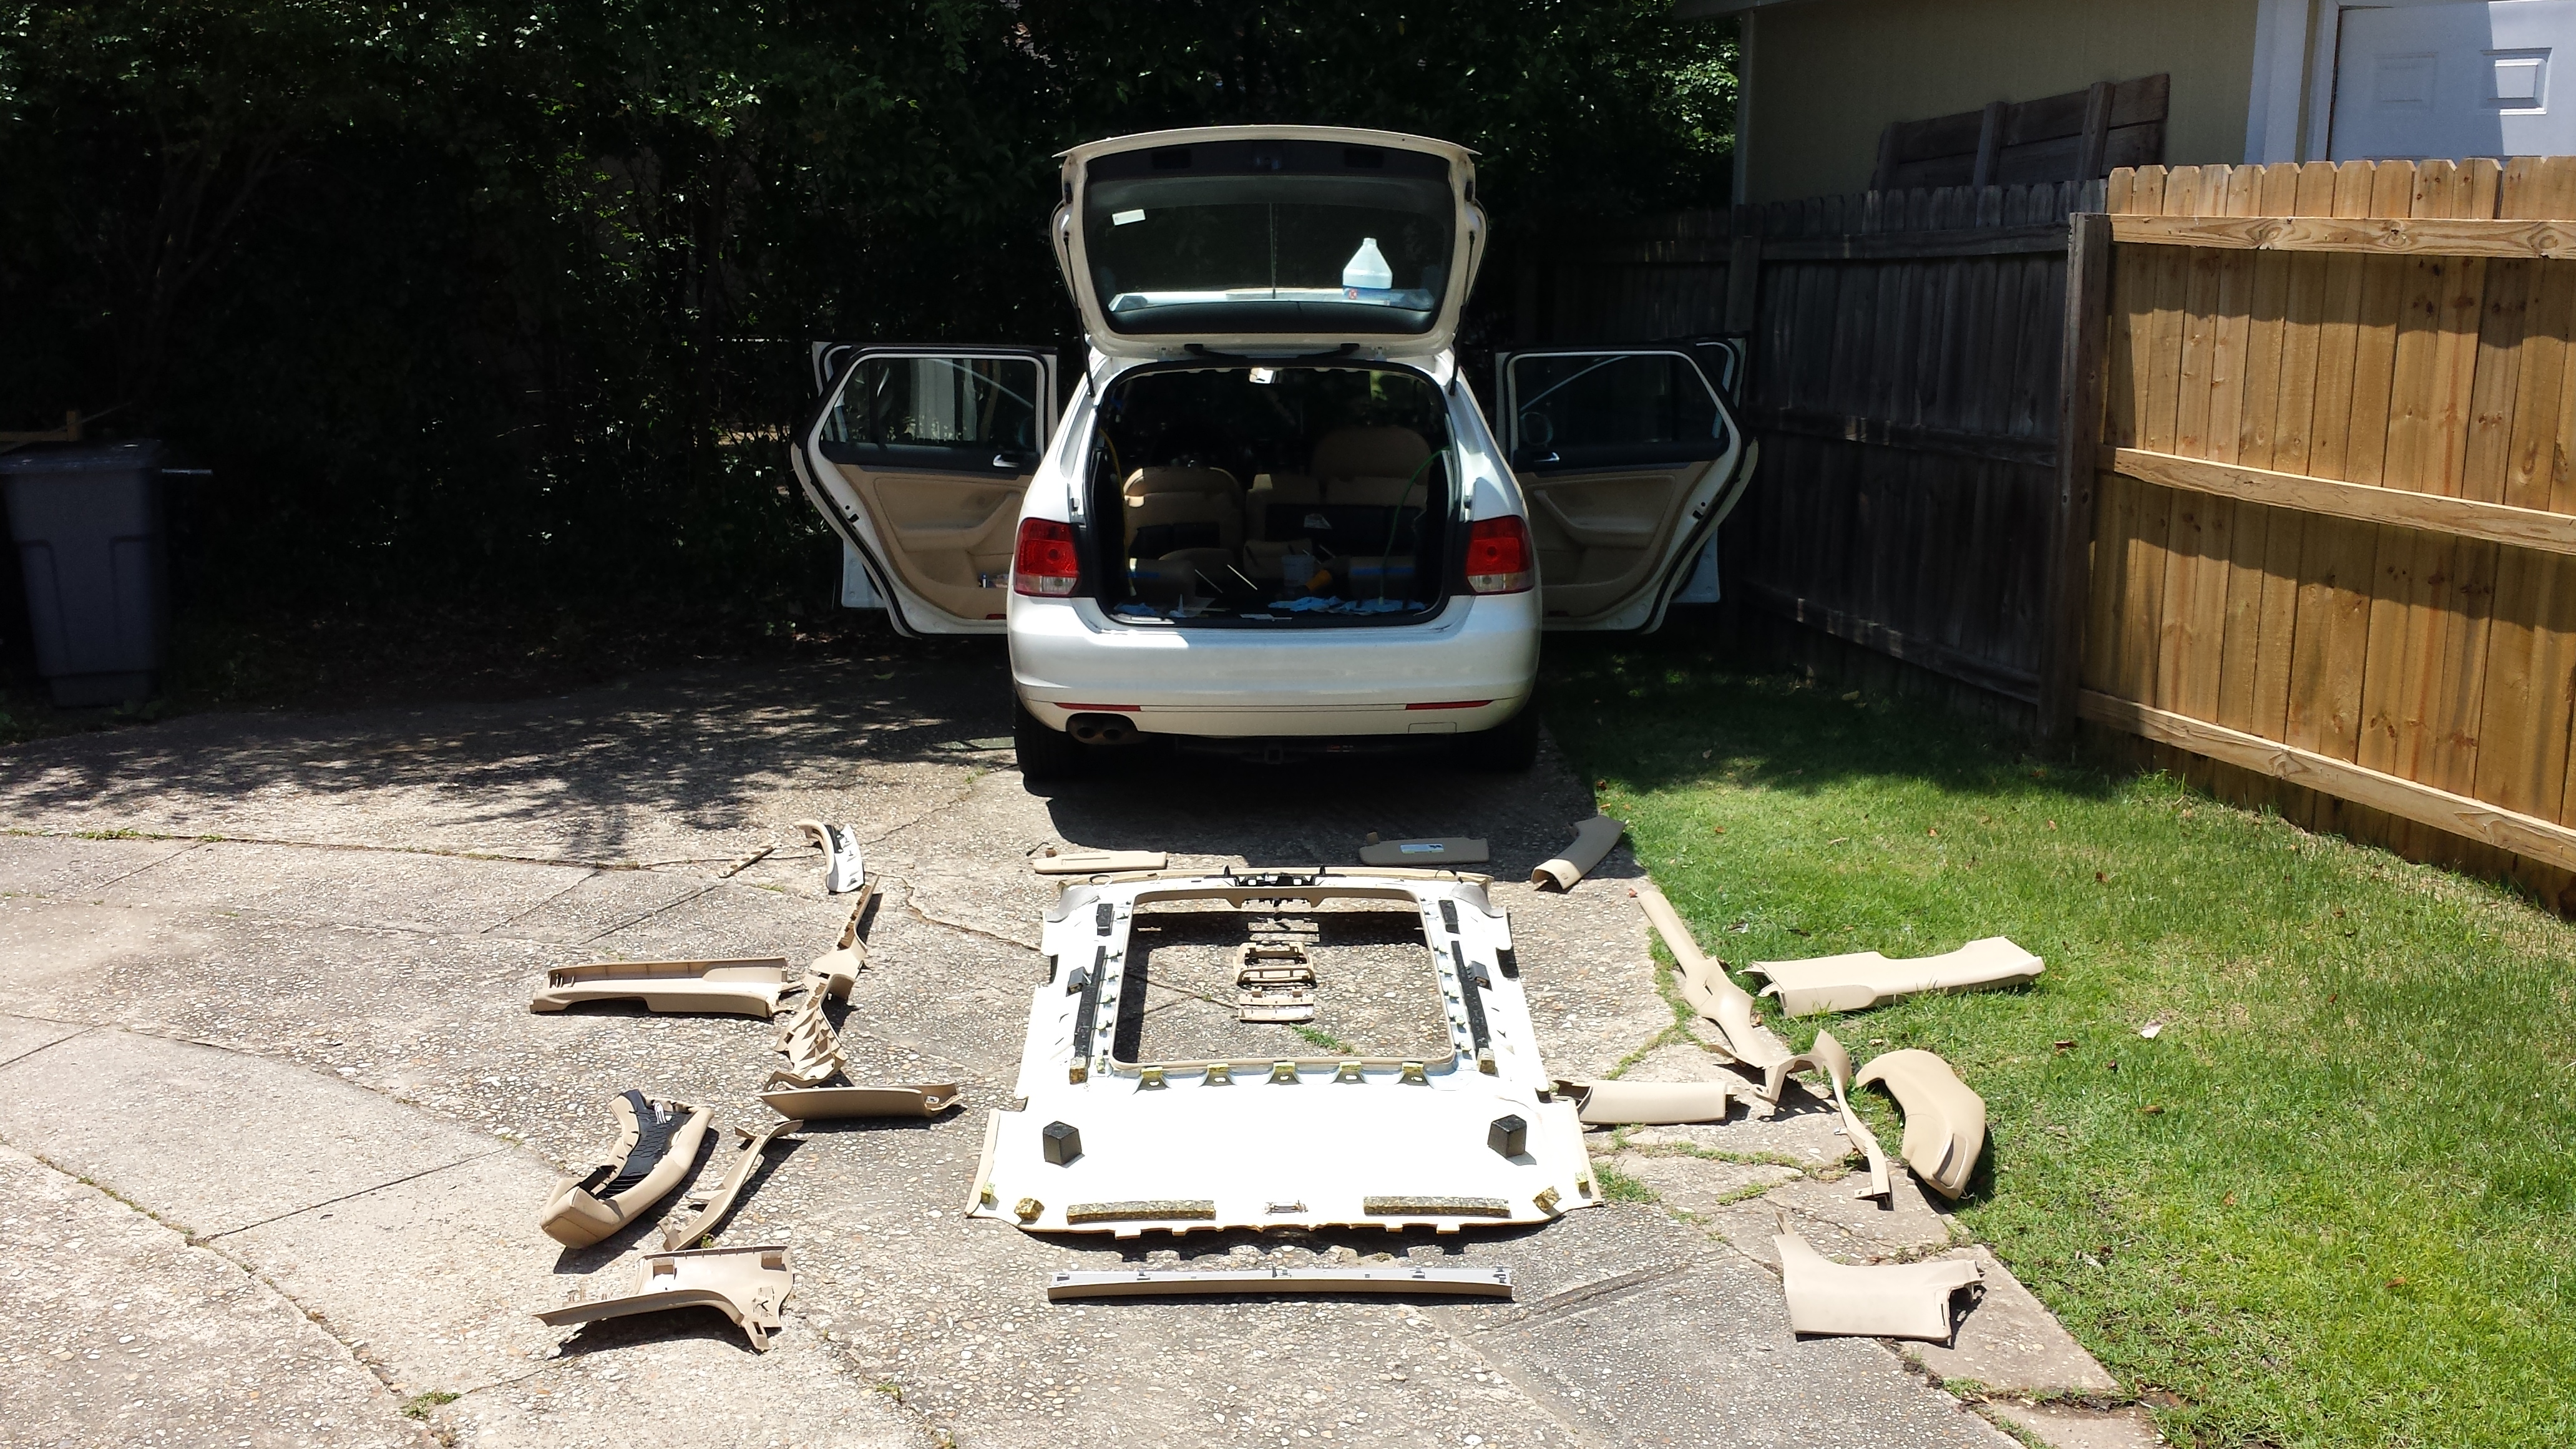
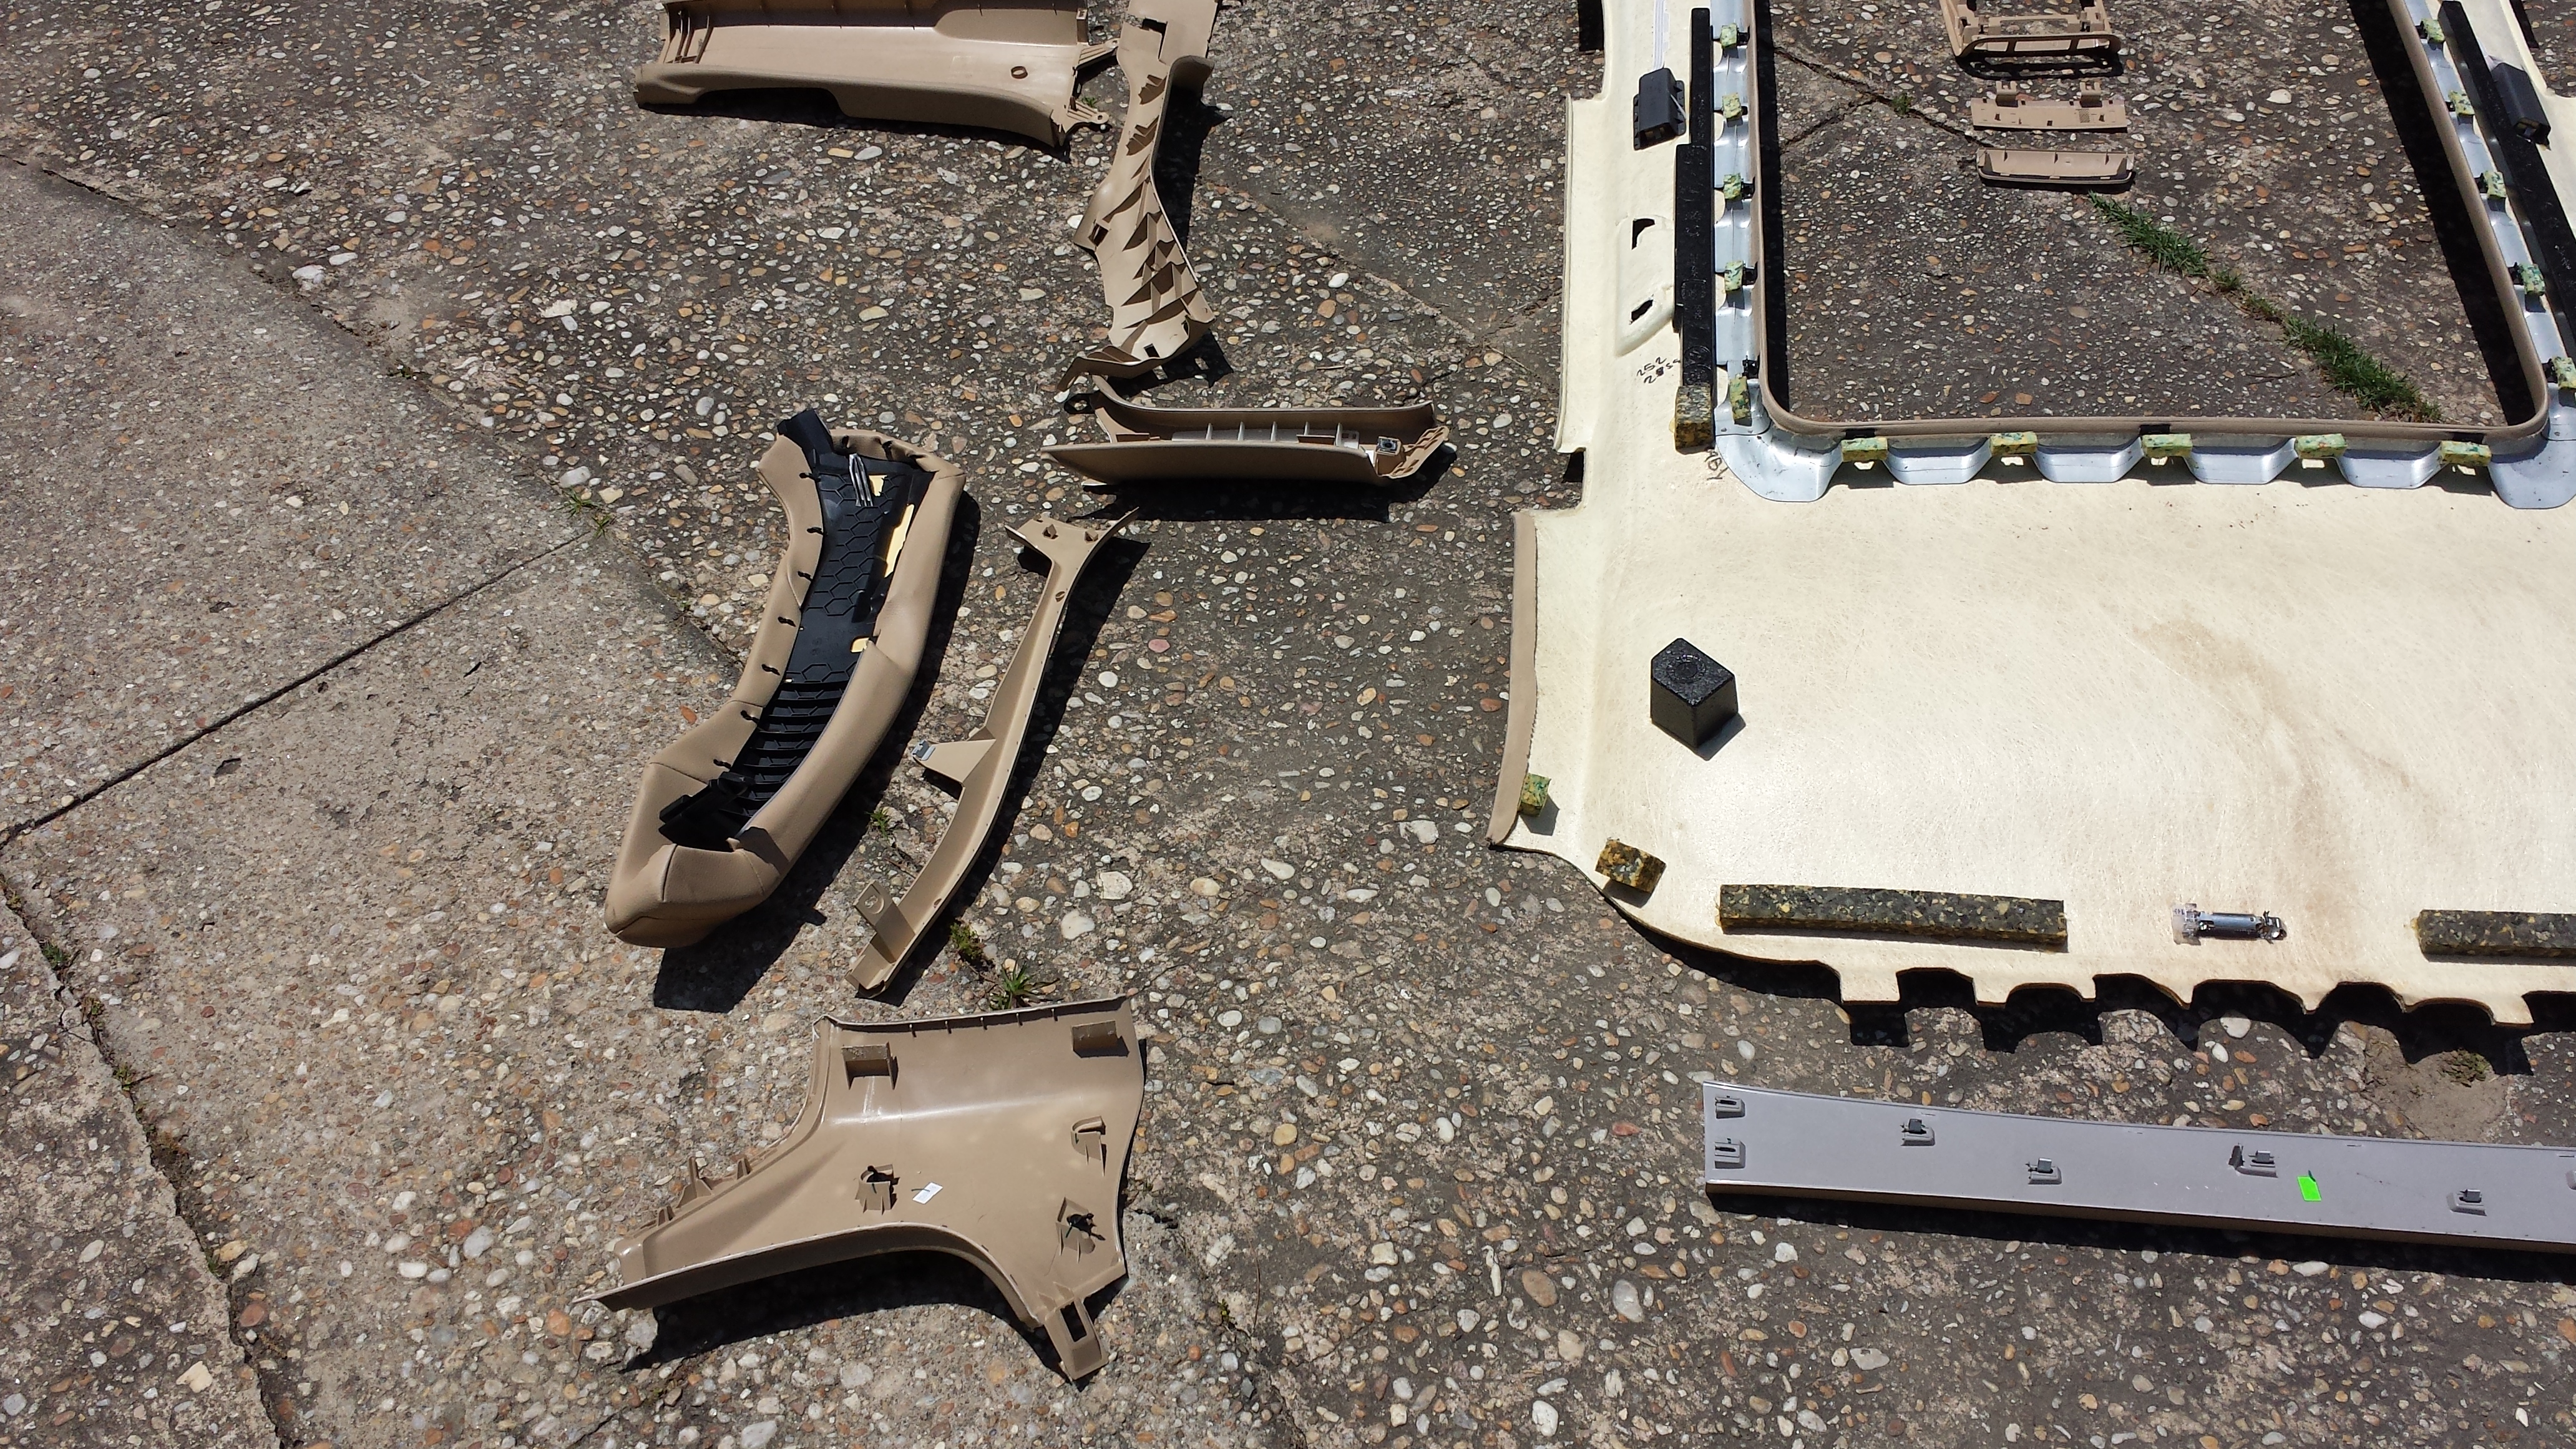
- "Exploded" view of most of the trim I removed and the headliner.

- Text
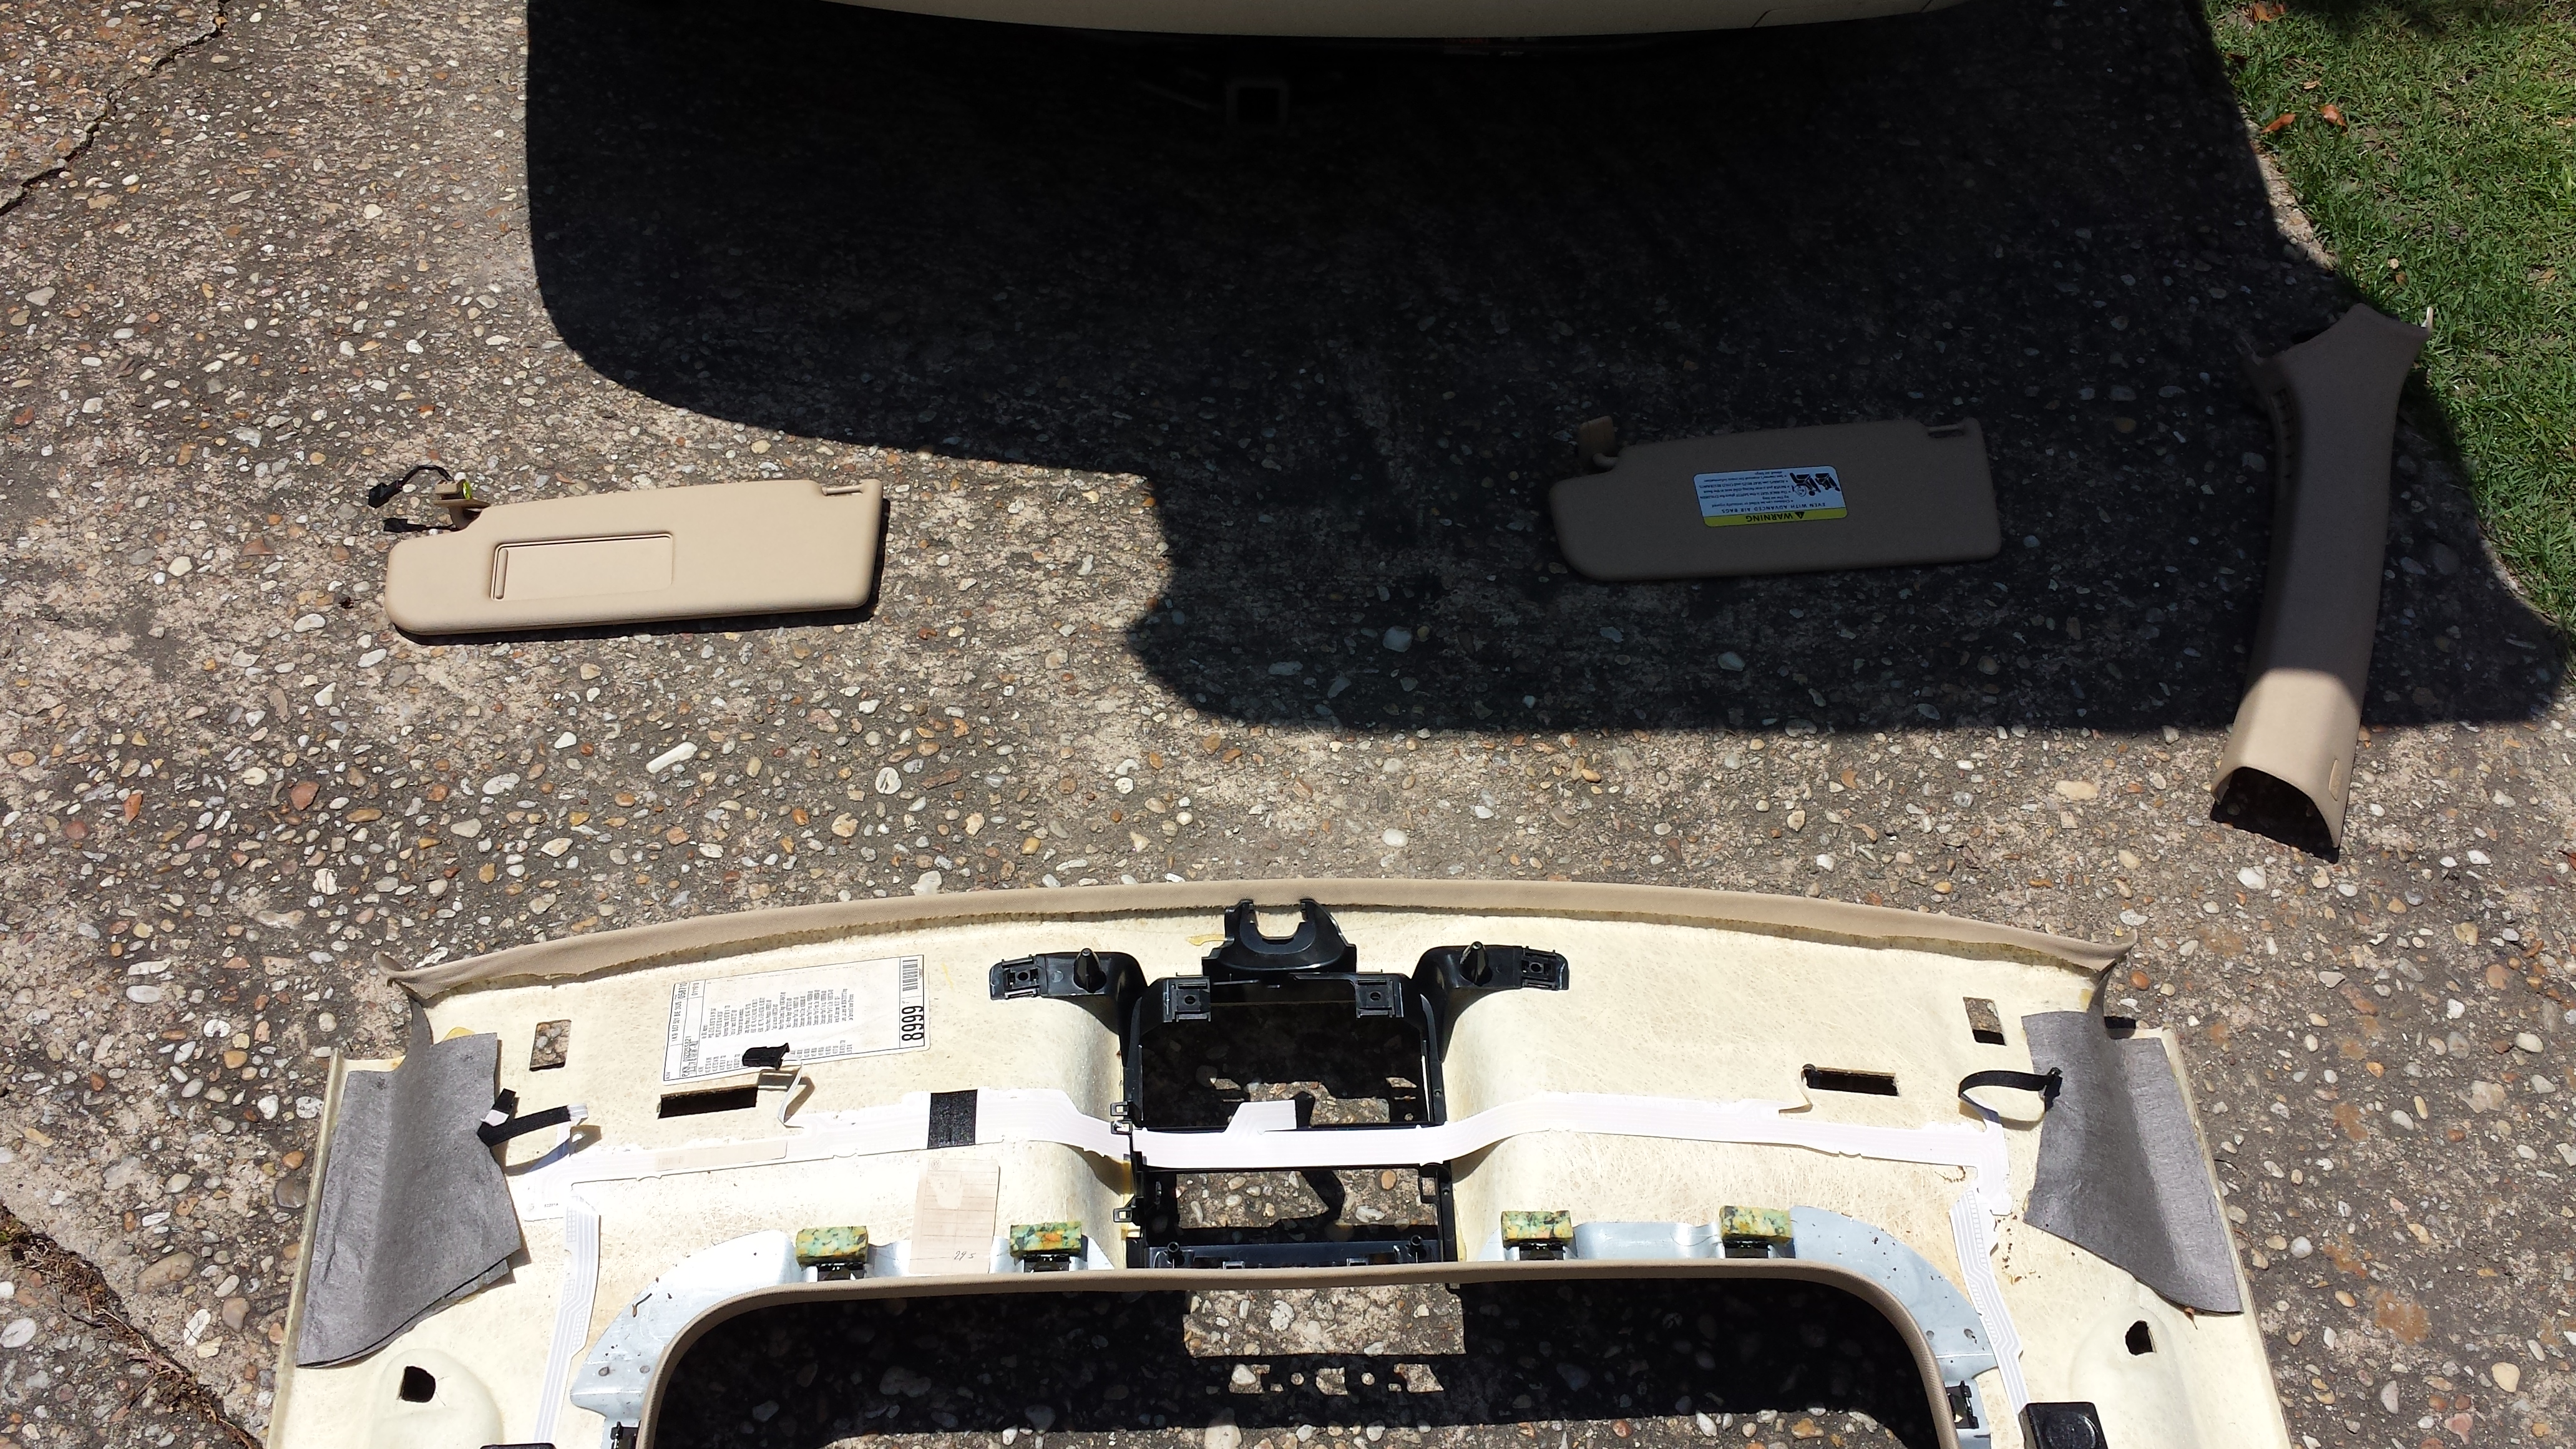
- Closeup showing left rear D-pillar cover (foreground).
- Text
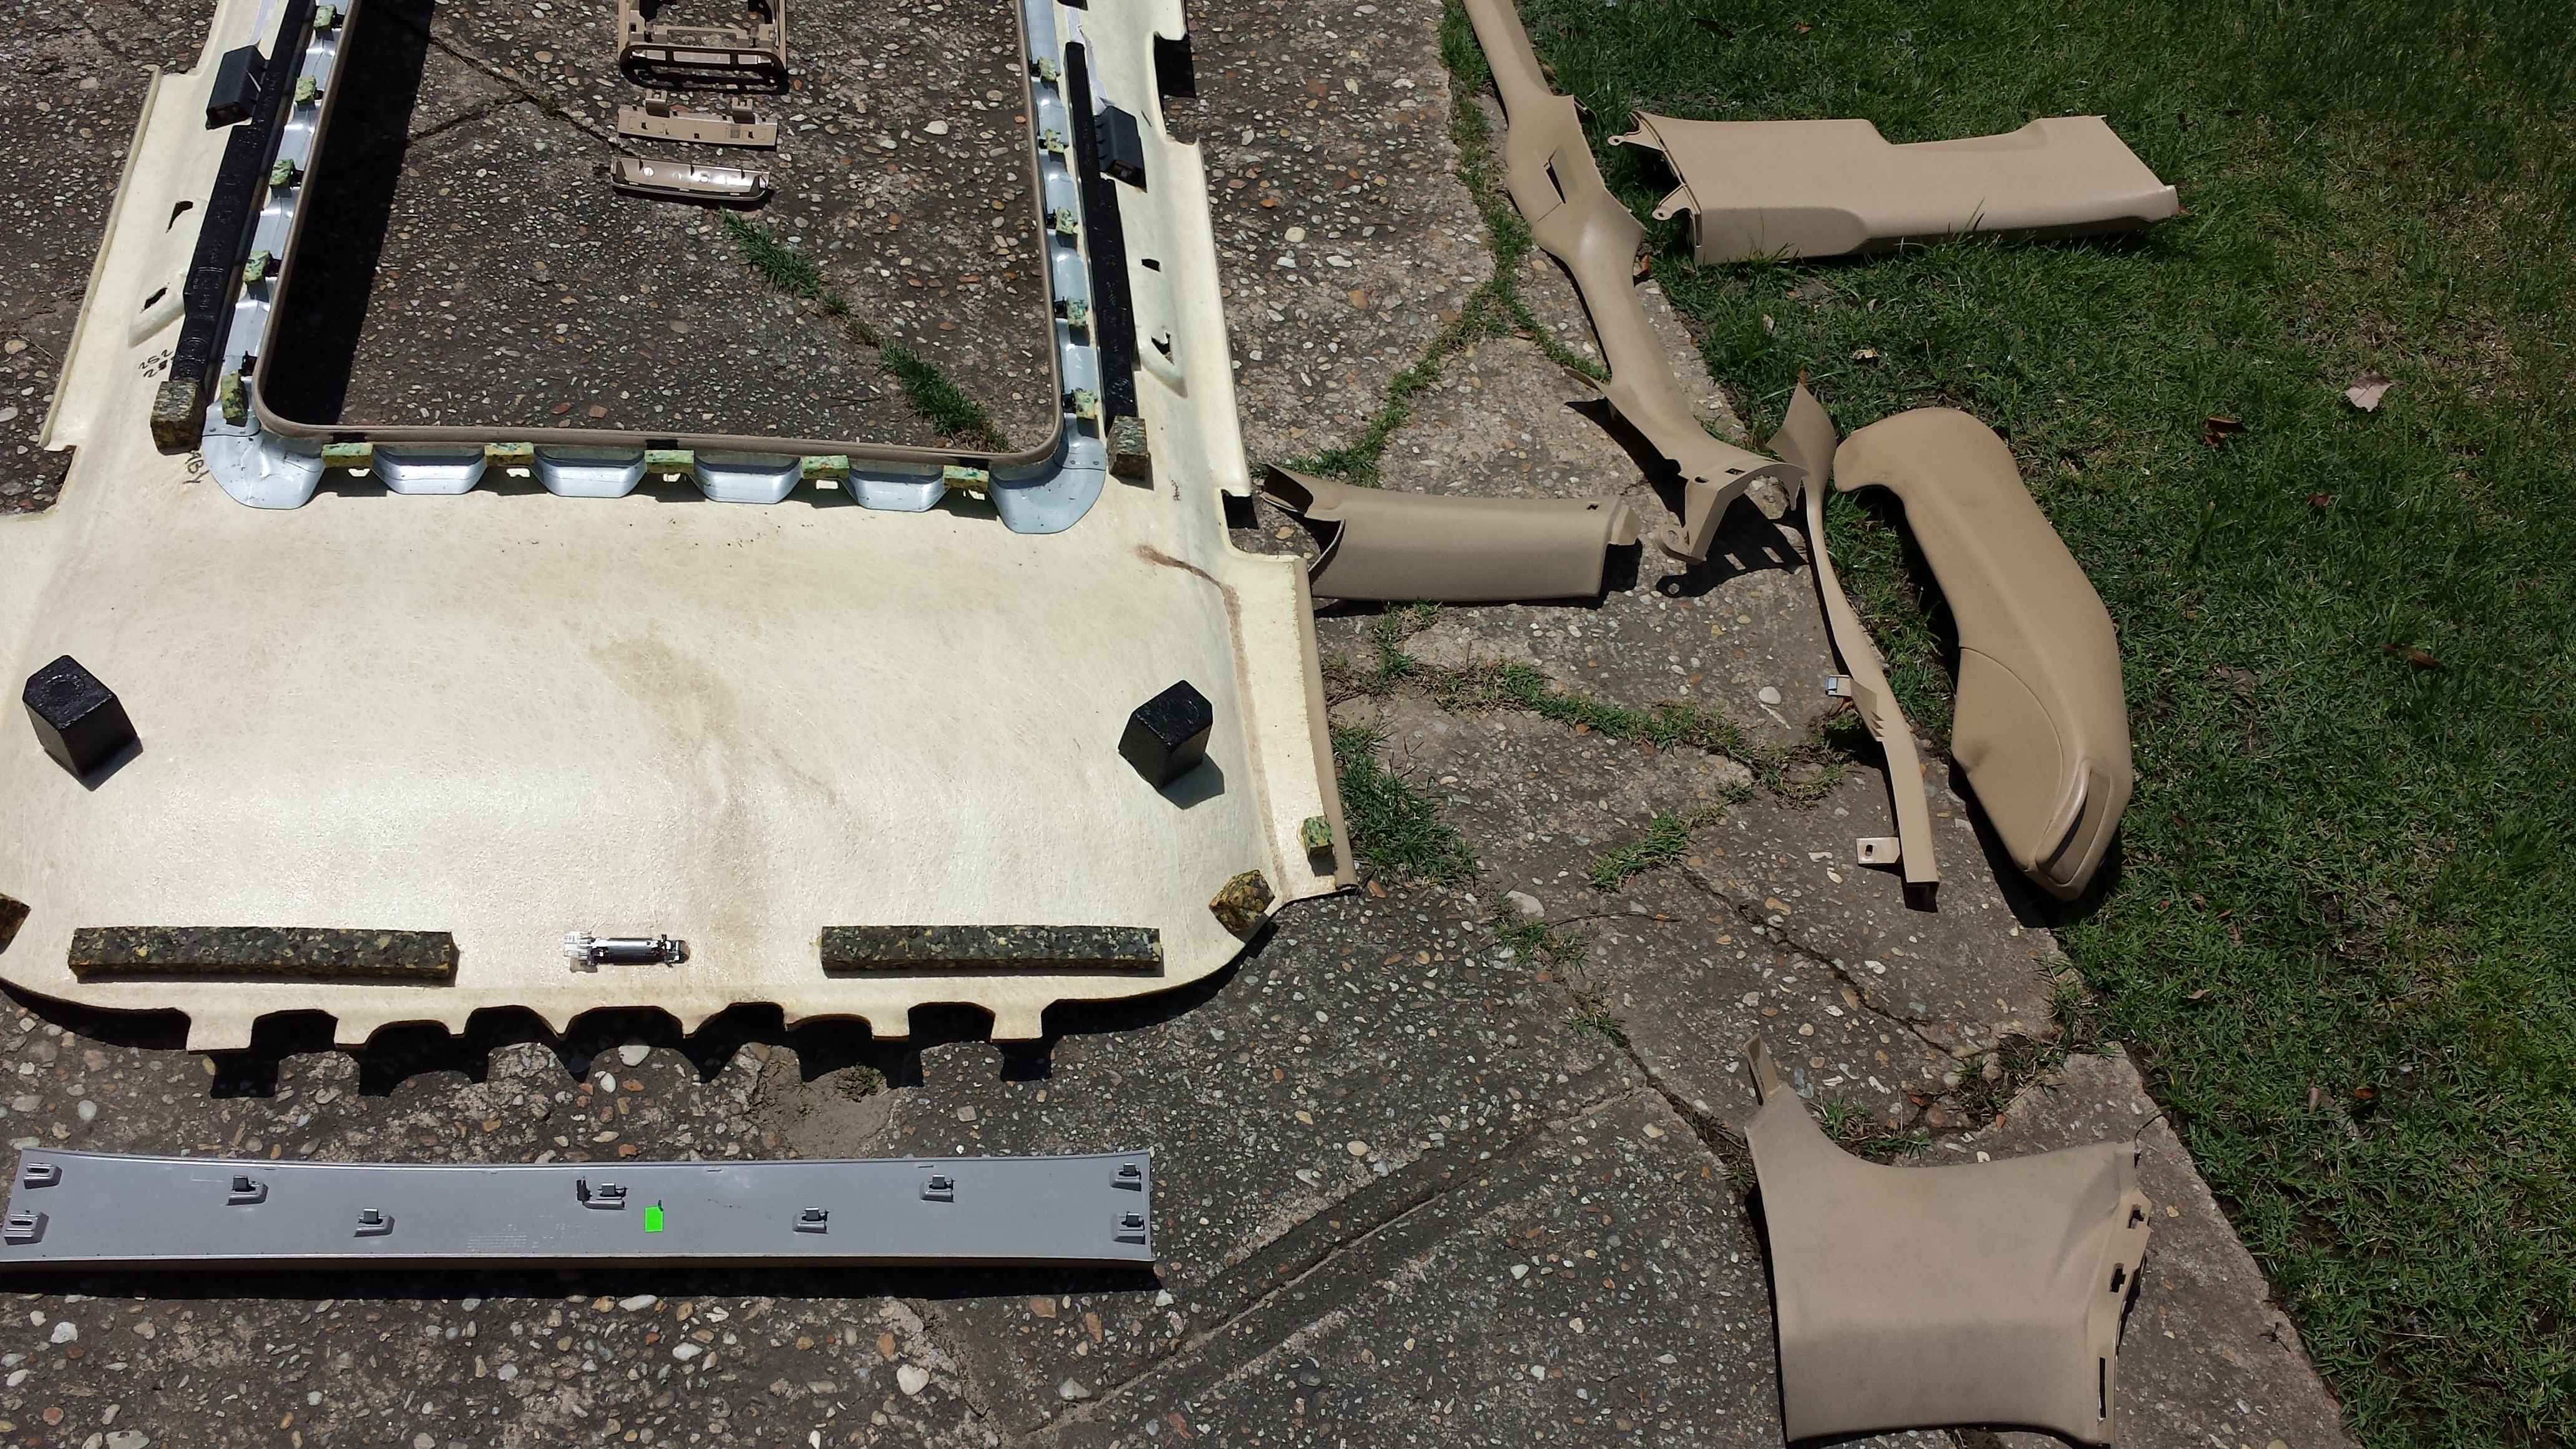
- Better shot of the sunroof control panel parts.
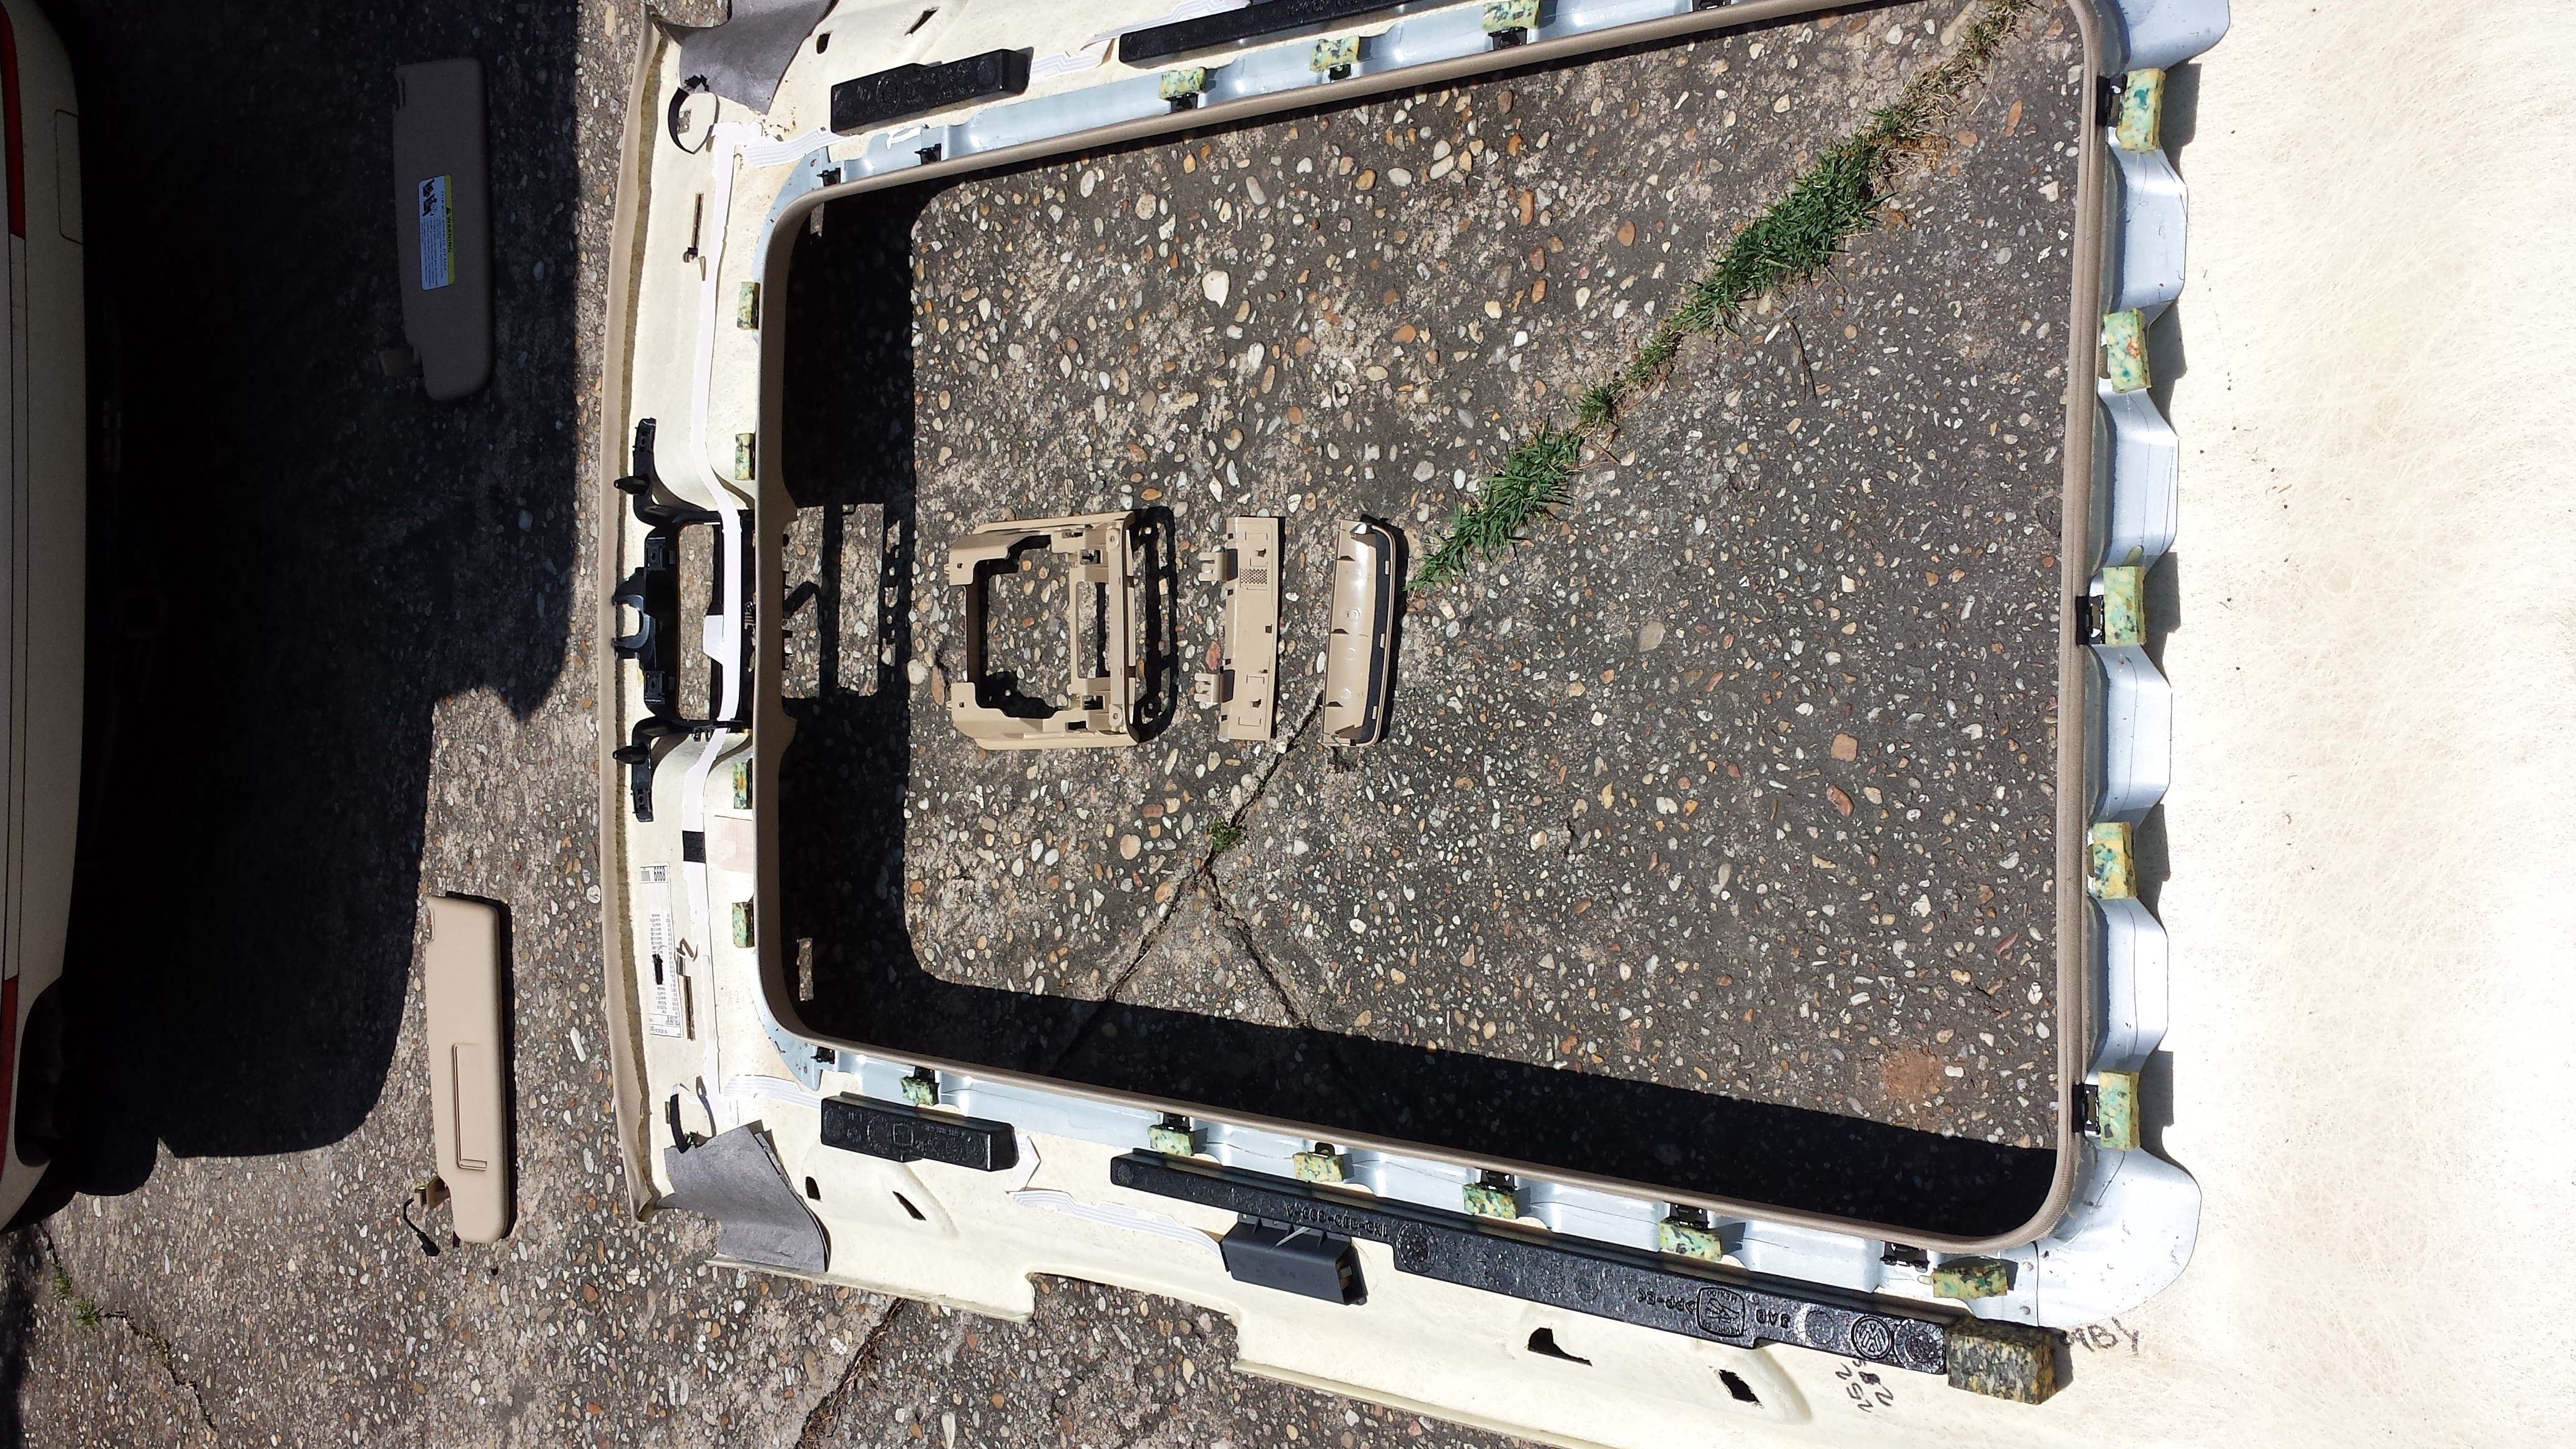
- Sunvisors.
- Letting the silicone cure.
- Mangled sunshade is next.
More to come.